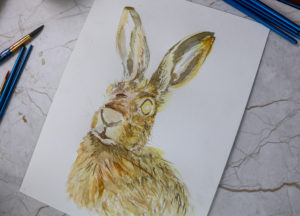
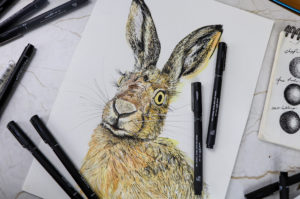
In this charming drawing step by step we show you how to create a hare artwork with watercolour and PIN pens.
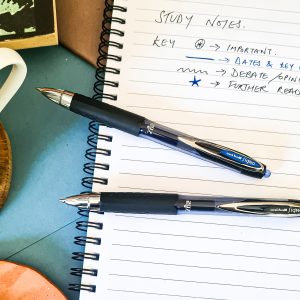
Making artwork is a joy with uni-PIN pens. Uni-PIN pens put more creativity in your hands. You have a choice of 11 calibrated tip sizes (from 0.03 to a new brush tip) in the black PIN range. So you can benefit from a range of exciting creative possibilities.
The Uni-PIN’s wide variety of nib sizes gives you the ability to create a variety of expressive tonal effects, which is great when drawing animals and botanicals.
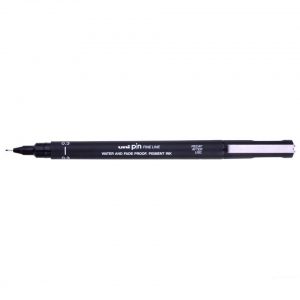
These pigment ink pens also boast Super Ink Technology, which keeps colour solid and vibrant. This means work won’t fade or bleed through paper and works brilliantly over watercolour.
This illustration project provided by our uni-ball ambassador, artist Ella Johnston, really makes the most of the PIN’s variation in nib sizes. Here we illustrate how the pen can produce beautiful lines and details plus its ability to be overlaid on watercolour.
Hare artwork: mapping out
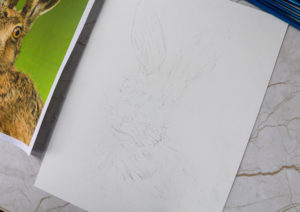
Make a simple, rough sketch of your hare in pencil. It doesn’t have to be too detailed as you’ll be working over it in watercolour.
Layering your work: watercolour fun
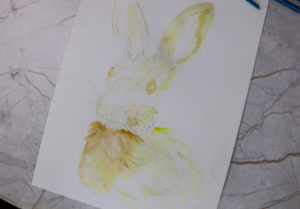
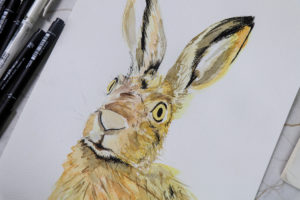
Apply the first wash of very light watercolour in your chosen colours. Remember it’s best to build up layers of watercolour rather than be heavy-handed with thick paint.
Keep building your watercolour layers from lighter shades to darker, more intense tones. Use smaller brush sizes to add fine details such as hairs and fur plus wispy downy areas. Leave to dry.
Hare artwork: get going with PIN
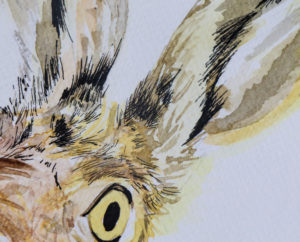
First, give your hare some structure. Use your 0.8 and brush tip PINs to add initial definition to dark areas of your artwork such as eyes and shadows. Use simple pen strokes to cover theses areas as shown. You can soften the edges by hatching and stippling around the edges with smaller nibs like 0.2 and 03.
Tonal work: Add depth and texture
Make the most of drawing techniques such as cross-hatching and stippling to give your hare tone and texture. Use fine uni-PIN nibs such as 0.03 and 0.05 to shade around the face. Cross-hatch these fine lines to build layers of shading as illustrated.
Use your thicker uni-PIN nibs such as 0.5 -0.8 pens to add a more defined, darker texture. Below we used 0.8 nib to stipple around the hare’s ears. We also used this technique to define the haunch of the hare.

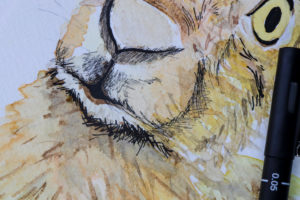
Hare artwork: Finish with fine detail
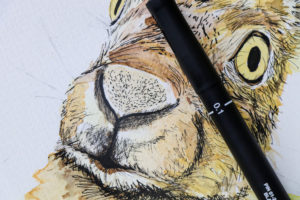
Now bring the piece together with your 0.1 and 0.2 PIN pens. Use the pens to soften lines and edges with stippling and soft strokes. Then draw in whiskers and add texture to the hare’s nose.
For more illustration tips and techniques take a look at our YOUTUBE channel.