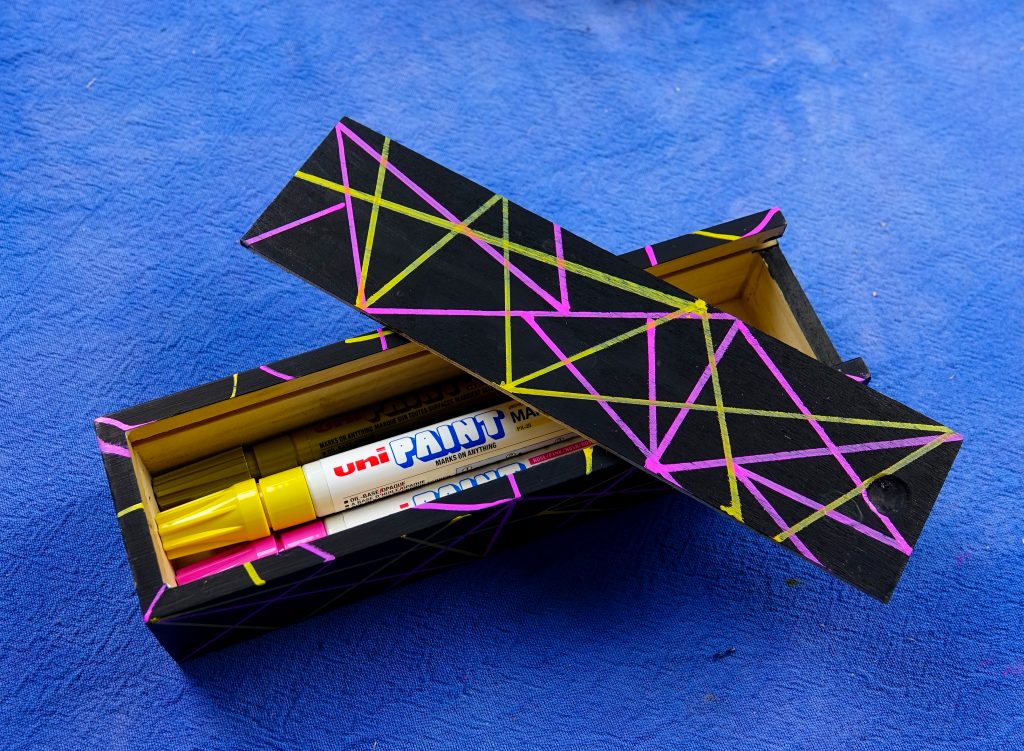
If you’re anything like us, you’ll always need a place to store your pens. We like to keep our containers stylish by adorning them with POSCA and uni PAINT marker designs. Here we show you how to decorate a wooden pencil box with uni-PAINT markers – it’s super simple but very effective.
This is the easiest starter project as it just involves layering lines of colours. So it’s brilliant for when you’re starting on your creative journey.
The uni-ball Paint Marker is designed to deliver vibrant colour in waterproof ink on any surface. This oil-based, permanent marker is great for artists, students and anyone who wants to make a lasting mark. The colours really pop on wood, glass and ceramics.
Decorate a wooden pencil box: You will need
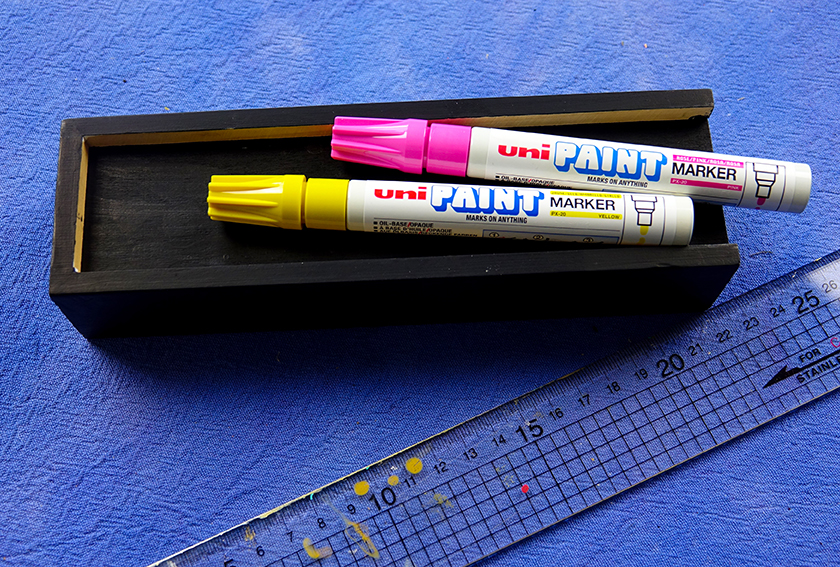
For this easy project you will need a wooden pencil case (pre painted with black POSCA), a ruler and uni PAINT markers in yellow and pink.
Paint marker project: Make your mark
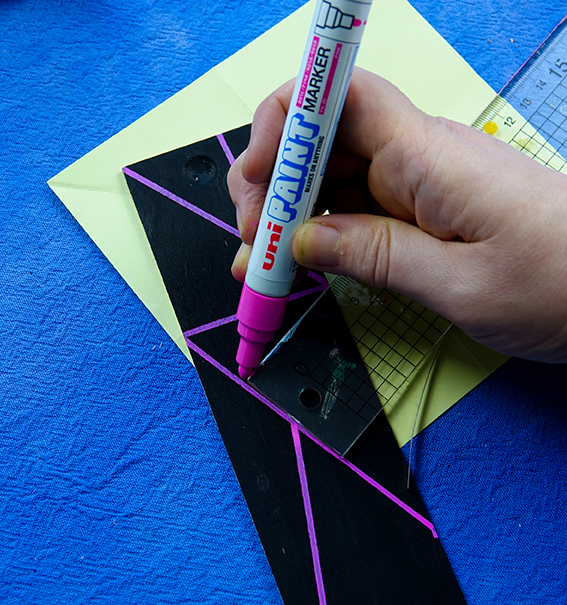
This project is so ridiculously easy as it’s just a case of layering lines of PAINT marker. Start with your sliding lid.
Mark a point on your lid and work outwards from there, drawing a series of straight lines with your pink PAINT marker and a ruler. Draw at angles out to form a starting structure from which to form your design.
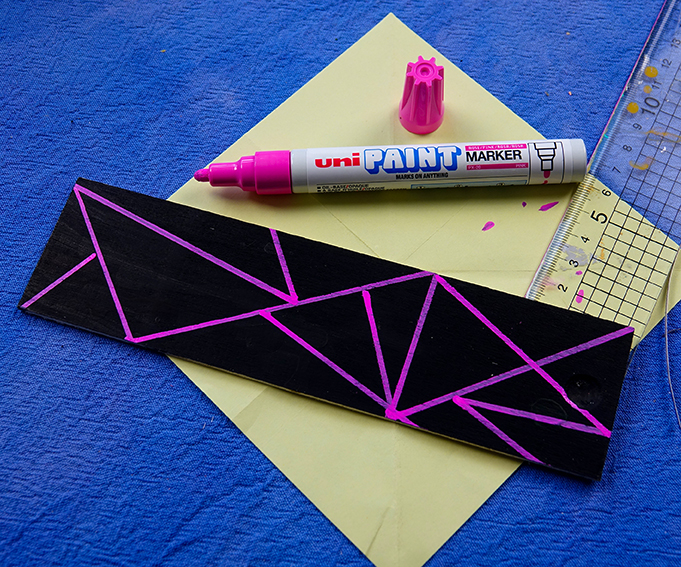
Now repeat this process with your pink PAINT marker on the box body. Take care to ensure your marks are dry before you rest each side of the box on your work surface to avoid smudging.
Decorate a wooden pencil box: Layer your colours
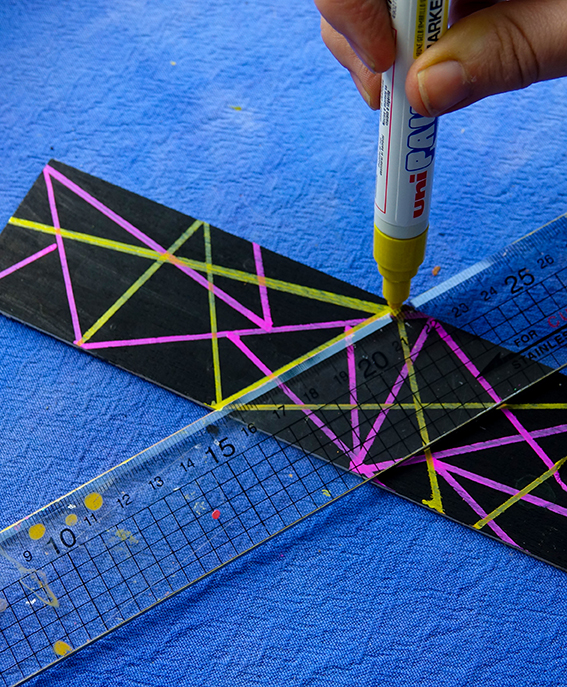
Once you are happy with your pink lines, and they are all dry, you can use your yellow PAINT marker and ruler to make more marks. Take a look at your original pink design and make sure your yellow lines enhance the pink.
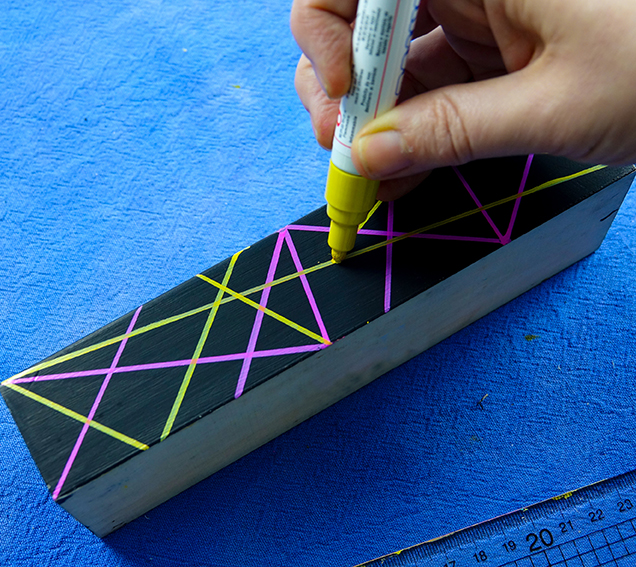
And that’s it, you’re done. It really is that simple. You can replicate this design on journal covers, files, pen tubs and boxes to give your stationery desk a co-ordinated look.
