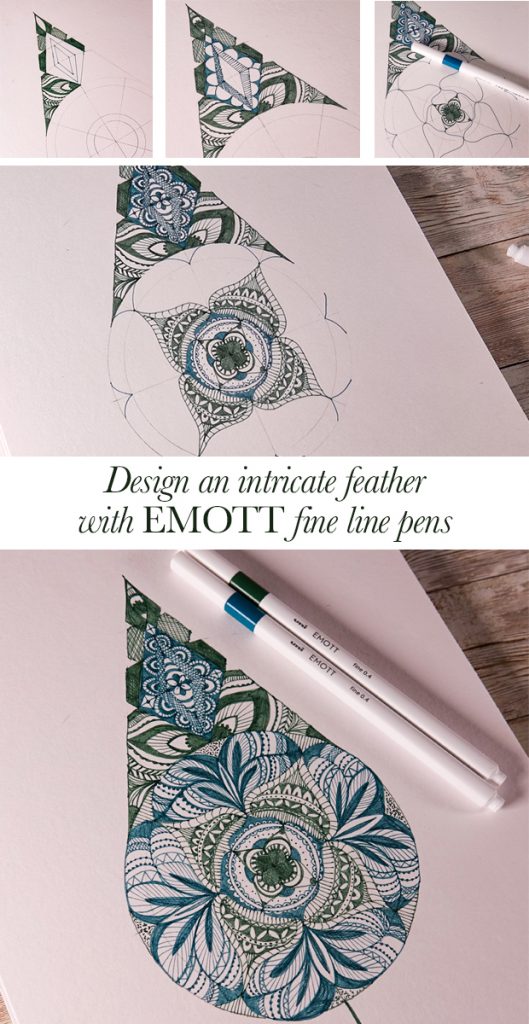
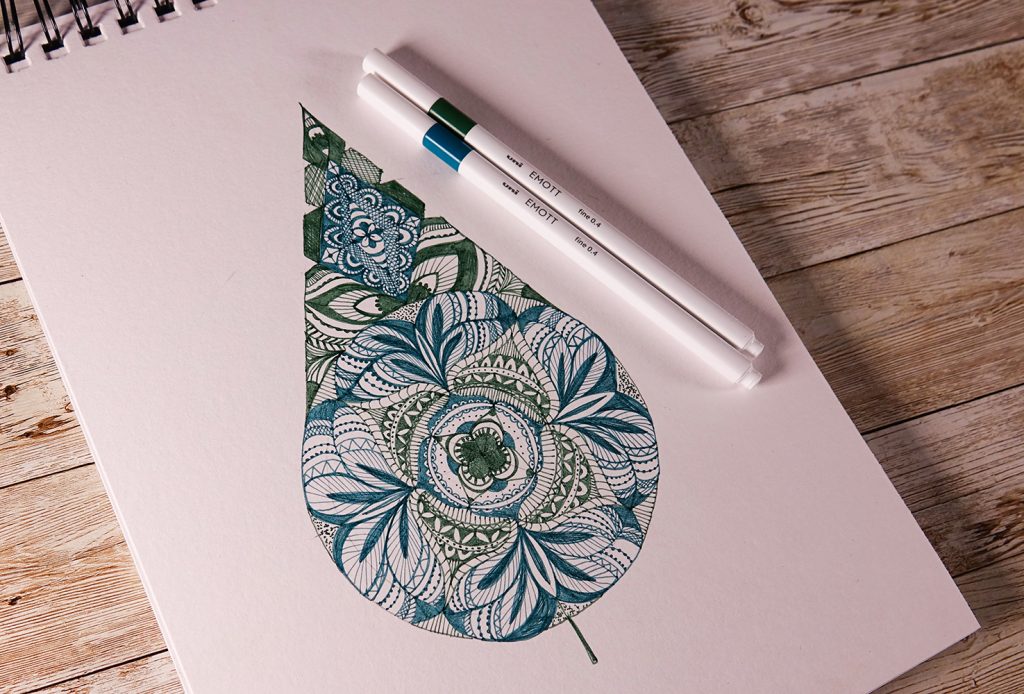
Design an intricate feather with EMOTT fine line pens. Inspired by zentangle designs, this simple project shows you how simple mark-making techniques can create an intricate, beautiful leaf/feather motif. We’re using just two EMOTT fine line pens in a green and teal tones to create our delicate design.
Intricate feather with EMOTT, getting started
To design an intricate feather with EMOTT you will need…
- Two EMOTT pens in harmonious colours (we’ve used teal and green shades here but you can use whatever colours you like.
- A sketch book
- A ruler and pair of compasses
- A pencil and eraser
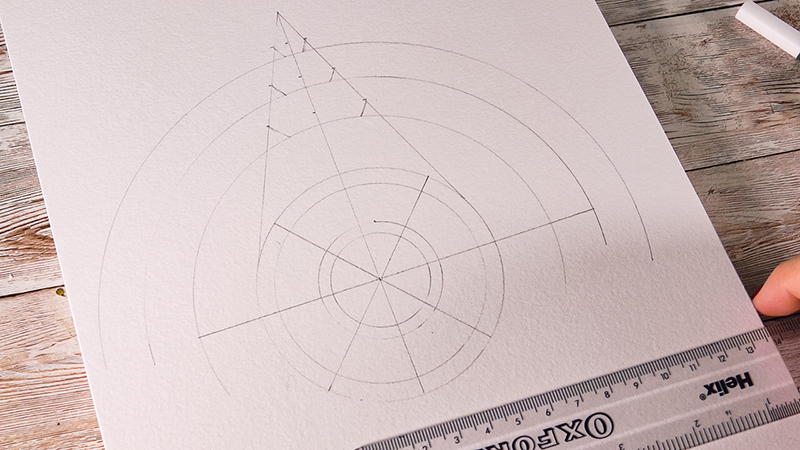
First you need to make a guide.
Using our pencil and compasses, we’ve made seven concentric circles. We set the first compasses at 1.5cm for a 3cm circle), the second at 2cm to get a 4cm circle), the third at 3cm to get a 6cm circle, the fourth at 3.5cm for 7cm, the fifth at 4.5cm for 9 cm, the sixth at 5.5cm for an 11cm circle and seventh at 6.5 for a 13cm circle.
After we created this concentric design, we divided the circle into equal quarters, and then twisted the circle to divide again as show.
We then used our ruler to draw up to the top line to make our shape. As you can see on the last three curves we make a 0.5cm mark and used to guide our indents in the feather. Trust us, it looks complicated but it’s quite a nice, mindful activity.
Start filling in your marks
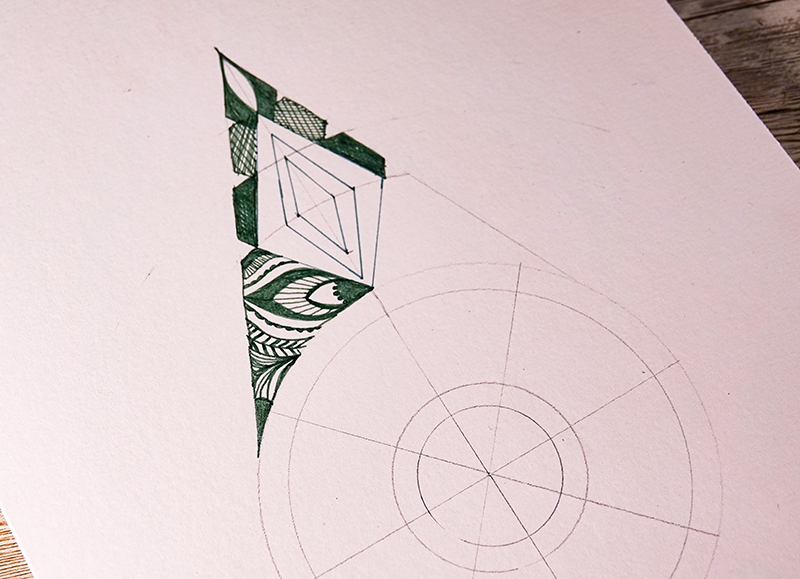
Use your eraser to remove any extraneous pencil marks to leave your essential feather shape.
Take a good look at each penciled section. You will need to fill them in with a variation of mark-making techniques.
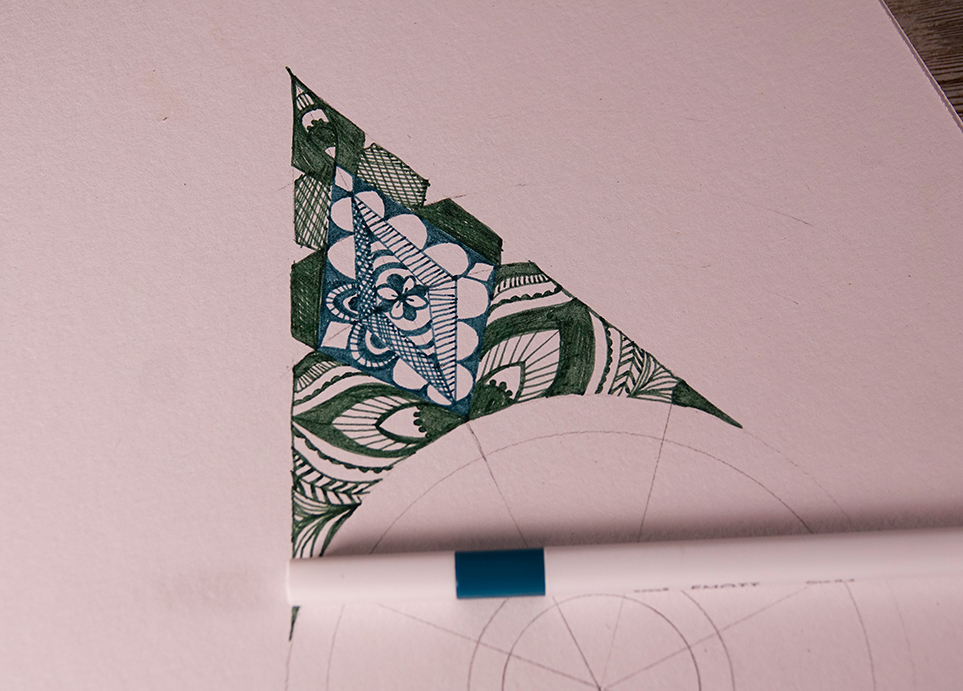
We started at the top of our feather design and used our first colour to create sections of solid fill, cross hatched shading and some more ornate designs in the bottom of this area. As you will notice in the picture below we created a diamond-shaped void in the centre.
For this central diamond shape we used our second colour to anchor this top part of the feather.
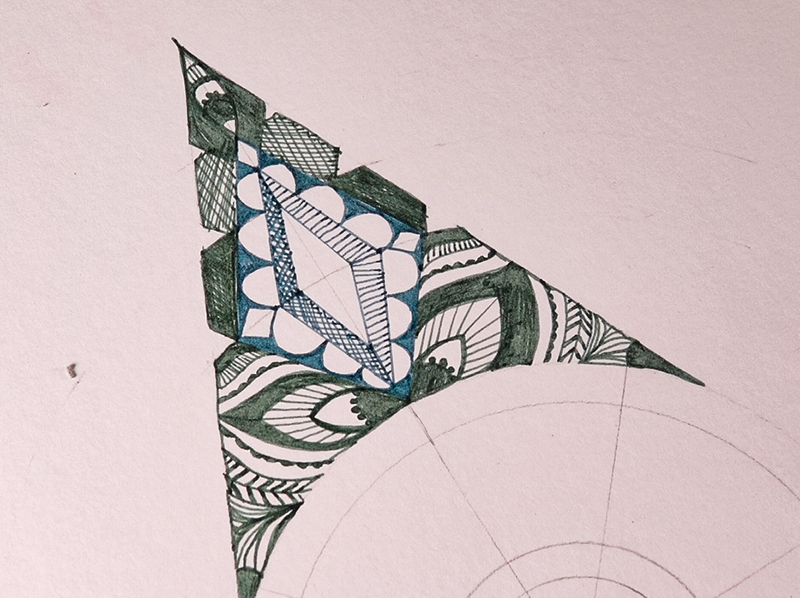
We used a combination of geometric shapes and lines with curves and mini flower shapes.
Create your central design
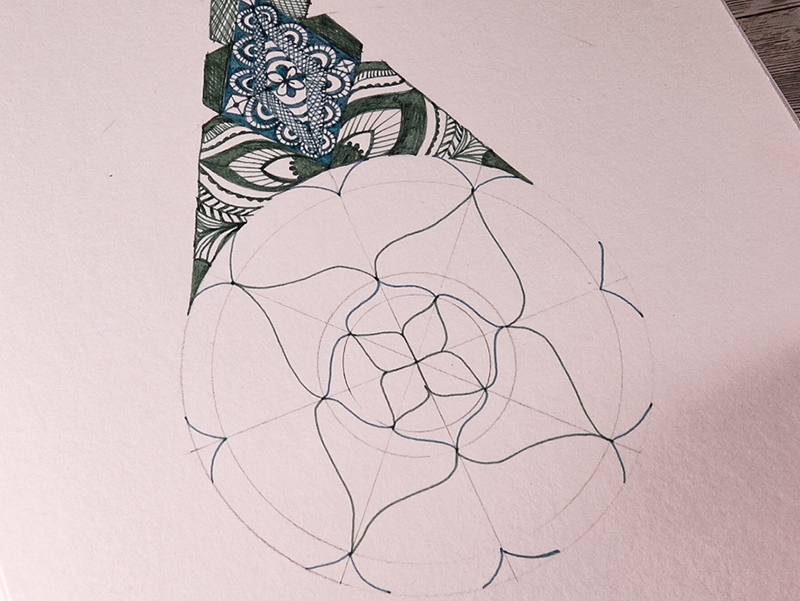
Now you can concentrate on the circular area of your design. By drawing in curves in the edges of your circle as shown you can create a natural flower shape.

Continue using your pencil guides and intersections to draw in petal-like shapes as shown below.
Starting from the centre fill in each section using a combination of solid fill, lines and curves.
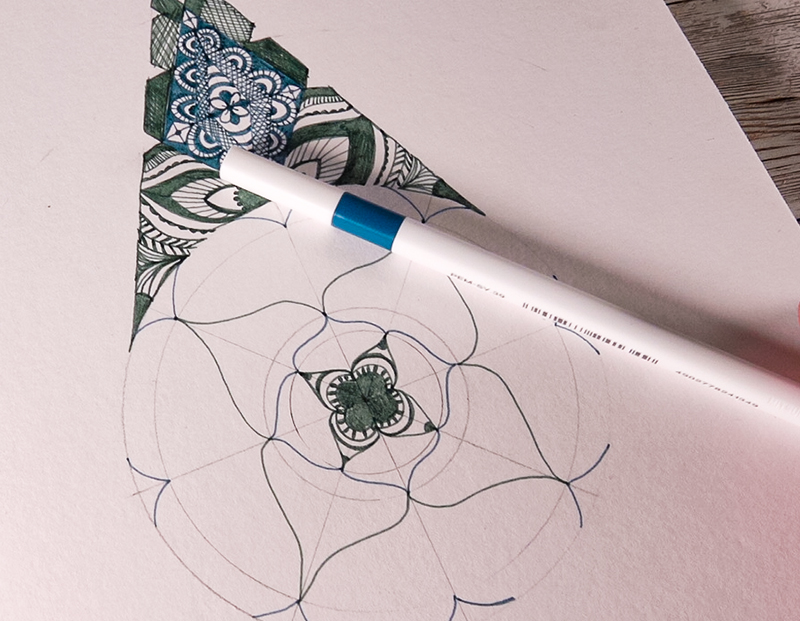
For each ‘row’ change your colour so you can create a lovely sense of rhythm and texture in each section.

Experiment with different mark-making techniques such as scallop-edges, dots and stripes with your EMOTT pens.

Don’t be afraid to be flamboyant with your designs, use your intersections to draw curves and shapes and shapes out – this looks great when you repeat it around the circle.

Now you’ve filled in your shape – you can see how it looks as a whole.
Be inspired
Want some more detail, then take a look at our drawing video to see how we created the feather design for ourselves. If you’d like to explore some more Emott projects, check out this blog post.

