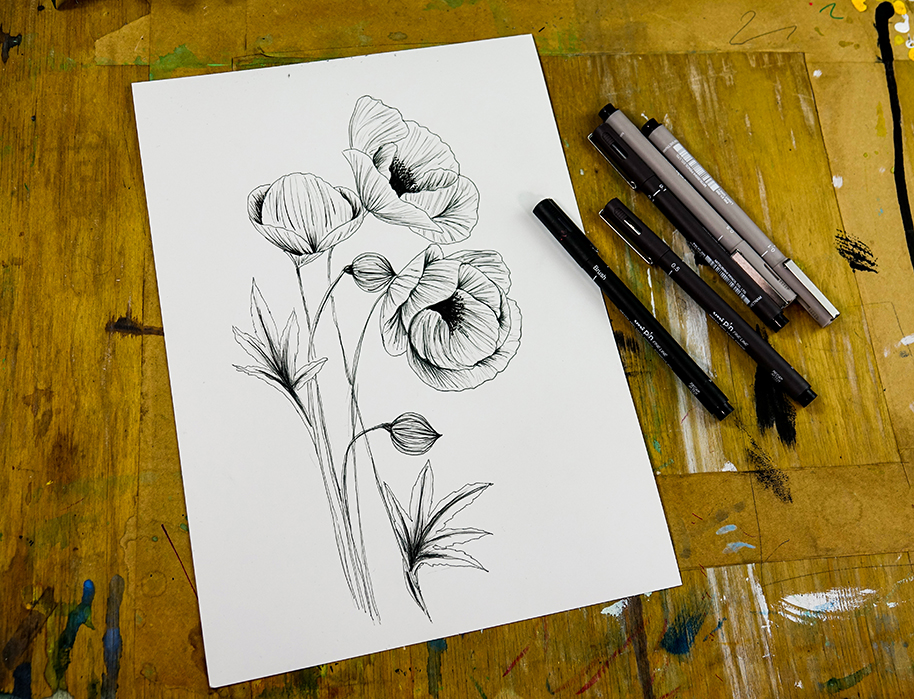
Fancy improving your sketching skills? Here we show you how to create a beautiful poppy drawing using PIN Elegant tones pack.
PIN Elegant Tones
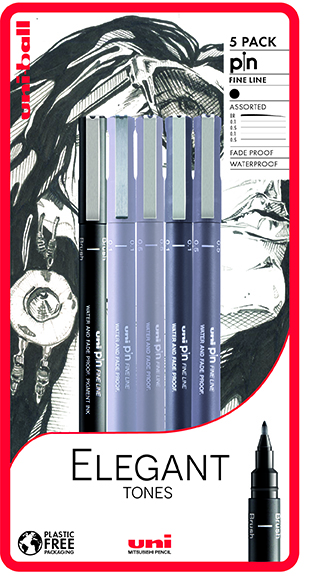
The PIN Elegant Tones five-pen pack features all you need to create artwork in elegant tones. The cool light grey pens are perfect for light strokes and accents. The charcoal-like hues of the dark grey are ideal for adding depth and texture. The PIN’s black brush tip gives you the power to master expressive brush drawing techniques. All nibs are great when shading, stippling, layering, and hatching.
Start with your base
You will need a sketch pad, your PIN Elegant Tones and a pencil with eraser (we’re using our Kuru Toga pencil).
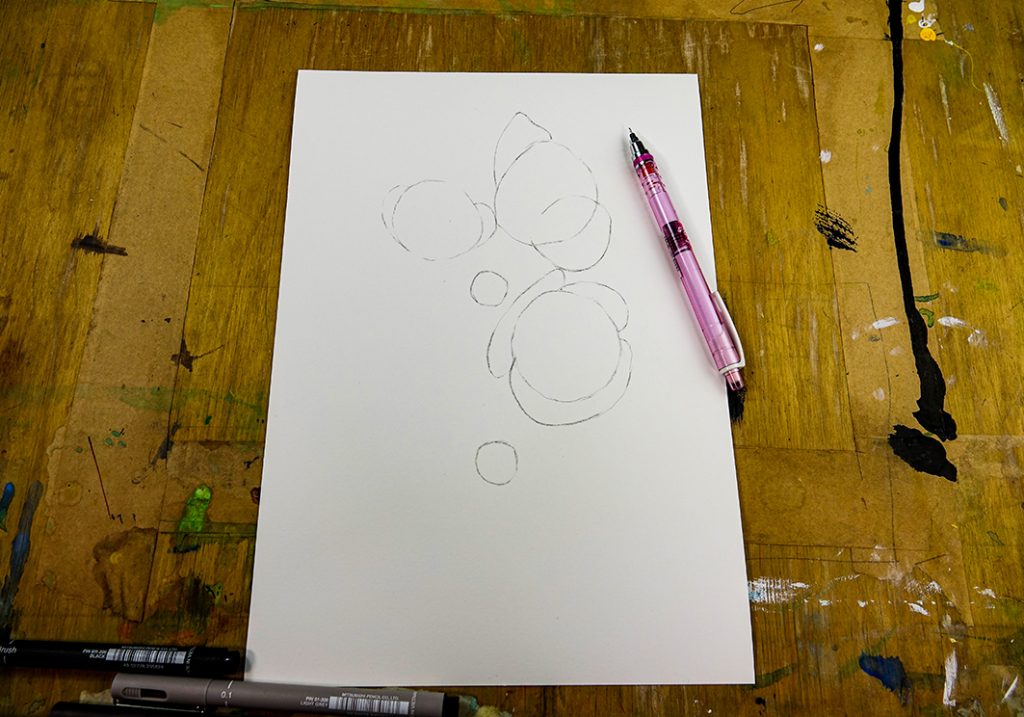
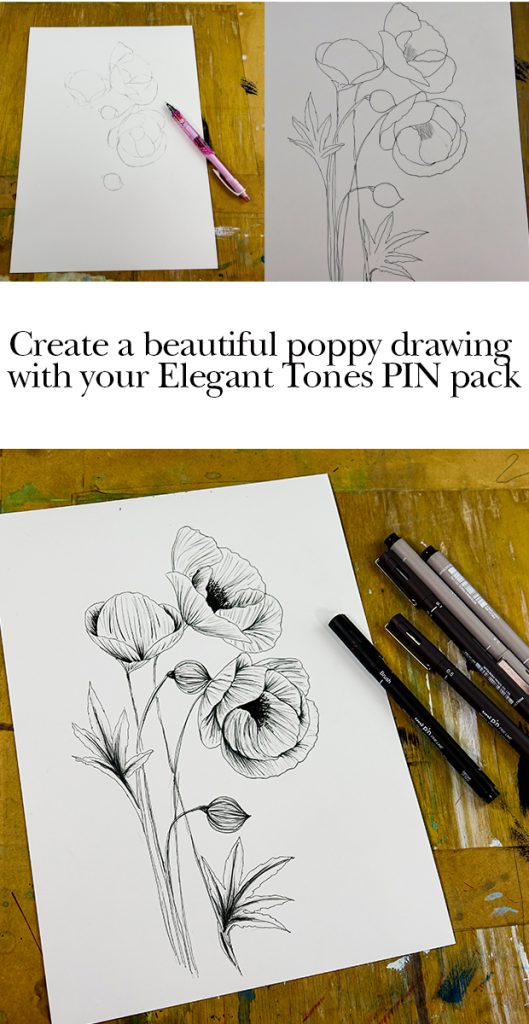
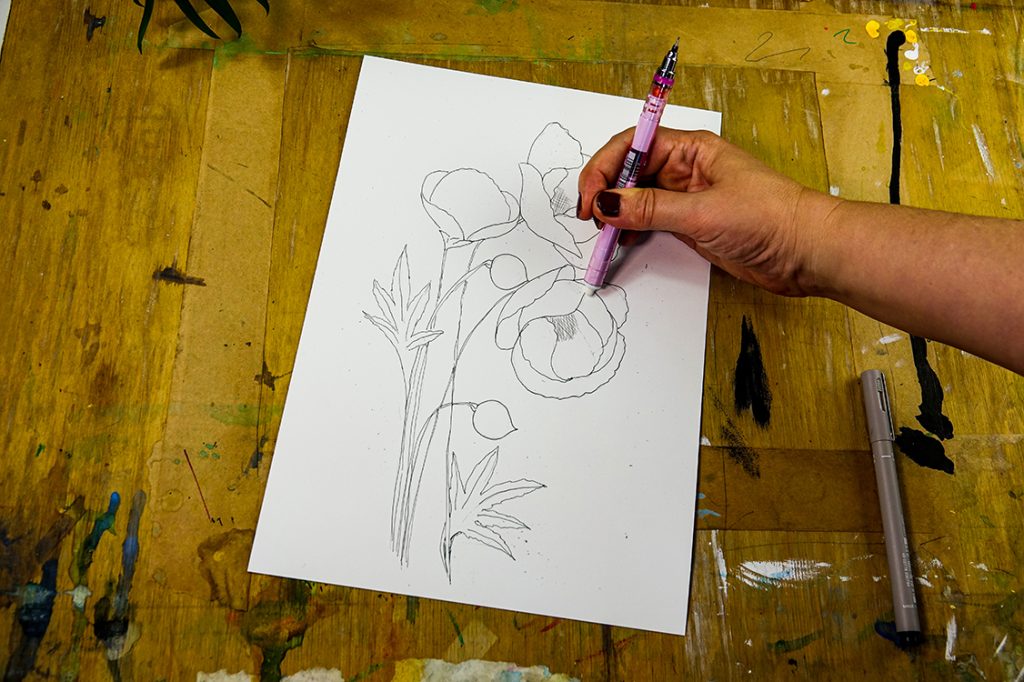
First you’ll start your poppy drawing using PIN Elegant tones pack by making some simple circles and curves with your pencil. Follow the picture above for your reference.
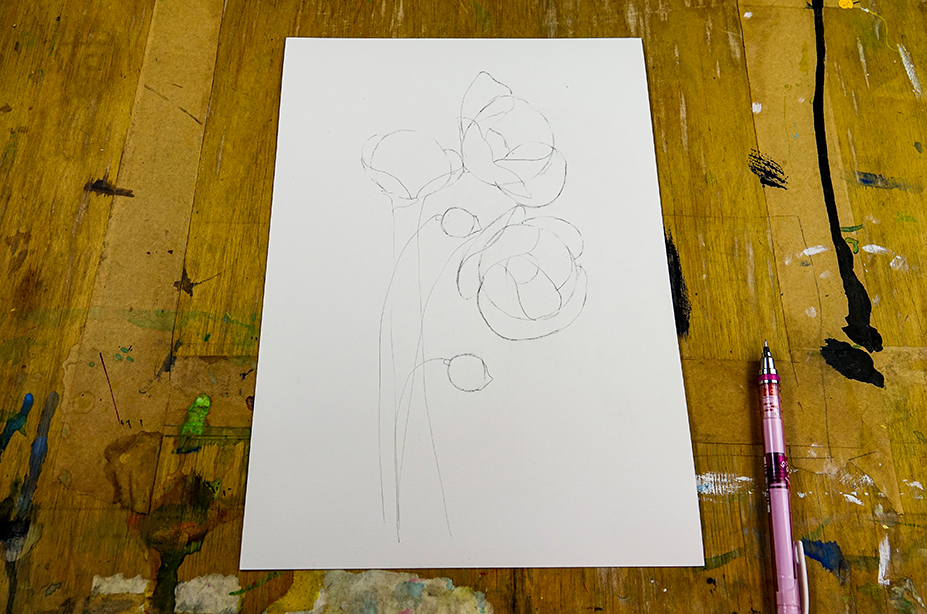
Using the images shown here as a guide, start softening and manipulating your simple shapes by adding angled curved lines and ‘pointed’ tips as seen.
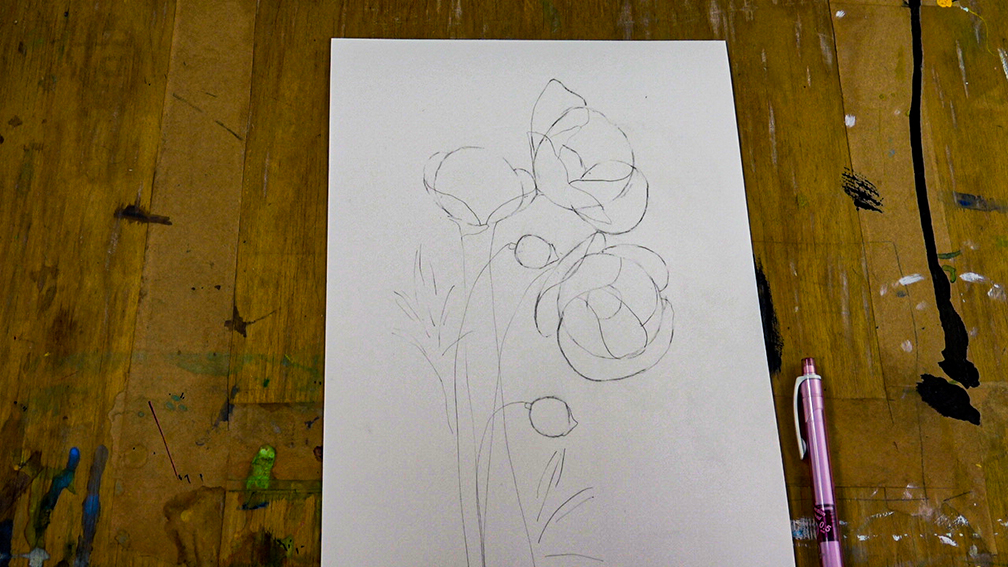
Now, draw in your leaves.
Make your mark
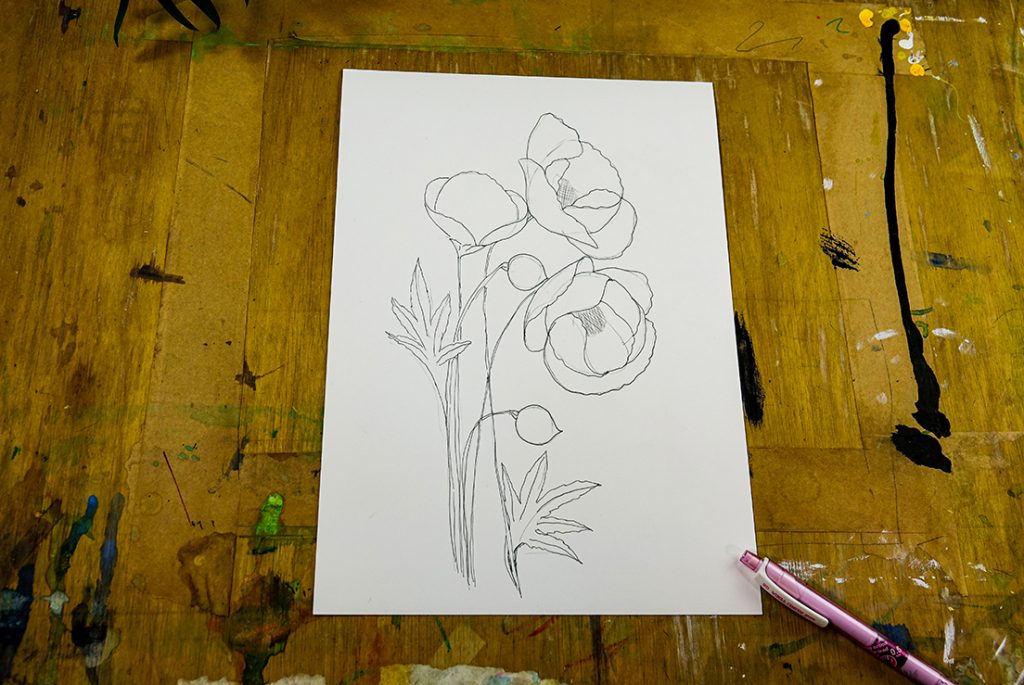
Once you’re happy with the general look and feel, you can use your 0.1 dark grey pen to draw the outline of our poppy shades. You can use your rubber to erase your pencil guide lines. Again, use our pictures shown here as a guide to help you.
Fill in the details
You can now have fun building your your poppy drawing using PIN Elegant tones. So grab your PIN pens and get going!
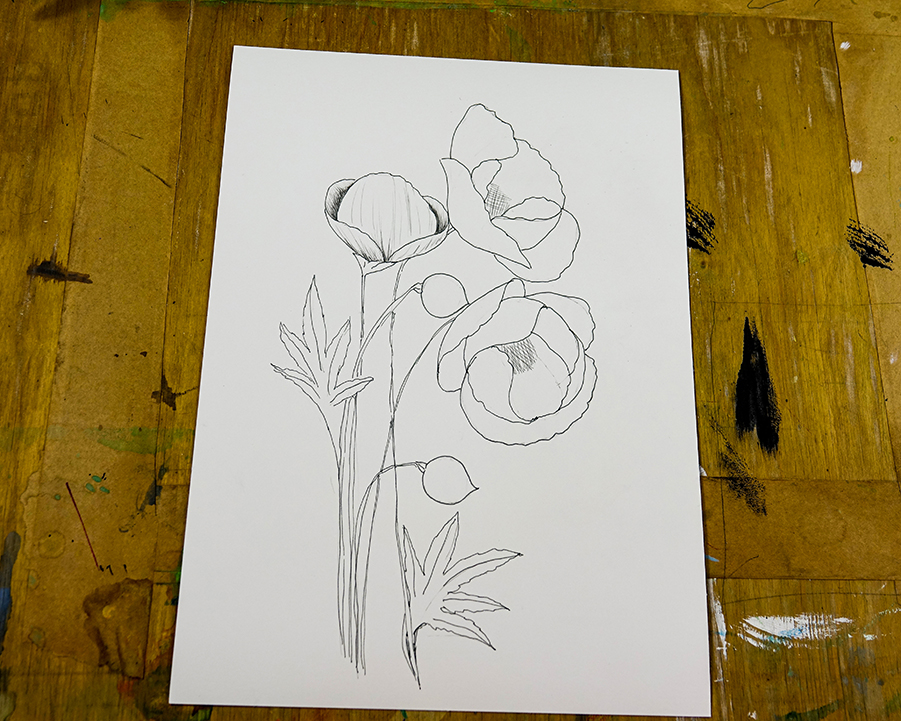
Start with your light grey PIN pens, adding shade and subtle lines and creases in your petals. Use 0.1 pens for your delicate details. For larger shading areas and gentle definition employ your 0.5 PIN.
Keep layering
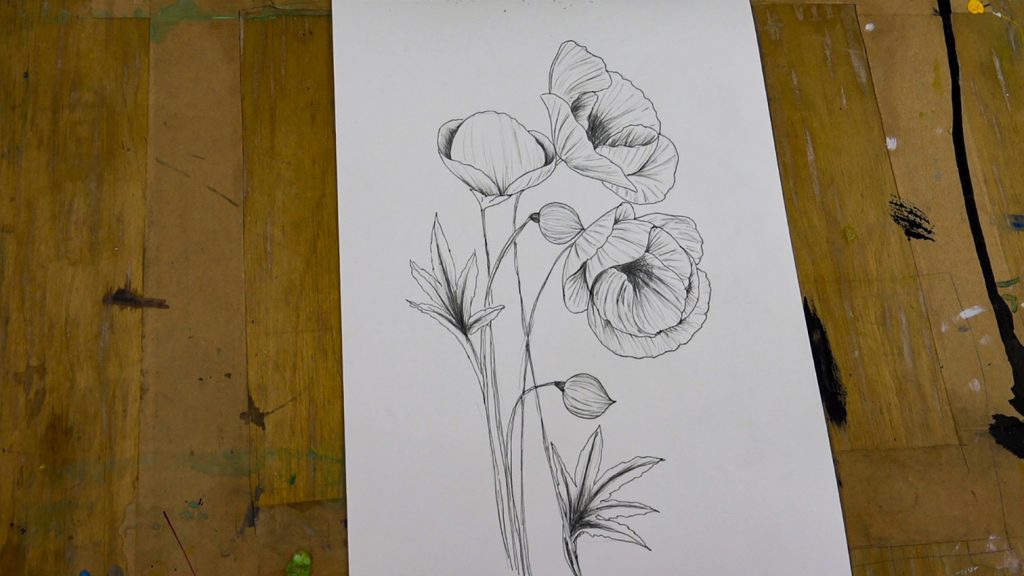
Build your layers of detail and define your shapes and details with the dark grey PIN pen. Create fine strokes with your 0.1 and stronger lines with the 0.5.
Create a focus
Keep building your foundations with the grey pens, this will result in an elegant, pretty composition. When you are happy with the overall illustration you can add some further interest with your black Brush tip PIN.
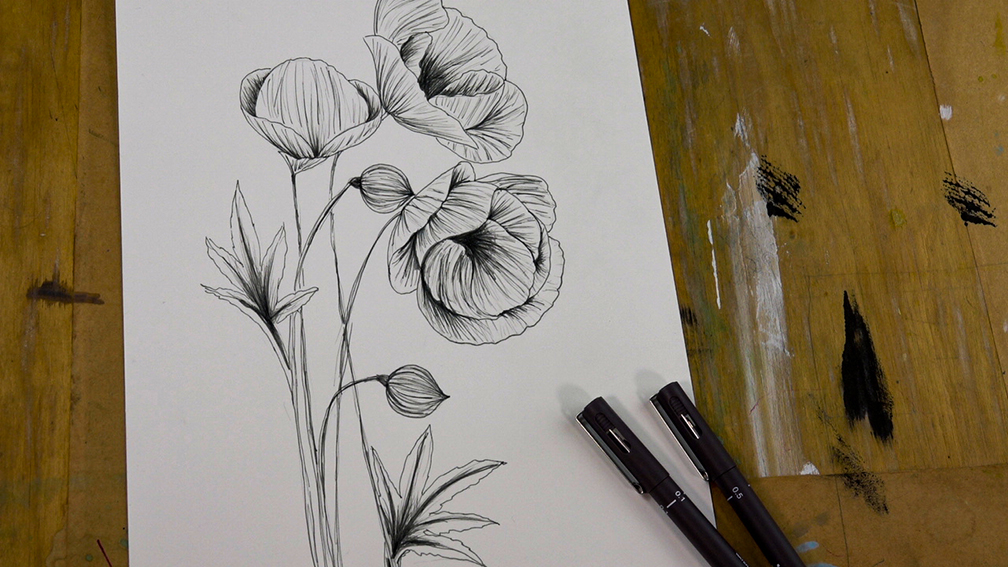
We have sparing added beautiful black brush strokes to simply emphasise the shape of each petal. Then we applied the Brush pen in centre of each flower to increase the intensity and give the flowers a focus. Because the Brush pen is so adaptable with have used the very tip of the pen to create fine lines. Hold the pen at an angle to create thicker more expressive marks.
See how we did it
While we hope this picture guide has been helpful, you can see how we created this drawing for yourself on our YouTube page where there is also a range of other PIN pen tutorials.
