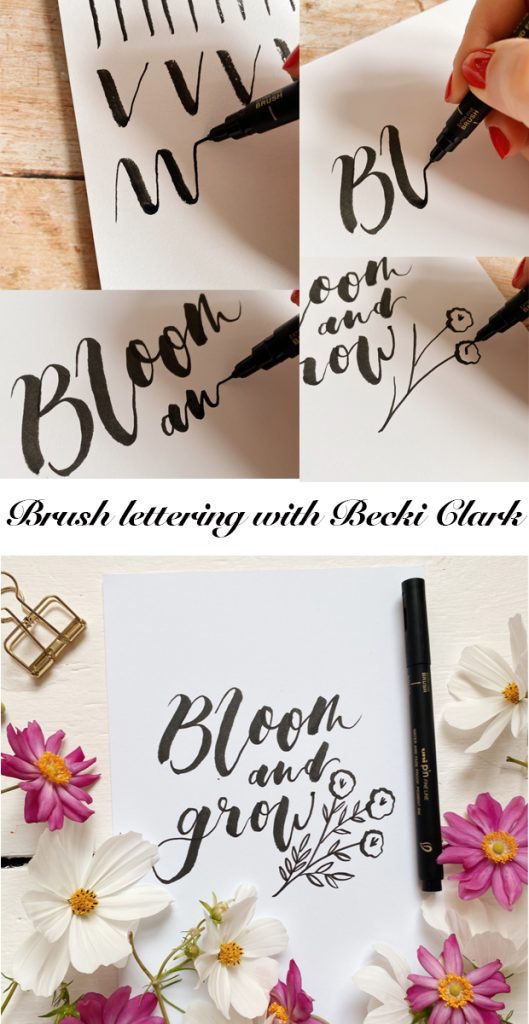
Here Becki Clark shows you how make your own brush script prints with our new PIN Extra Fine Brush pen.
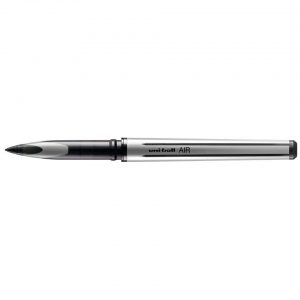
The new PIN Extra Fine brush game changer when it comes to brush lettering. It’s fab for drawing too. You can use it as an elegant fine art pen and delicate brush script tool.
It’s a real treat for us to have Becki’s expertise here as she is a renowned workshop leader. And you’re getting this tutorial for free!
About Becki
Becki is a creative designer inspired by nature. She has written two seasonally inspired craft books, Modern Brush Lettering and Paint, Make, Create.
Her artistic talents and passion for seasonal living and crafting is shared in her sell-out creative workshops, kits and PR events.
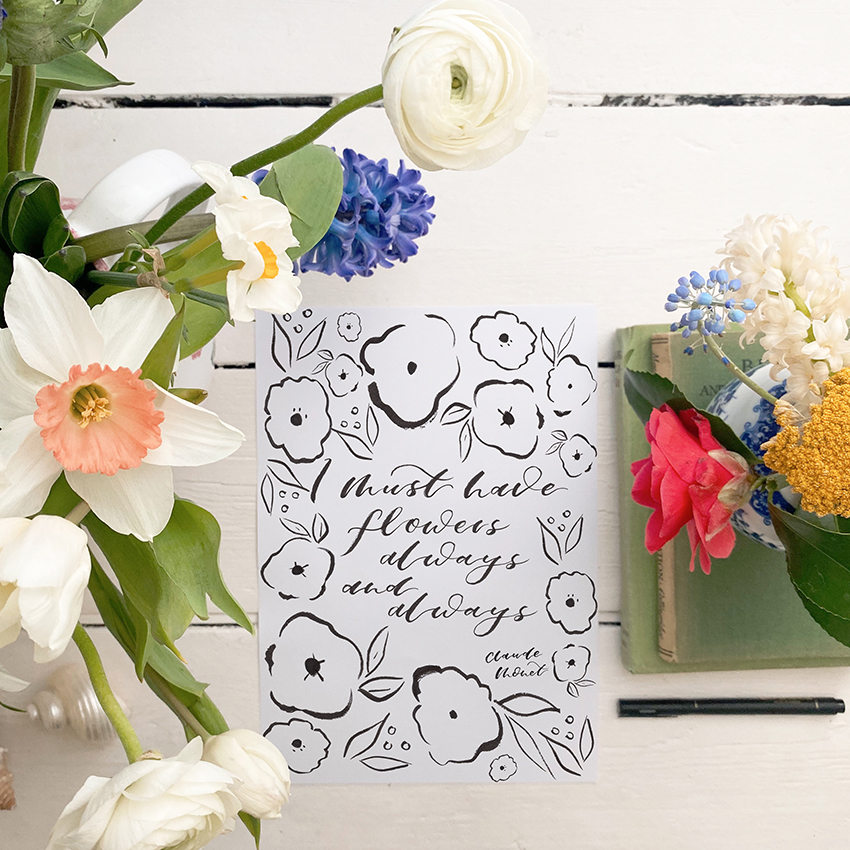
Becki’s has provided the artwork for uni-ball’s new PIN Extra Fine brush pack. Her signature painterly style lends itself to a vast range of projects from illustration and surface pattern design to craft projects and prop making.
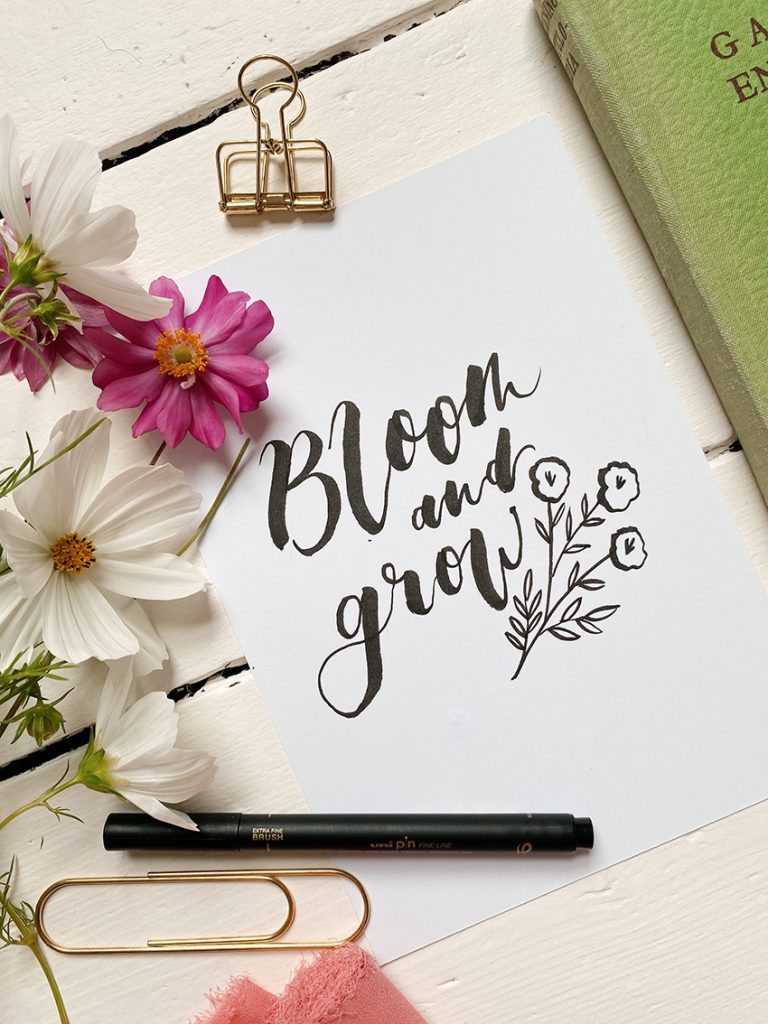
Here she’s showing you how to recreate her style and make your own brush script prints in this easy step by step. So let’s hand over to Becki…
Get your kit together
To make your own brush script prints you will need…
- Sketchpad to practice
- Uni Ball extra fine brush pen
- A5 300GSM Smooth card
Practice makes perfect
Brush lettering is all about a contrast in stroke thicknesses. So explore creating various strokes by practicing mark making with your pen.

Begin with some thick strokes downwards. Hold your pen slightly to the side and applying pressure as you push the pen downwards.
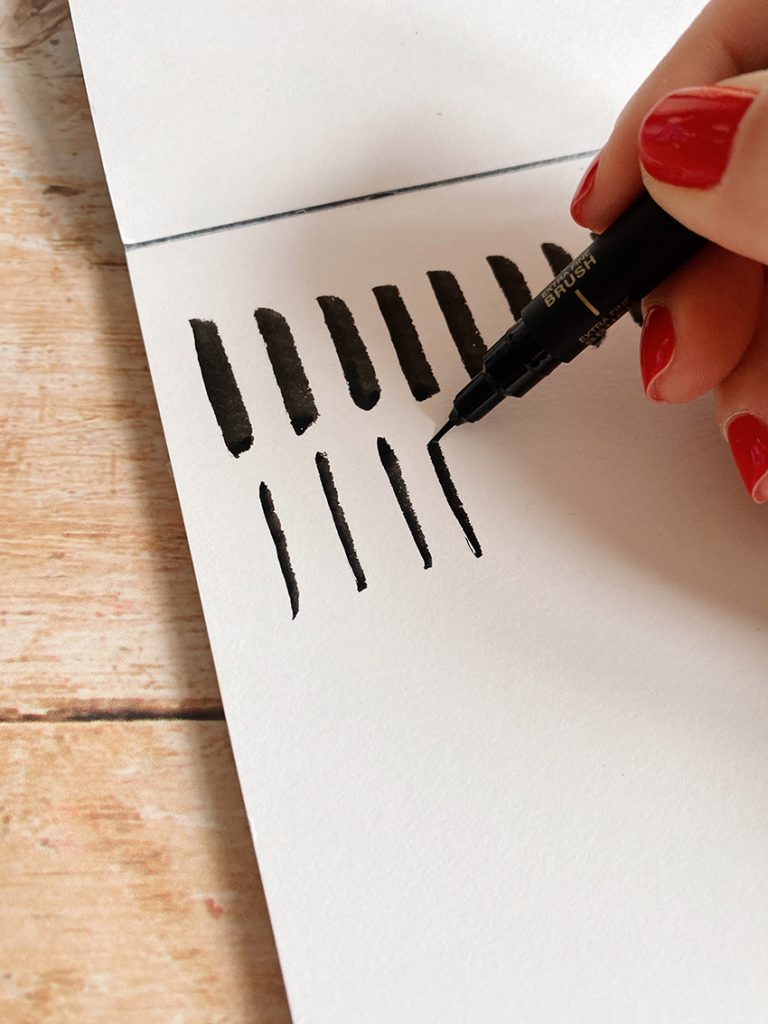
For the next mark you can try drawing thinner lines upwards, so applying less pressure as you pull the pen upwards.
Now try combining these strokes by creating a v shape. Push down on the downward stroke and release the pressure for the upward stroke. This results in a combination of thickness’s within the mark.
Evolve your design and gain confidence by creating a continuous line with your marks working from thick to thin strokes. Do this by applying and reducing pressure.
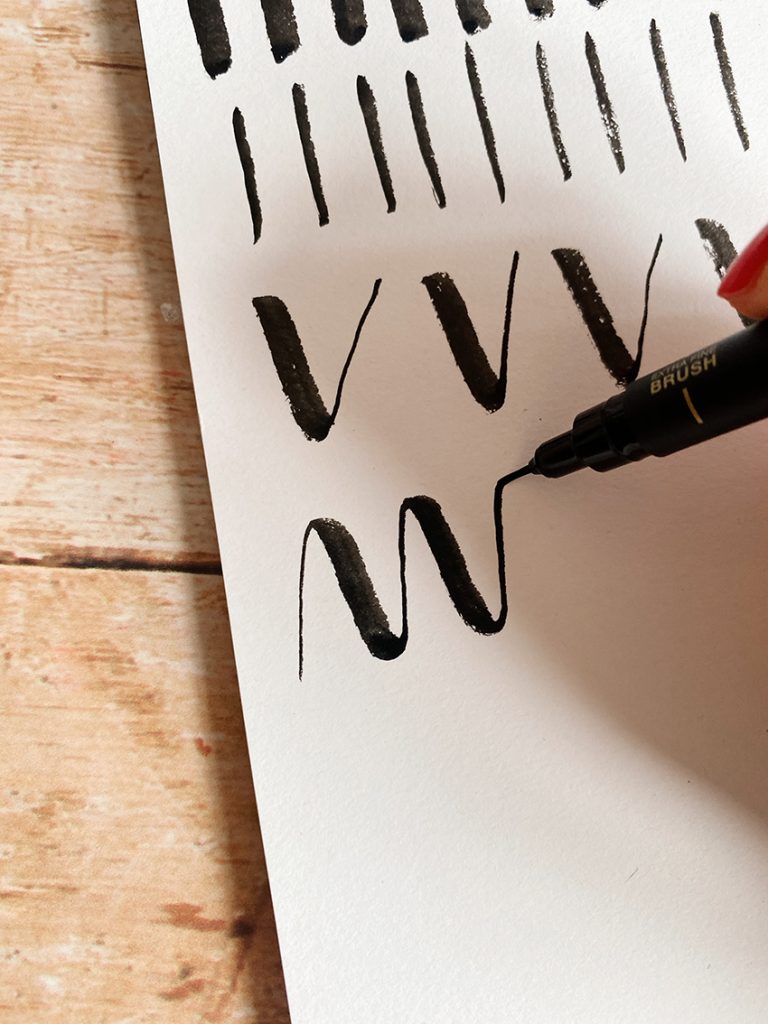
Mark making will help get you used to applying different pressures and the transitions between the thick and thin lines. Once you feel confident it’s time to brush letter your first phrase.
Start your first print

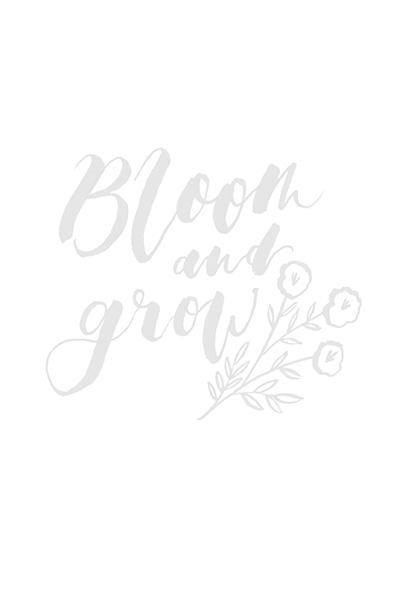
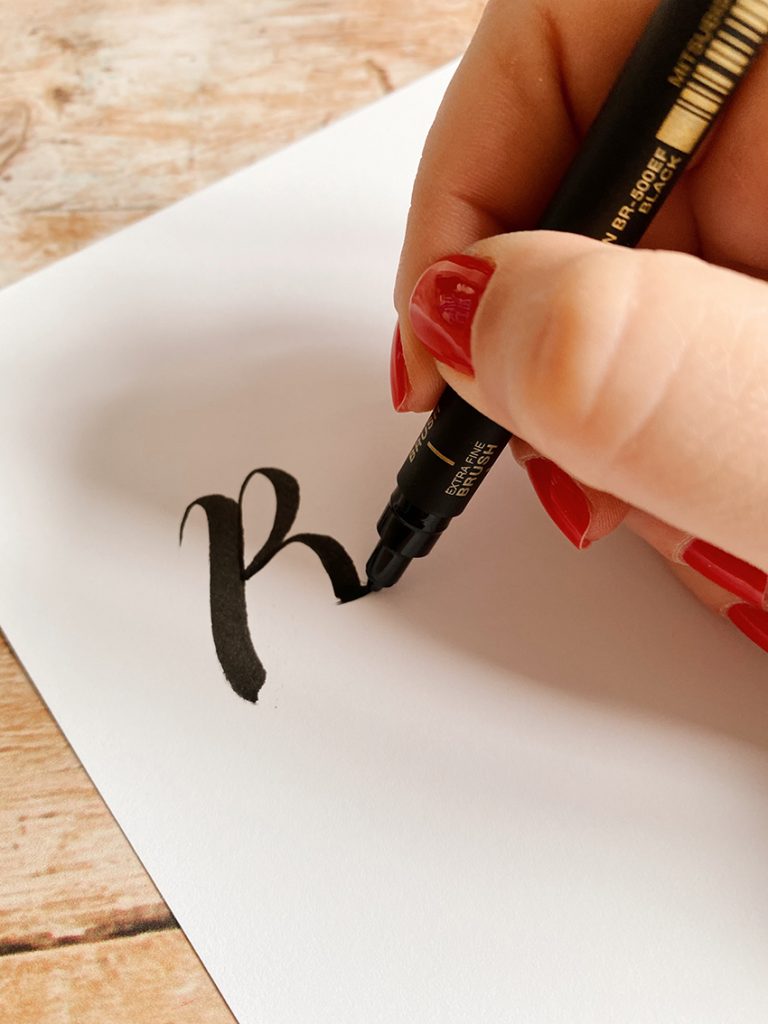
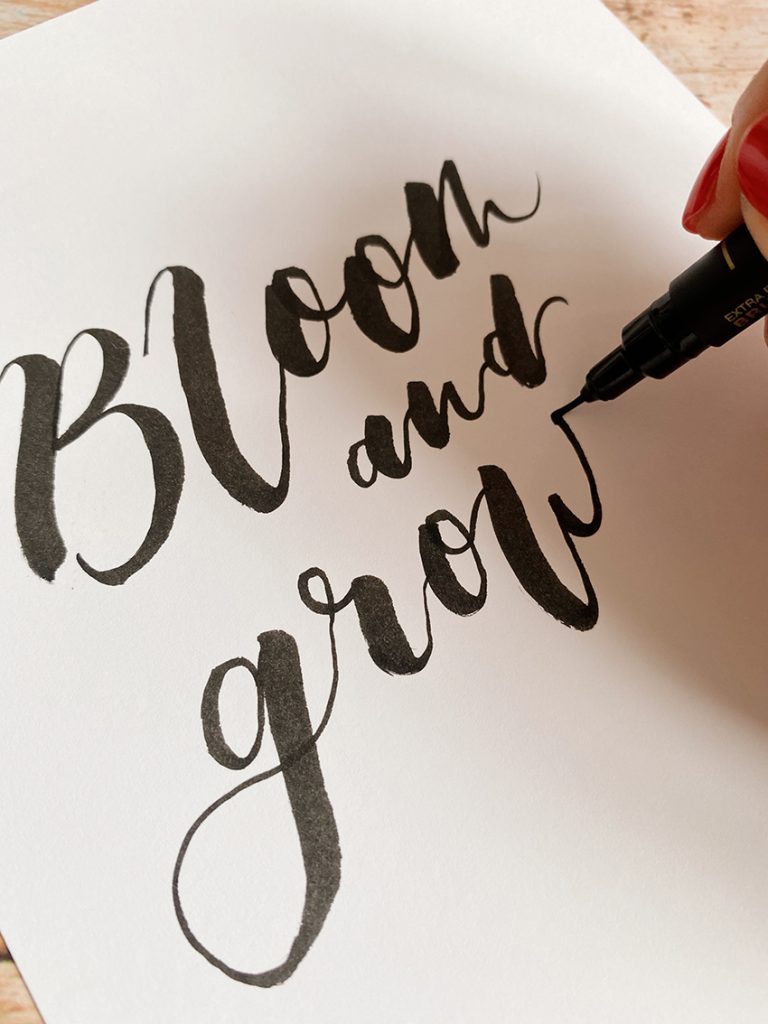
Begin with a nice thick line downwards to start off your capital B. I’d recommend taking your pen off the page between strokes and breaking down your lettering into small marks as you work through the word Bloom.
You can see on each letter I have a mix of thin and thick lines making up the letter form.
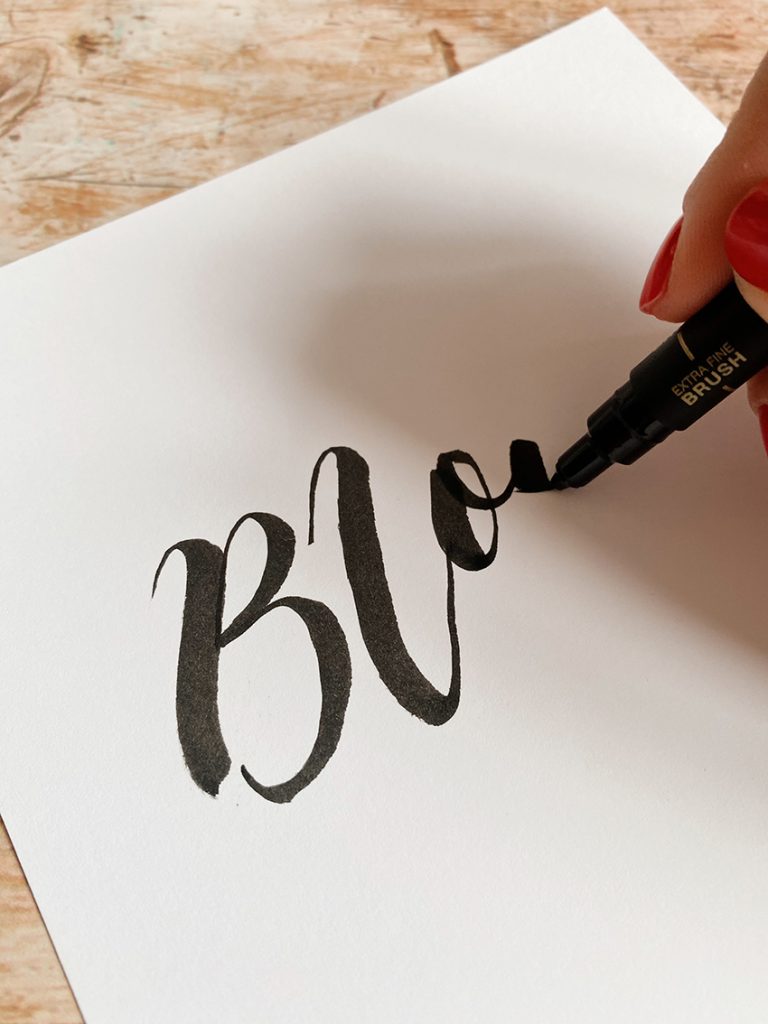
Mix between the size of your lettering when brush lettering prints to give the design interest, I’m using the same technique of mixing between thick and thin strokes but smaller so the and sits under the bloom slightly to the right.

When lettering grow try and line it up with the start of the word underneath the capital B of the bloom. Remember to mix from thick to thin strokes in each of your letters as illustrated.
Add a floral flourish
Now let’s start some brush drawing with your PIN Extra Fine Brush.
Add a floral flourish by drawing thin branch lines below the grow and added in wavy circular shapes at the top of the lines to create your floral shapes.
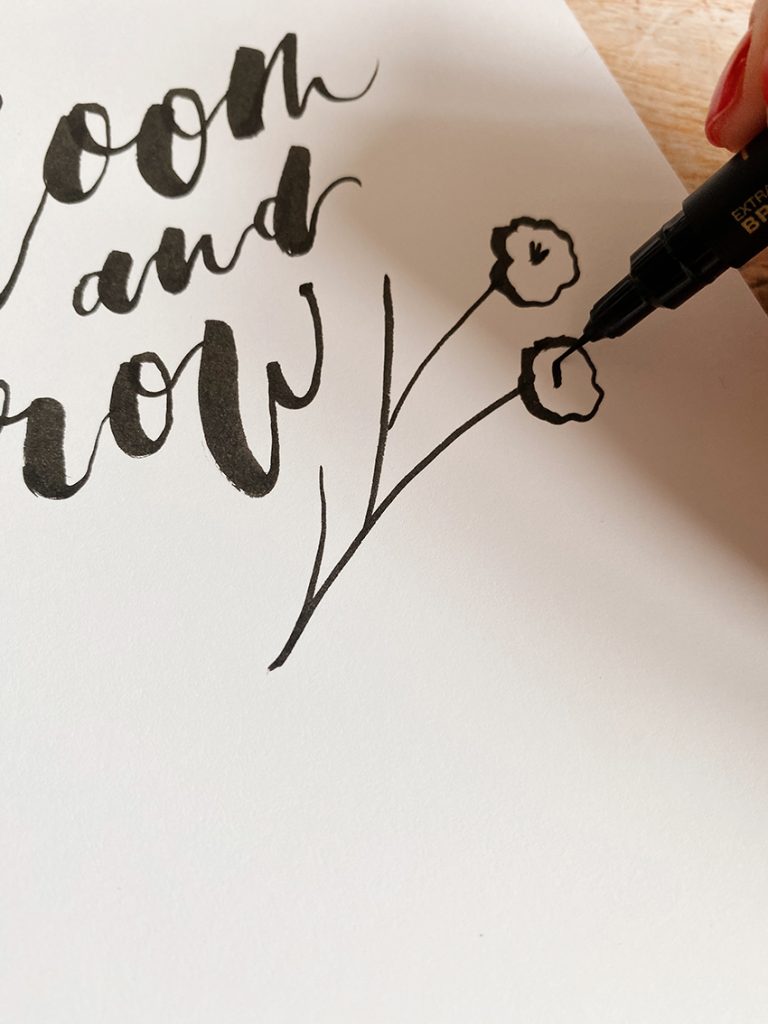
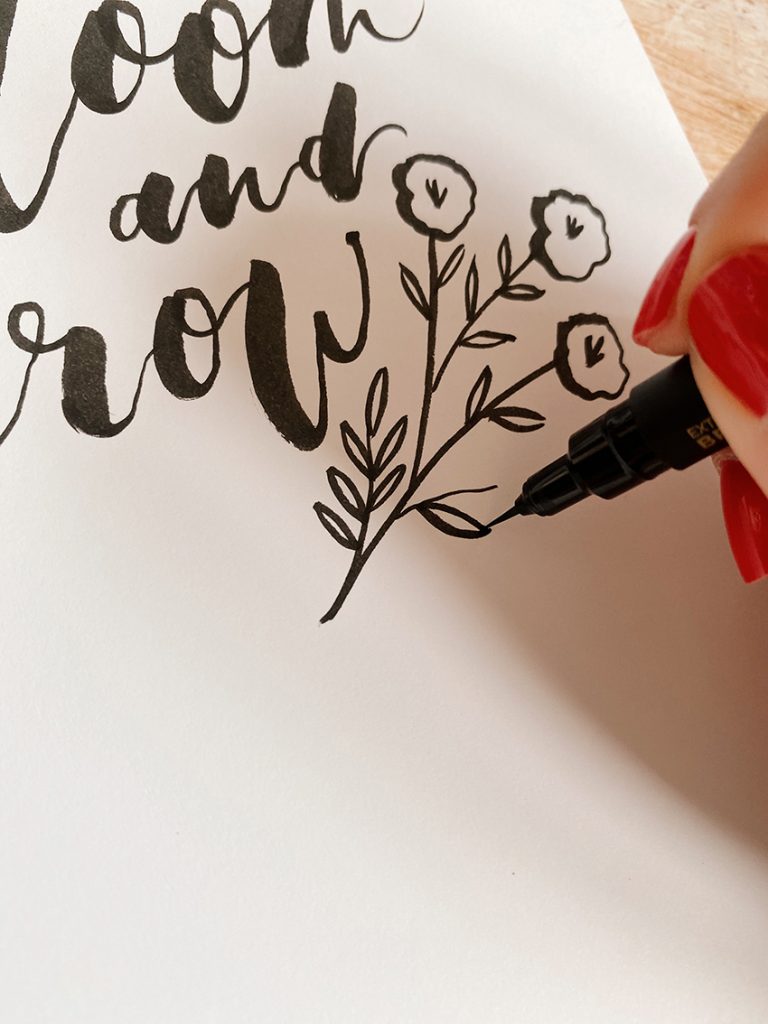
Create three thin lines to the centre of the flower and repeat to create more flowers along the stems. Add in your leaf shapes by drawing elongated ovals that join at the point.
Bloom and grow!
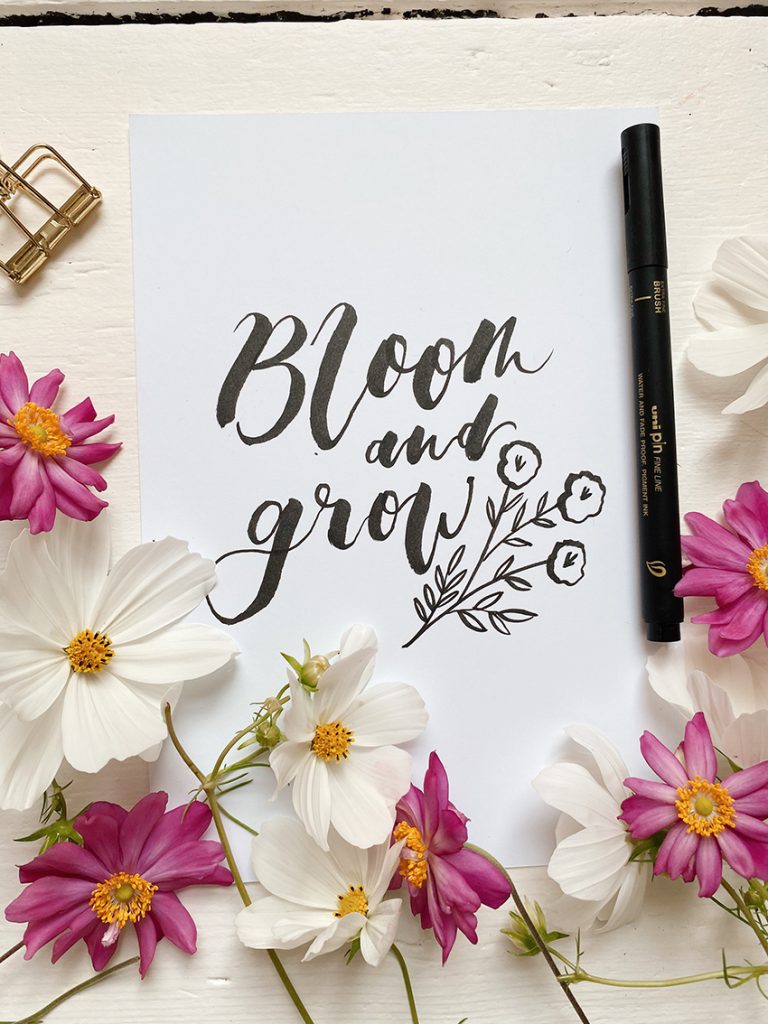
Your finished print should look something like the image below.
Let’s do another one!
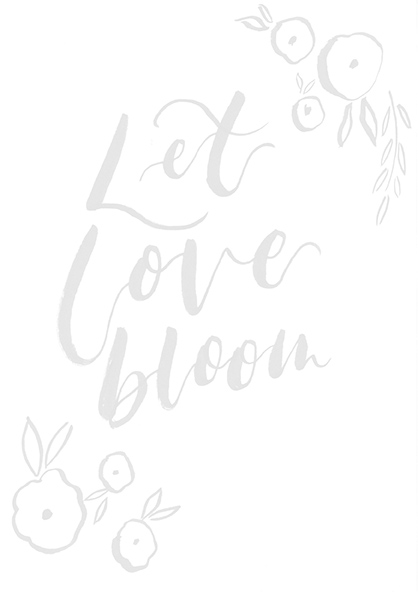
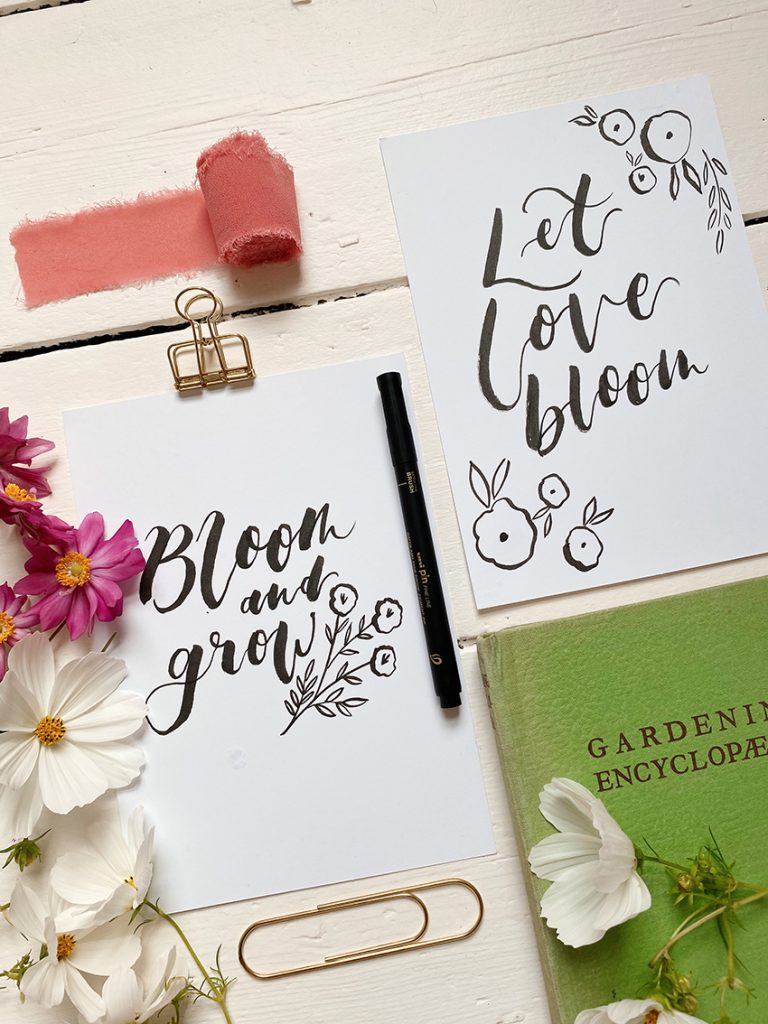
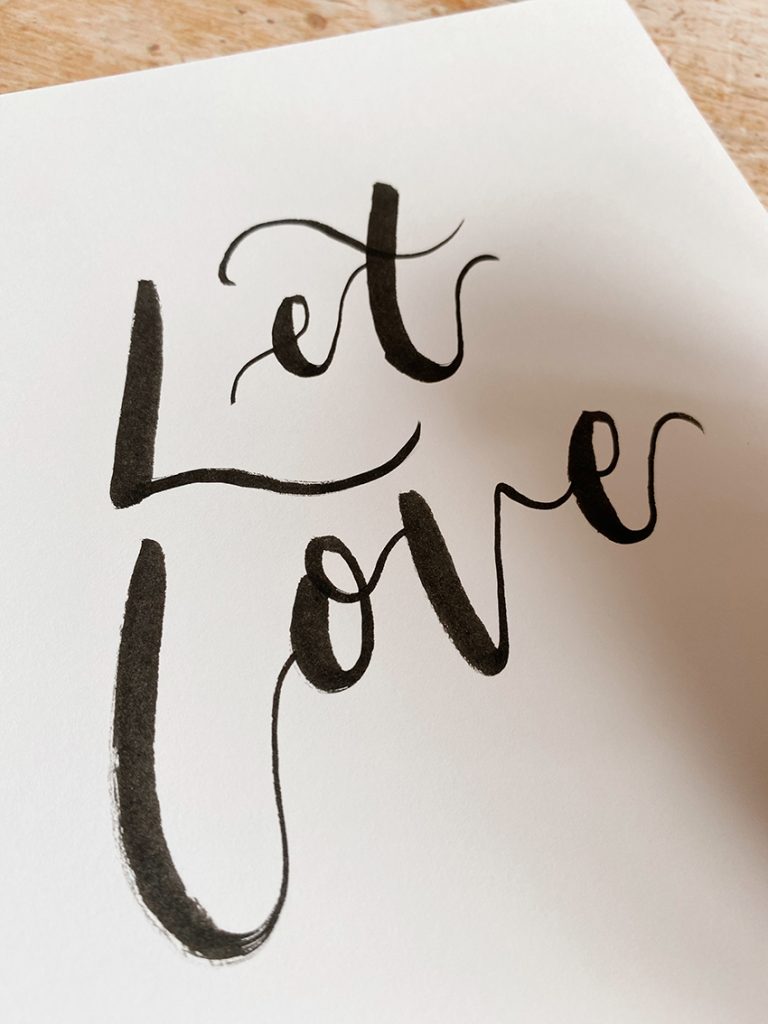
For your next brush script print I have started in the middle at the top for the first word Let, again you can see each letter has a mix of stokes.

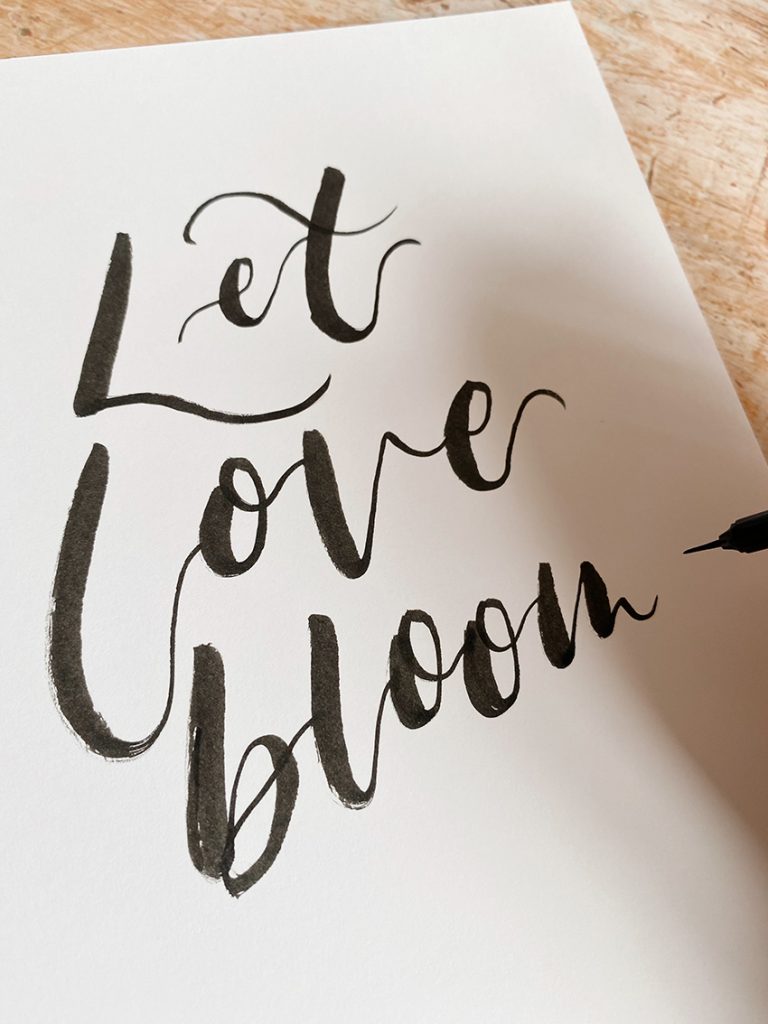
Love sits directly underneath the Let and central in the A5 card.
Letter-in bloom to fit underneath the love so it almost jigsaws together with the other lettering. The more you practice this the more confident you will be designing your text together.
Get drawing!
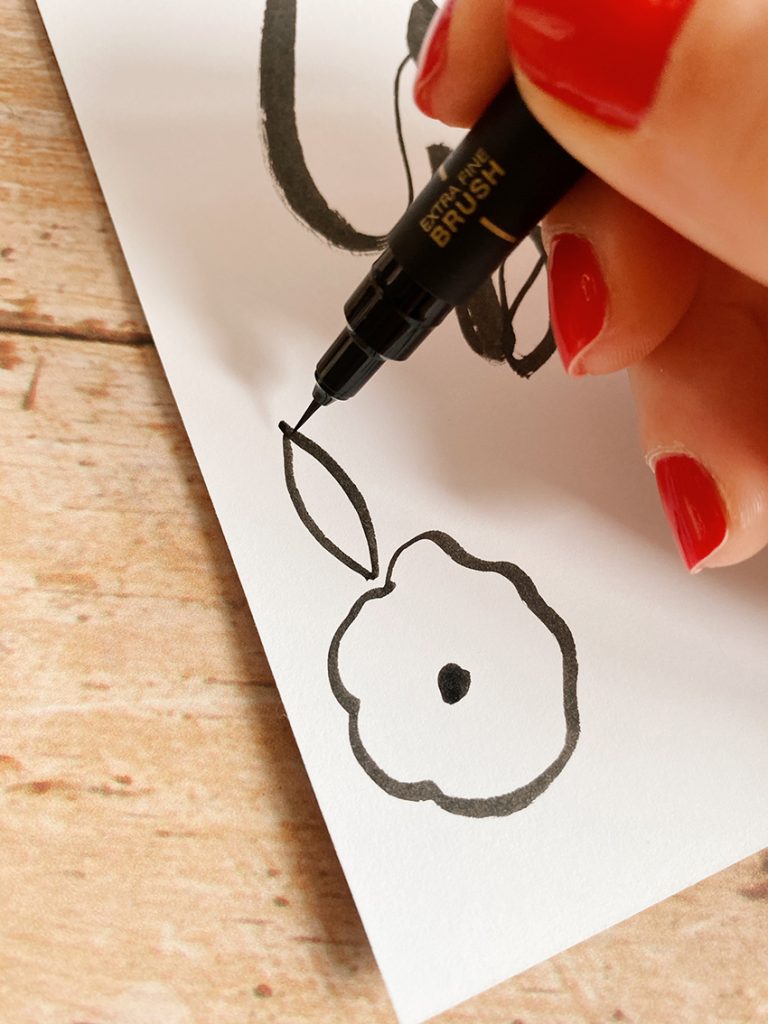
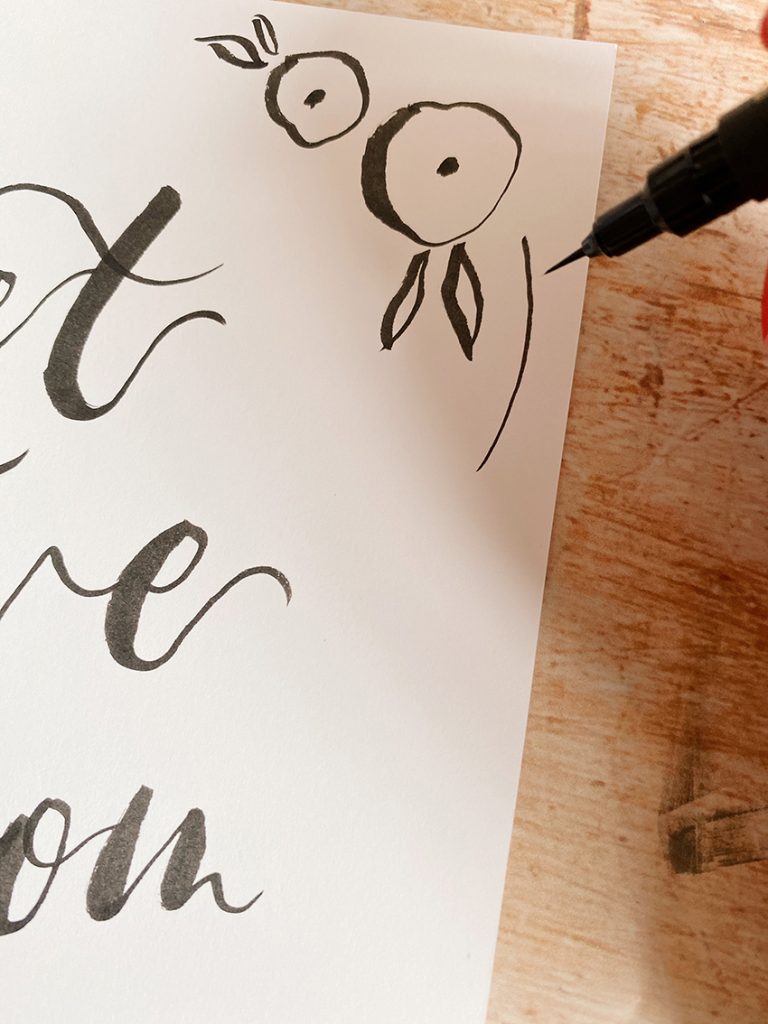
Add in floral shapes made up of waved circular shapes with small dots in the middle and leaf shapes working out from the floral. Repeat this to create a border of floral illustrative elements.
A helping hand
Templates have been provided below for you to practice over to get used to creating brush lettering. To download, simply right click (or control click) and save to desktop, then you can print and trace.
