We’ve got a real treat for you today – with a guest post featuring drawing and hand-lettering PIN tips from Art by NZ.
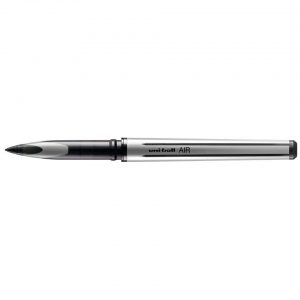
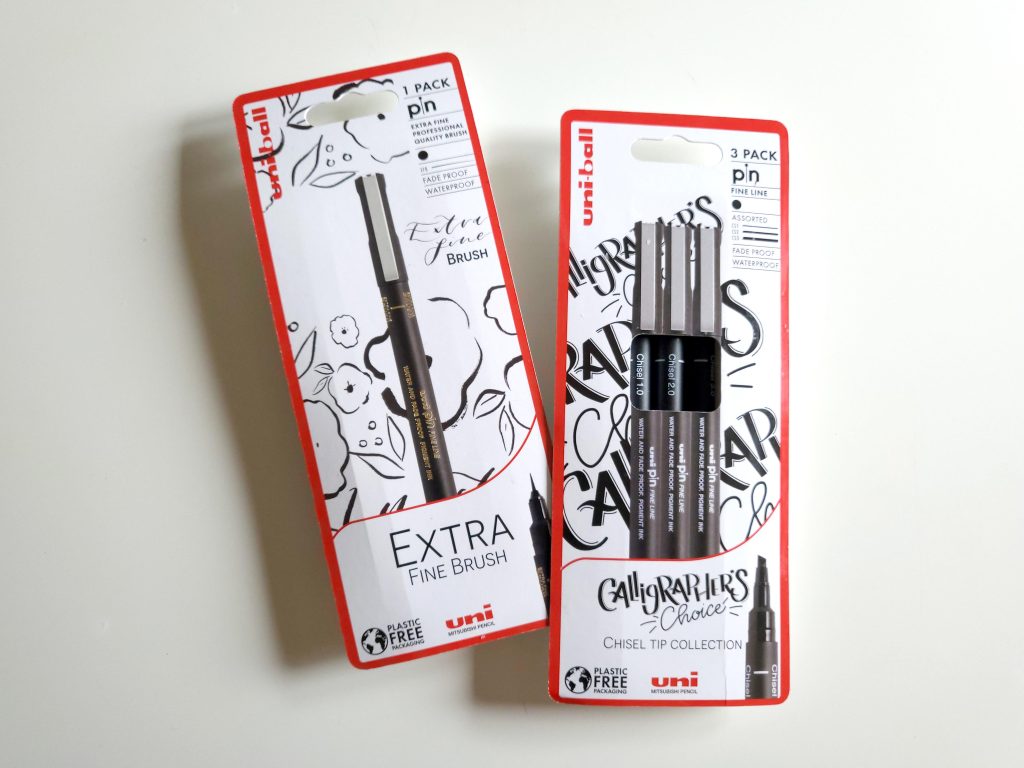
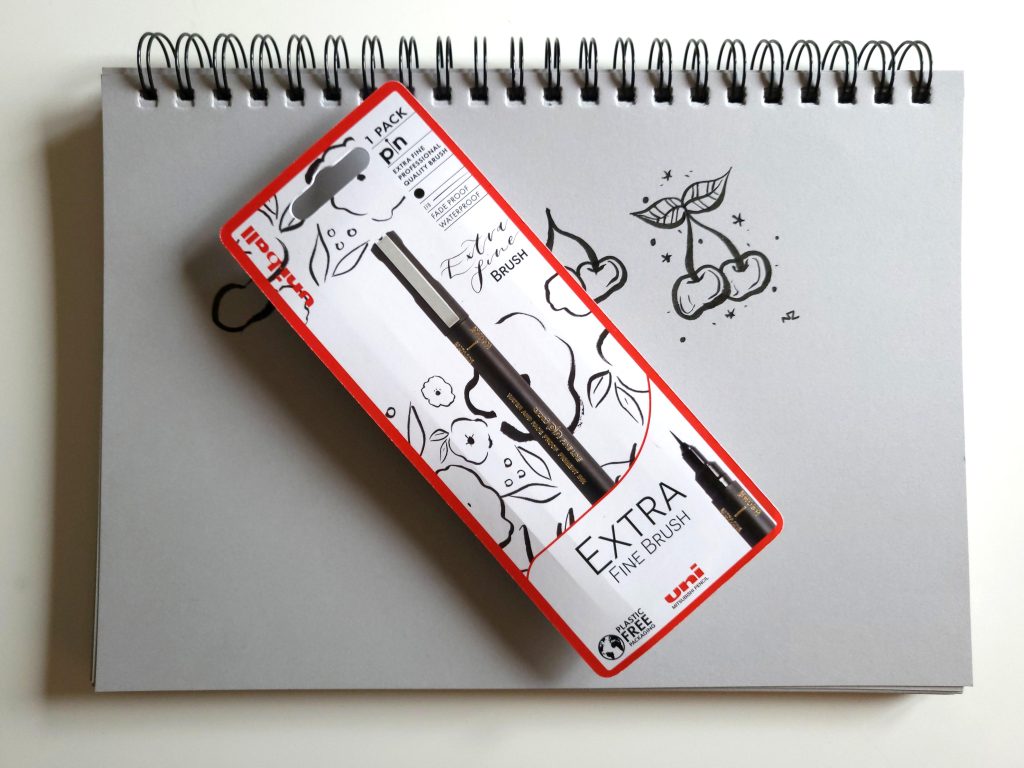
I’m NZ (Natasha Zelen Forrest) and in this blog I’m going to be using the brand new uni-ball Pin chisel tip pens and the uni-ball pin extra fine brush pen. I found these pens very versatile for my old school art style.
Draw beautiful cherries
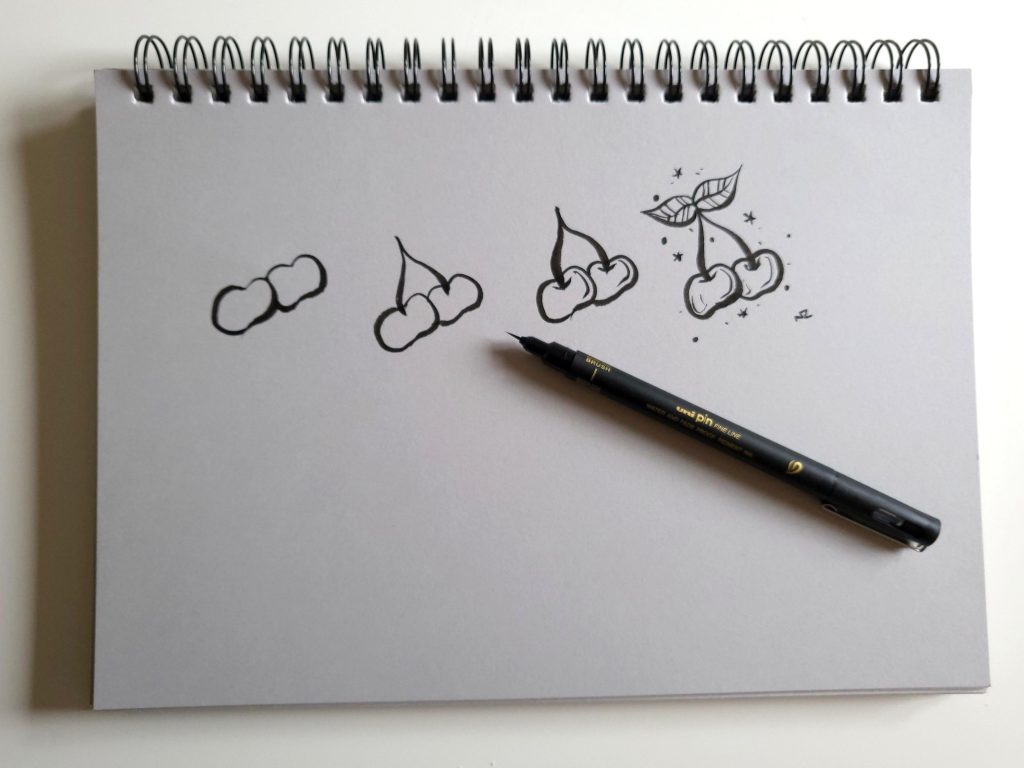
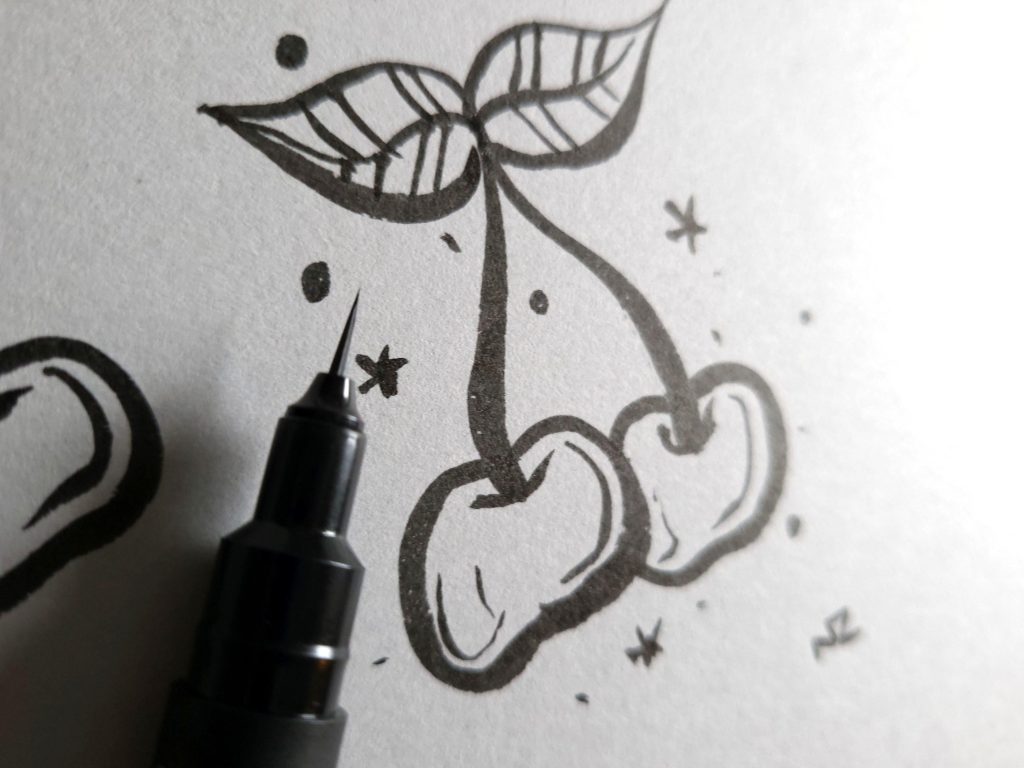
Let’s start off with one of my favourite staple doodles, the cherries! In this illustration I have drawn them in stages for you, so you can have a go yourself! I used the extra fine brush pen for this whole drawing. For me, this gave it a more stylised feel, which I love. The fine brush pen gave me lovely fluid lines and nice control over my drawing.
Draft lightning bolts
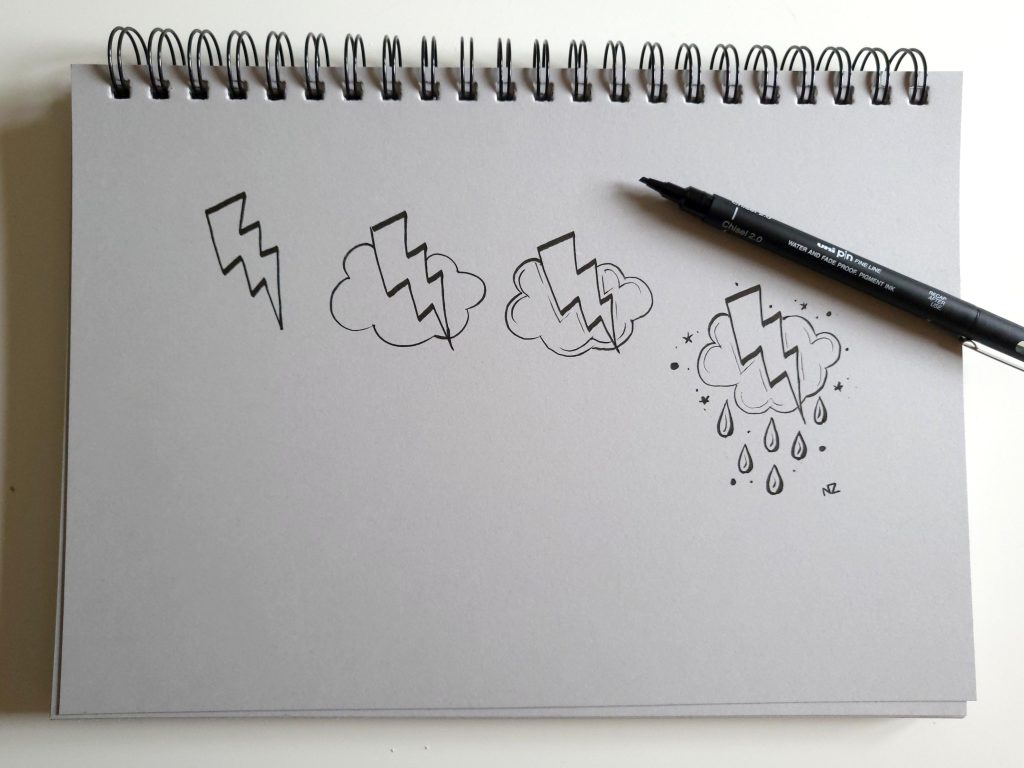
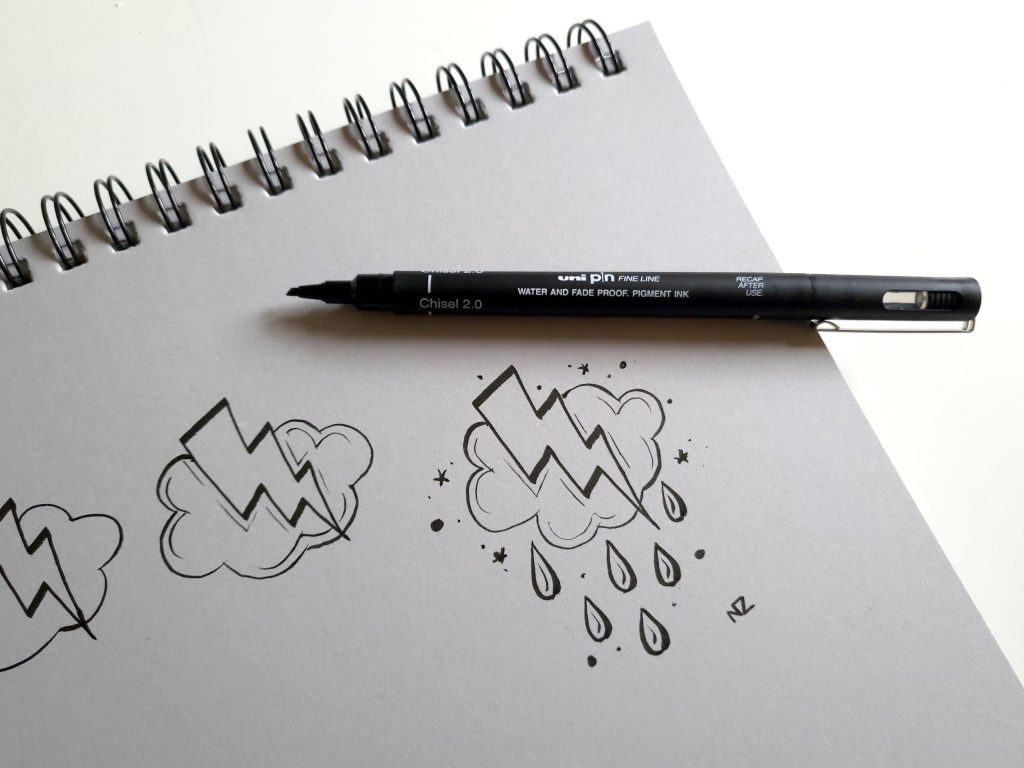
Next I moved onto another favourite of mine, the lightning bolt! If you want to try this yourself, start with the bolt then add the clouds and rain drops in the background.
I used the chisel 2.0mm to create the bold lines on the lightning bolt and for everything else I used the fine brush pen. It’s perfect for adding little details around your drawings as you can create very thin lines.
Try hand-lettering with PIN
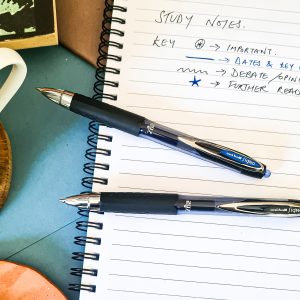
In the next illustration I have used the 3.0mm chisel to create my bold old school lettering. I also used the 1.0mm chisel to add some fine lines inside the lettering.
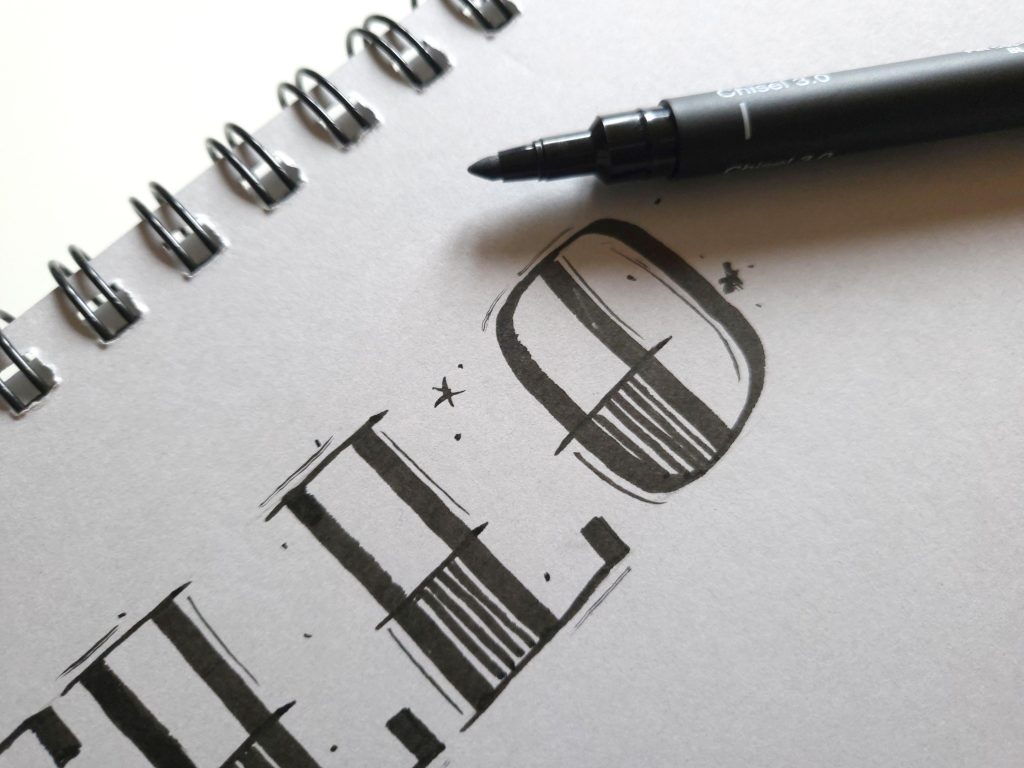
If you don’t feel confident enough to try this style of lettering, try practicing first on lined paper.
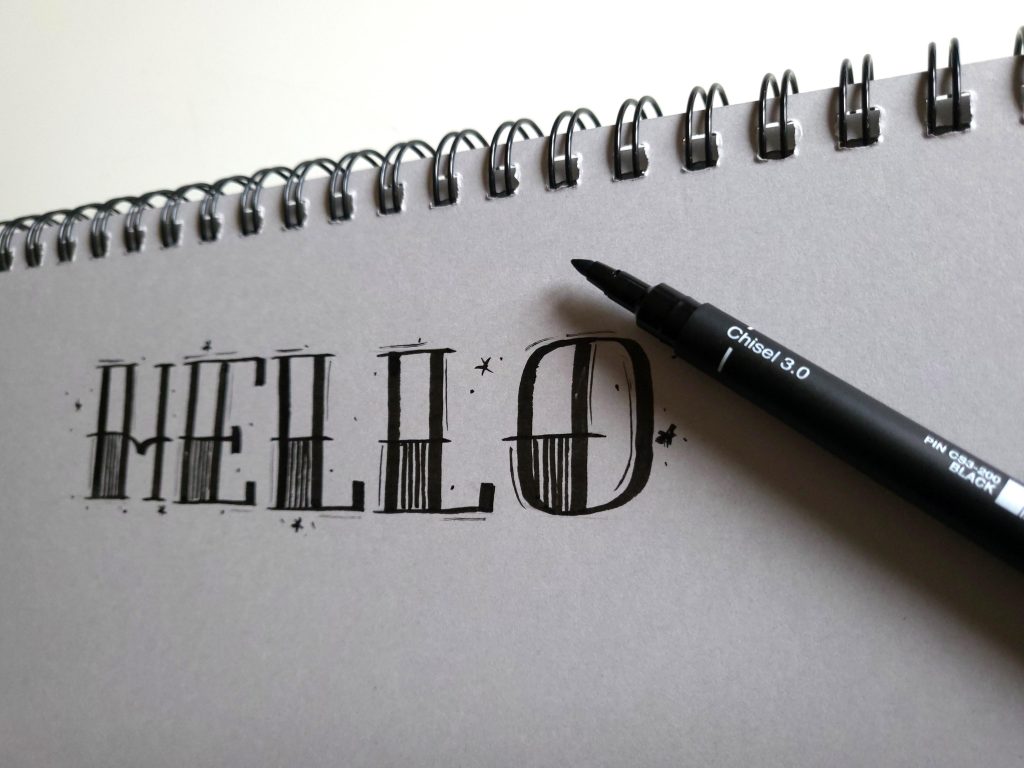
I promise you it’s easier than it looks and the chisel tips are great for creating the solid straight lines in this lettering.
Start scrolling!
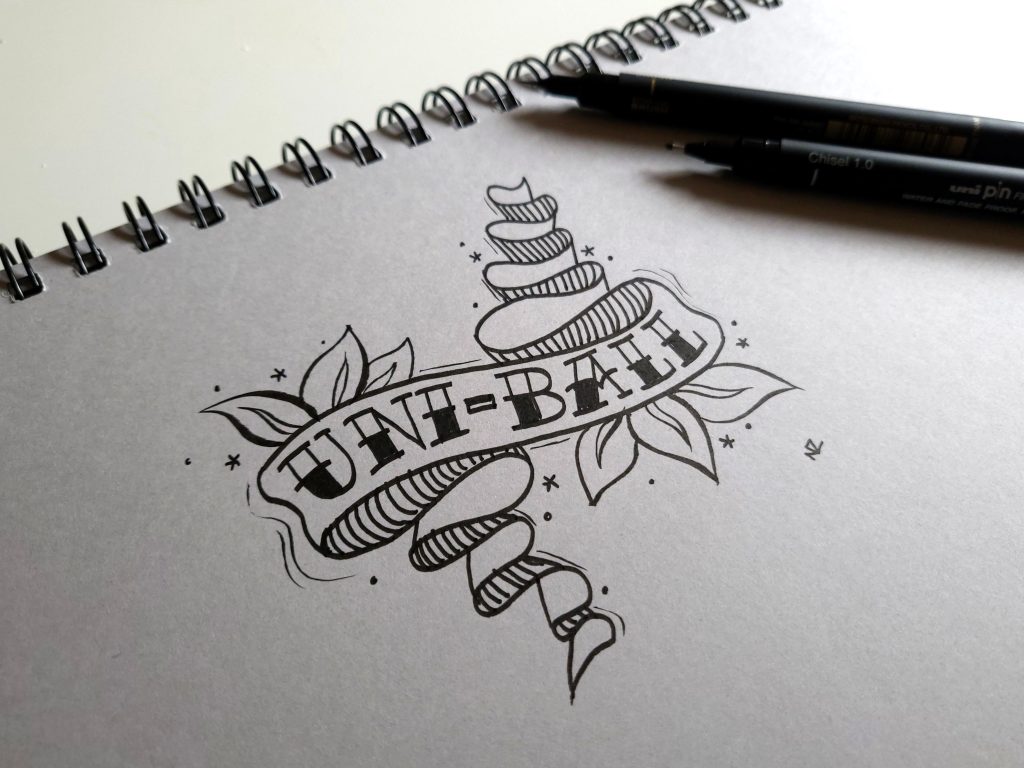
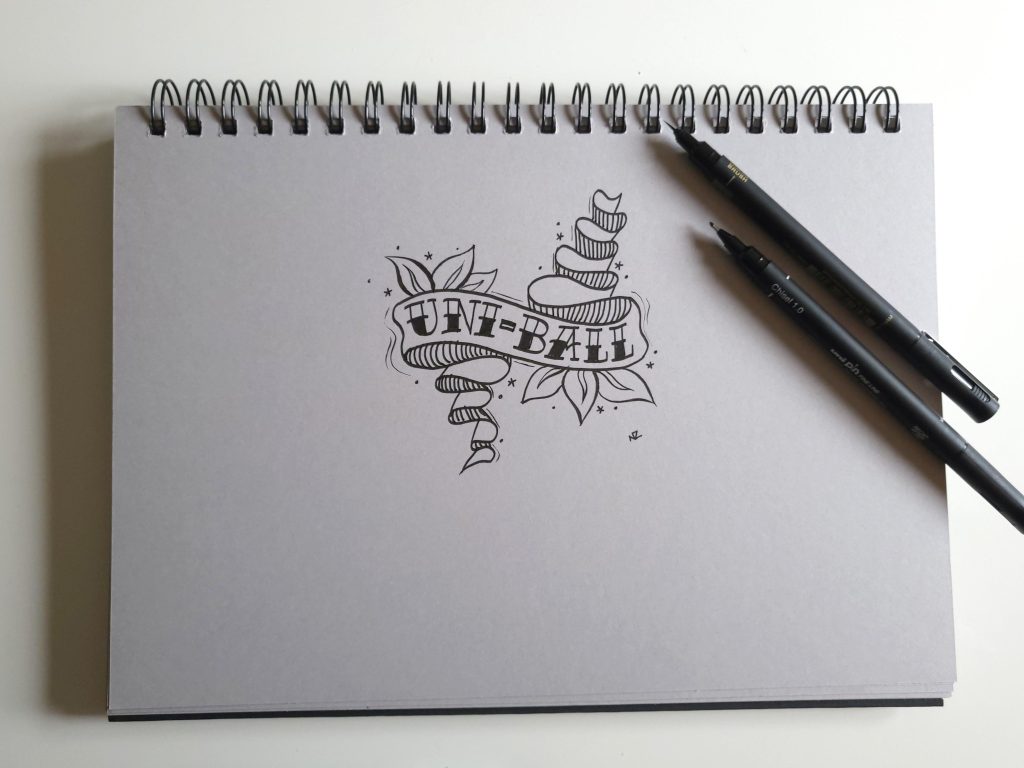
hand-lettering with PIN and art by NZ
Lastly, I used a combination of the 1.0mm chisel and the brush pen to create this lovely flowing scroll. The 1.0mm was great for the smaller lettering inside the scroll and the brush tip was fantastic for the leaves behind the scroll.
Start off with the top line of the scroll, then add your text. Only then add the bottom line of the scroll. This will keep you from trying to squeeze your text inside and give you much more freedom with your lettering.
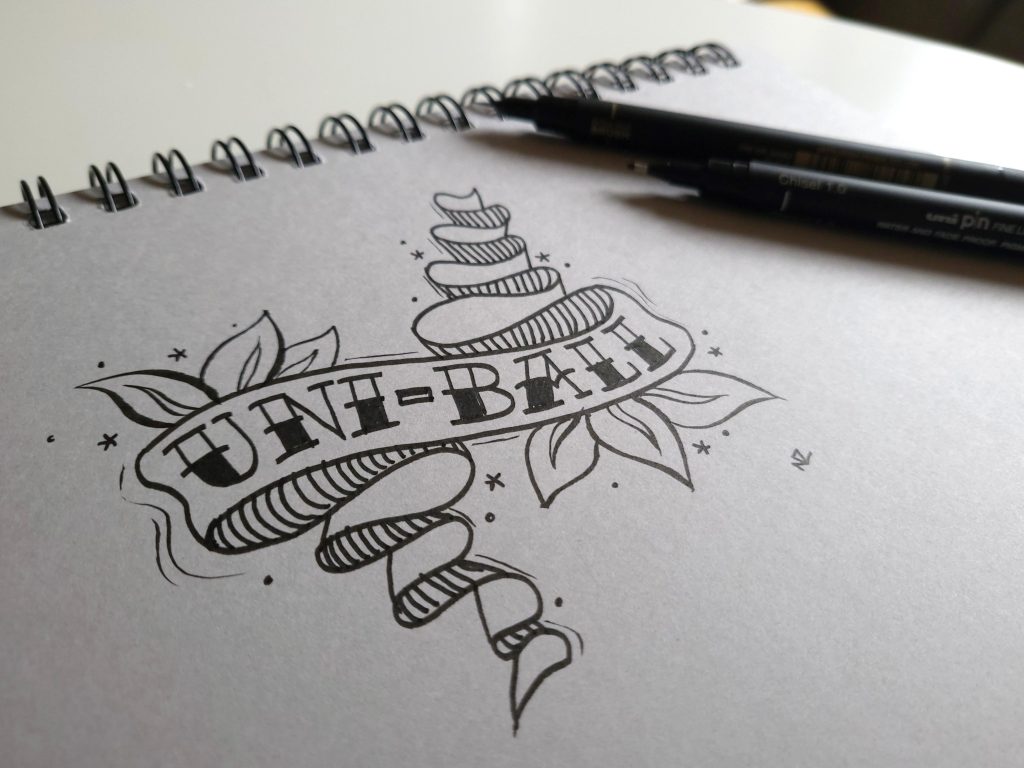
With all my drawings, I love to add some little background details. The fine brush tip is fab for adding the dots and tiny stars I like to use. I really like how versatile this pen is. You can go from thin to very thick lines without having to change over your pen.
We hope you enjoyed these PIN tips from Art by NZ. Thank you so much for reading. Follow her over on Instagram @art_by_nz