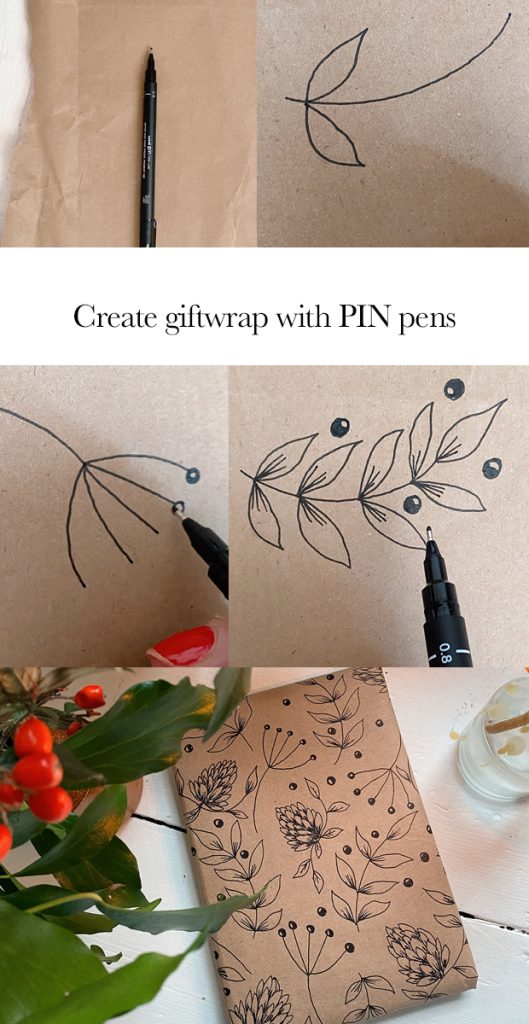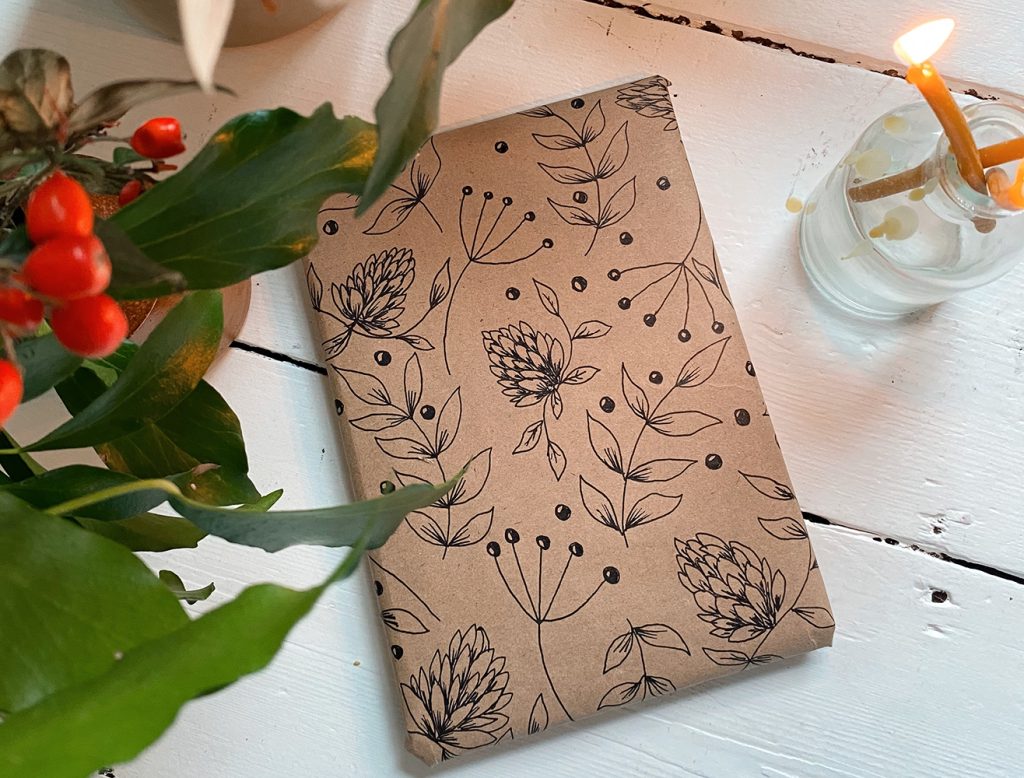
We’re continuing our sustainable theme this Christmas with some uni-PIN gift wrap, created by illustrator Becki Clark.
Becki has whipped up some super simple botanical illustrations that are easy to recreate with your uni-PIN pens. And this updates plain brown paper into stunning gift wrap you can recycle.

The PIN works wonderfully over old packing paper. The whole black ink on brown paper look is incredibly charming and rustic. And the wonderful thing is you can recycle the paper once you’re done with it.
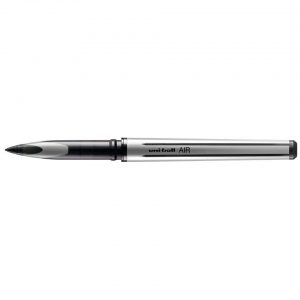
The uni-ball PIN is the pros choice. An excellent value drawing and writing pen, it contains fade proof and water resistant Super Ink. One of the wonderful things about our Black PIN pen nibs is you can work in very delicate fine lines, which is great for illustrations and botanical drawings.
uni-PIN gift wrap – the essentials
All you need is for this is a brown paper bag or old packing paper and a selection of uni-PIN pens. We’re using an 0.8 uni-PIN fine liner here. However, you can play with different sized PINs to vary the look.
Get started with your botanical illustrations

This pattern is made up of three simple motifs, for the foliage you will firstly need to draw a curved line.

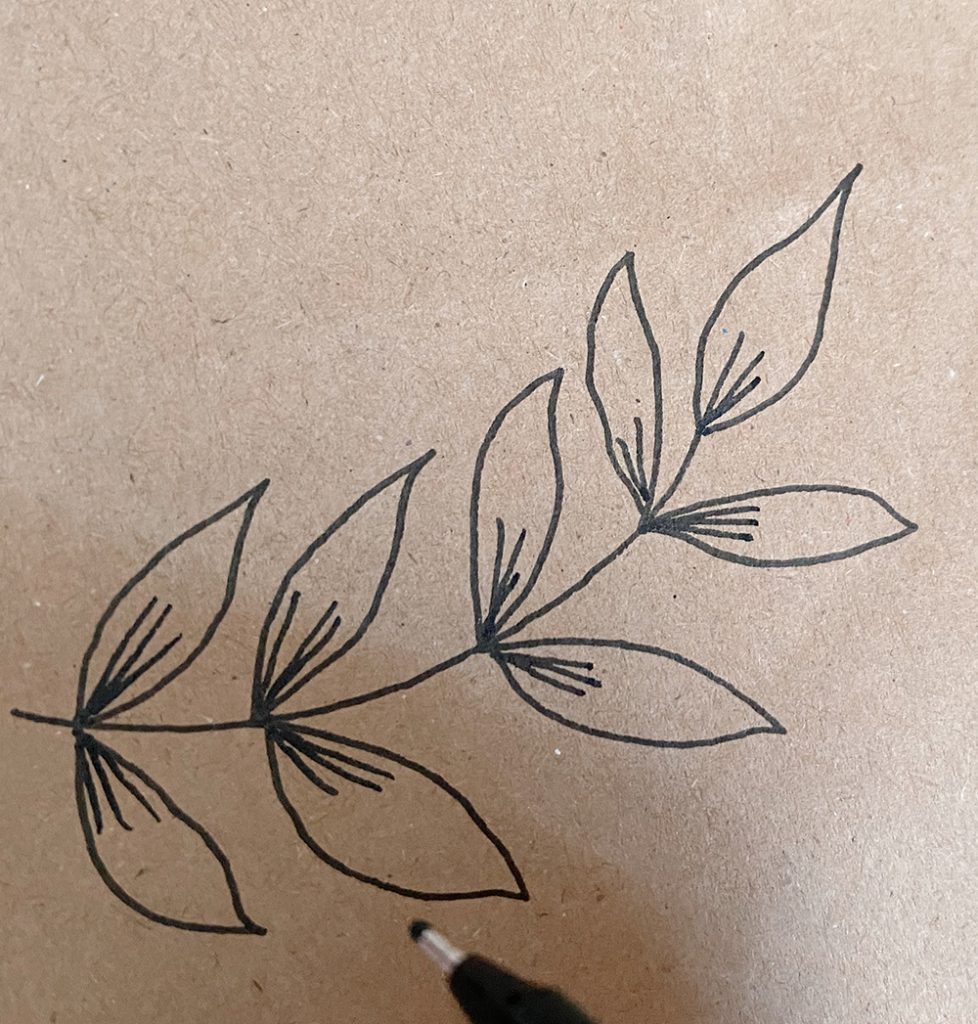
Add your leaf shapes joining at the same point on the stem. Repeat up the stem and once you reach the end add one to the top

Add your detail lines onto each of the leaf shapes working from the stem out.

Add berry motifs by drawing circles and leaving a small circle in the middle when colouring in, this will give the illusion of shine to the berry.

Draw your seed heads

For the seed head motif you will need draw a curved line and then have five smaller curved lines working out from it curving round. Add circles to the top of the seed head, again leaving a smaller circle in the middle un-coloured.

Create a simple pinecone
A pinecone illustration looks accomplished but surprisingly easy to recreate. The pinecone is made up of the basic oval shapes, draw two working outwards as your starting point.

Continue to add the oval shape working upwards to a point to create your pinecone shape.

Add the details as we did with the leaves drawing smaller lines working up the pinecone on each oval.

Add a curved line around the pinecone and draw your leaves (same technique as the foliage motif) onto the curve.

Repeat these motifs to cover your paper bag/ packing paper, use the berries to help fill any awkward spaces and mix between the direction each of your motifs are heading in.
Top Tip!

Create a larger space between your motifs if you want to cover a large area of paper. You can also use our Brush and Extra Fine Brush tips or our 1.2 nibs to make the drawn lines fuller.


