Fancy giving a spot of calligraphy a go? Or perhaps you’d like to master the basics of hand-rendered script? This project is a great way to start. Here we show you how to practice hand lettering with uni-Pin pens.
Perfect pens for lettering
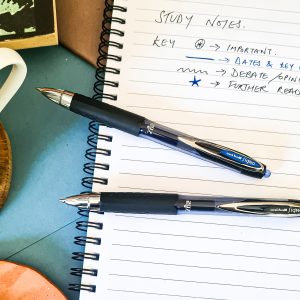
Loved by artists and illustrators, uni-PIN pens are also brilliant for hand-lettering and calligraphy.
The black PIN range has expanded from 11 to 14 calibrated tip sizes (from delicate 0.03 to robust 1.2 nib and expressive brush tip) allowing for a whole range of exciting creative possibilities. The three new thicker nib sizes come in 0.9, 1.0 and 1.2mm that produce a range of solid, firm, sturdy black lines. The excellent crisp edge these larger nibs create make the pens a fantastic choice for making bold outlines and provide smooth colour coverage for your letters.
As well as a black brush tip, illustrators, journal fans and artists will love the new PIN brush colours of Light and Dark Grey and Sepia. Inspired by artist’s sketch books, these tones are ideal for so many projects. The rich sepia shade has a deep, earthy hue that works really well for soft shapes, landscapes and wildlife illustrations. The charcoal-like hues of the dark grey allow you to create subtle hand-lettering and gentle decorative doodles. The cool light grey pens are perfect for light expressive accents and faint shading.
As well as the normal tips, the PIN’s brush nib is fab for lettering. It is reliable and firm, so it adapts to your pressure, angle or speed of writing. This firmness allows you excellent control, giving you the power to truly master brush script and expressive brush pen painting techniques.
Hand lettering project: You will need
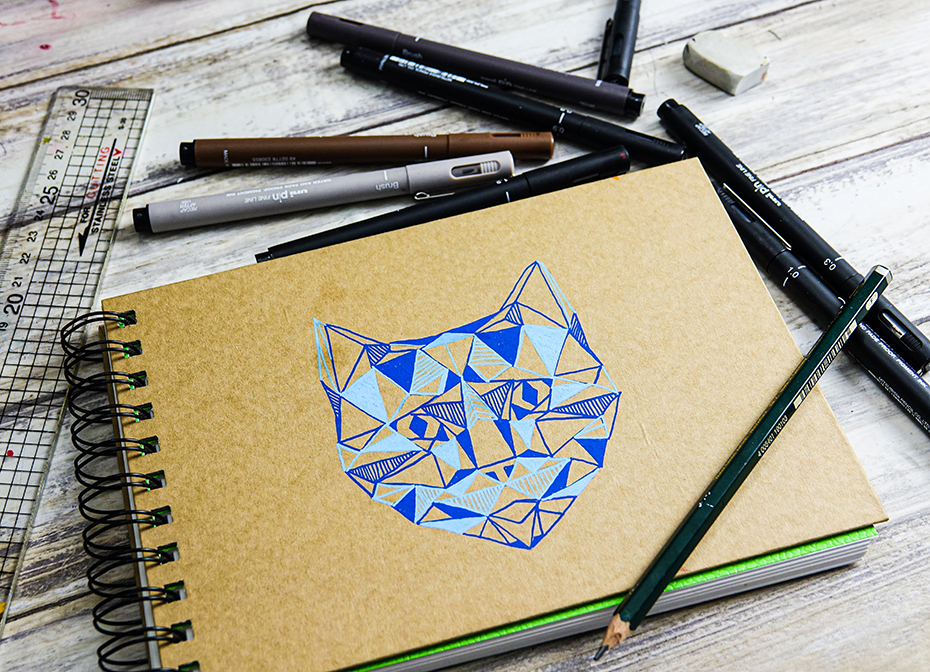
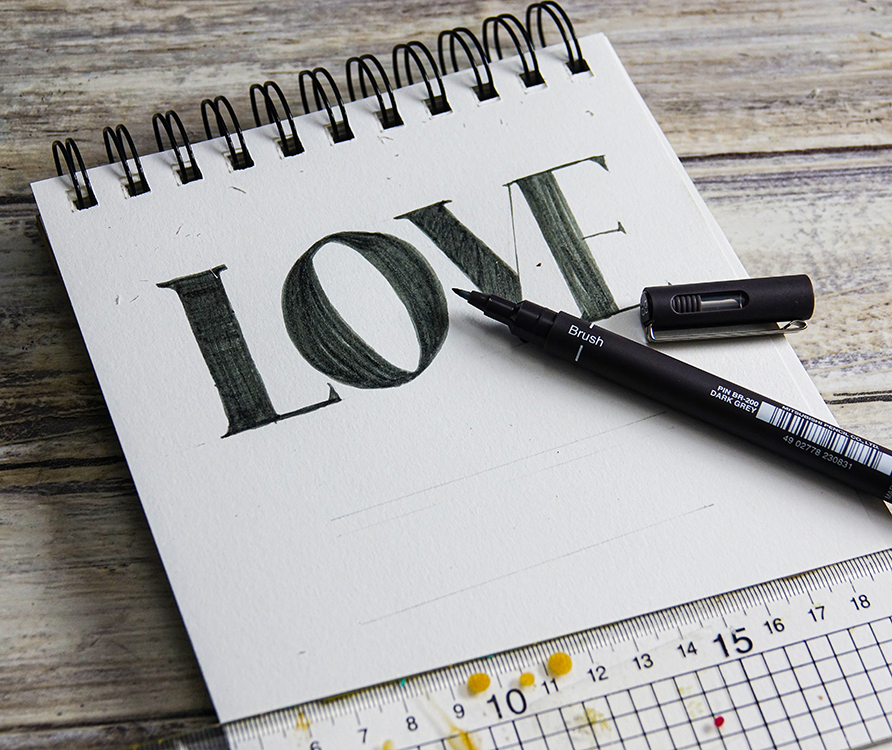
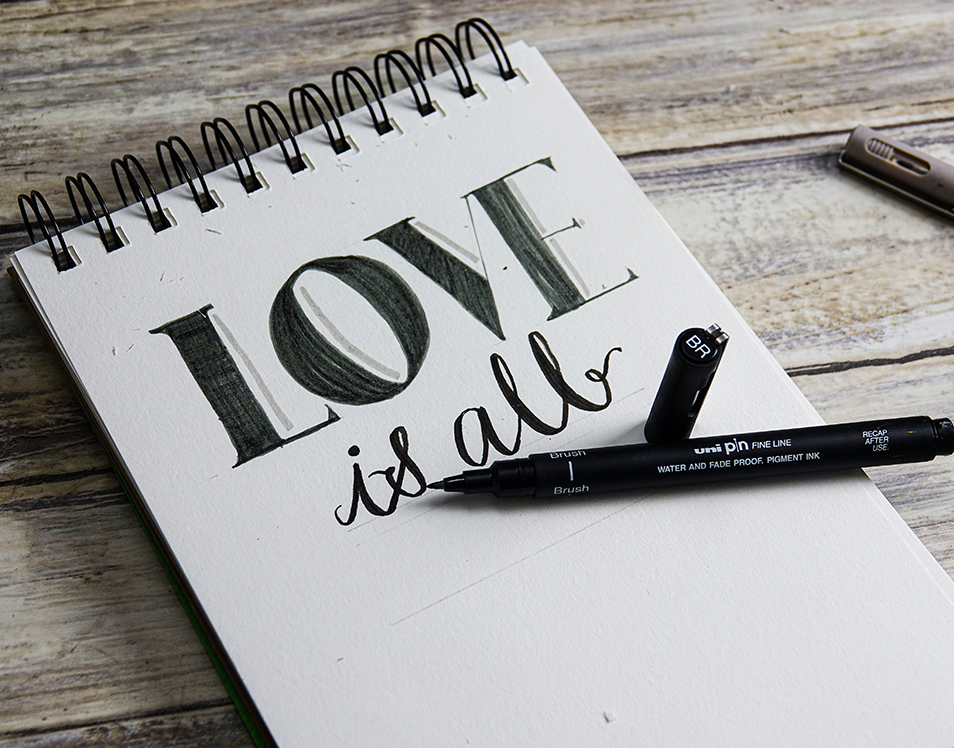
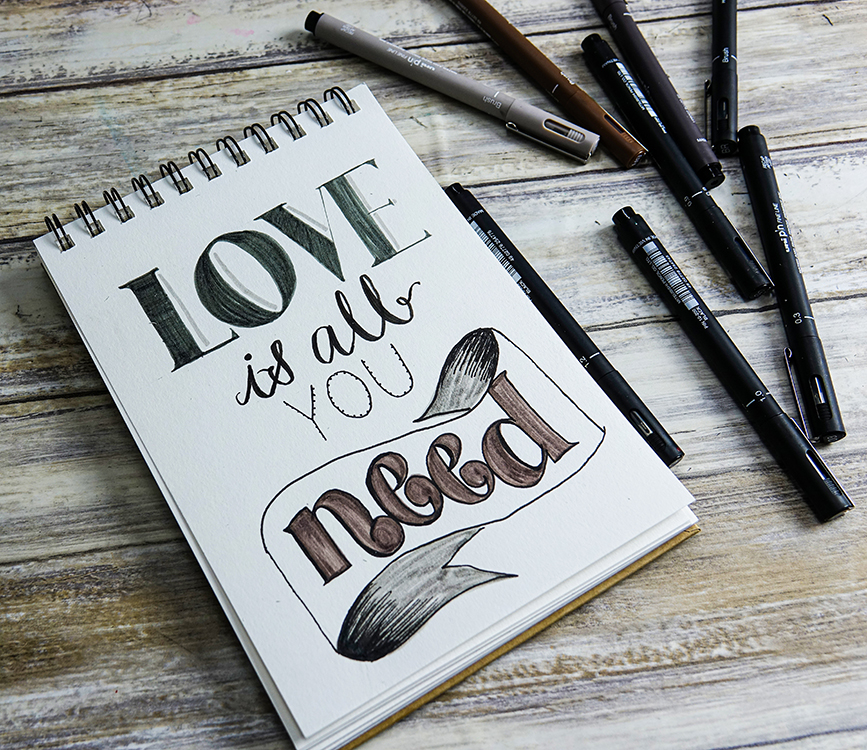
For this cool hand-lettering project you will need a pencil, a ruler, a Krafty Gecko sketchbook, an eraser and uni-PIN pens. We’ve used sizes, 1.2, 1.0, 0.9 tips in black and brushes in black, sepia, light and dark grey.
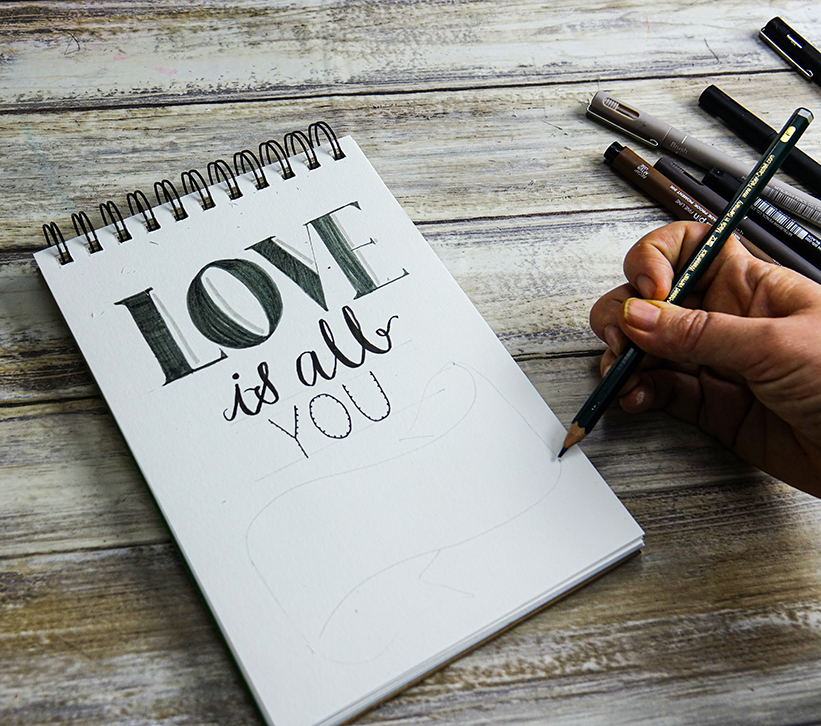
Practice hand lettering: sketch out classic text

Use a ruler to make sure your script is straight and the letters are the same height. We are using a classic script here. These letters work by balancing both thick and thin lines to create harmony and shape with the letters. Use your ruled lines as a guide. Sketch the letters out as shown here, using a ruler to make robust anchoring shapes for the straight letters and bulbous curves for ‘O’ then connect with fine defining curves and lines.
Hand lettering project: colour in and define your letters
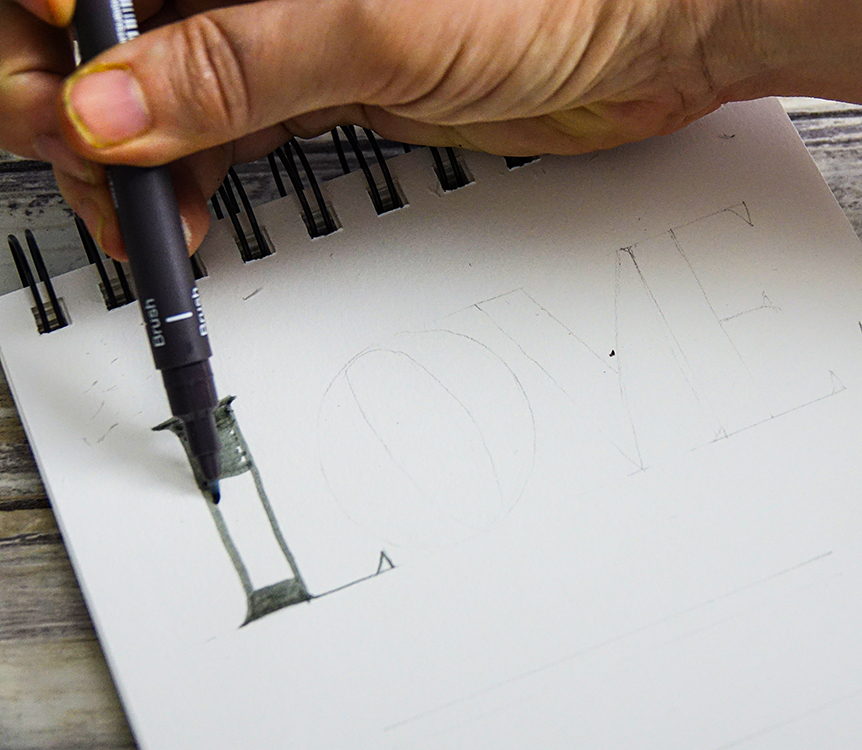
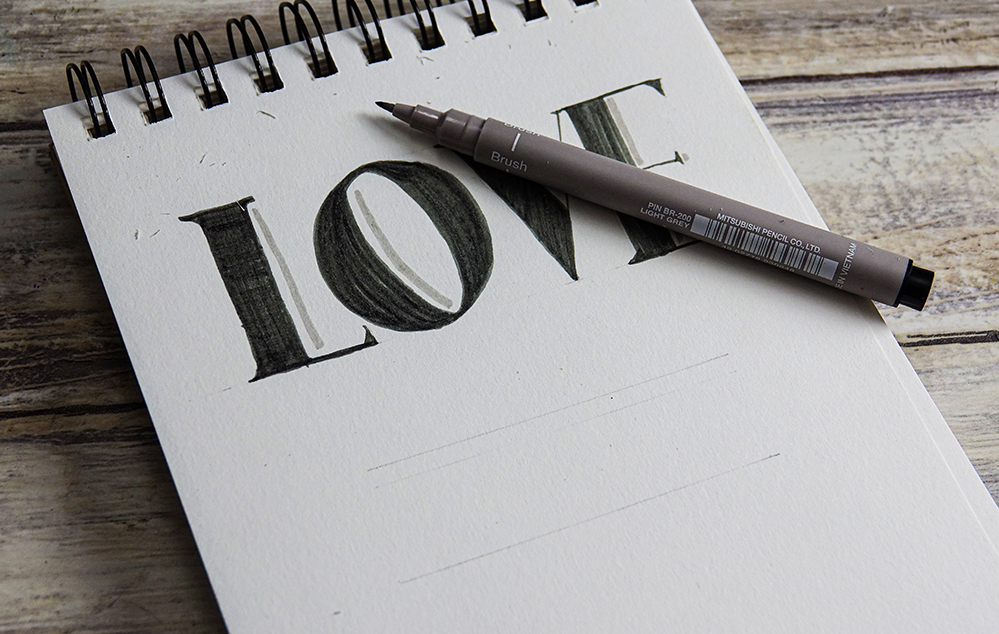
Once you are happy with your text, you can go over it with your Dark Grey brush PIN.
Colour in the large areas of the text by holding the pen tip at an angle. For the finer elements use the very tip of the brush nib.
Add accents to your text by holding the Light Grey at an angle and making gestural strokes at the right on the letter as shown.
Practice hand lettering: use your brush tip to try brush script
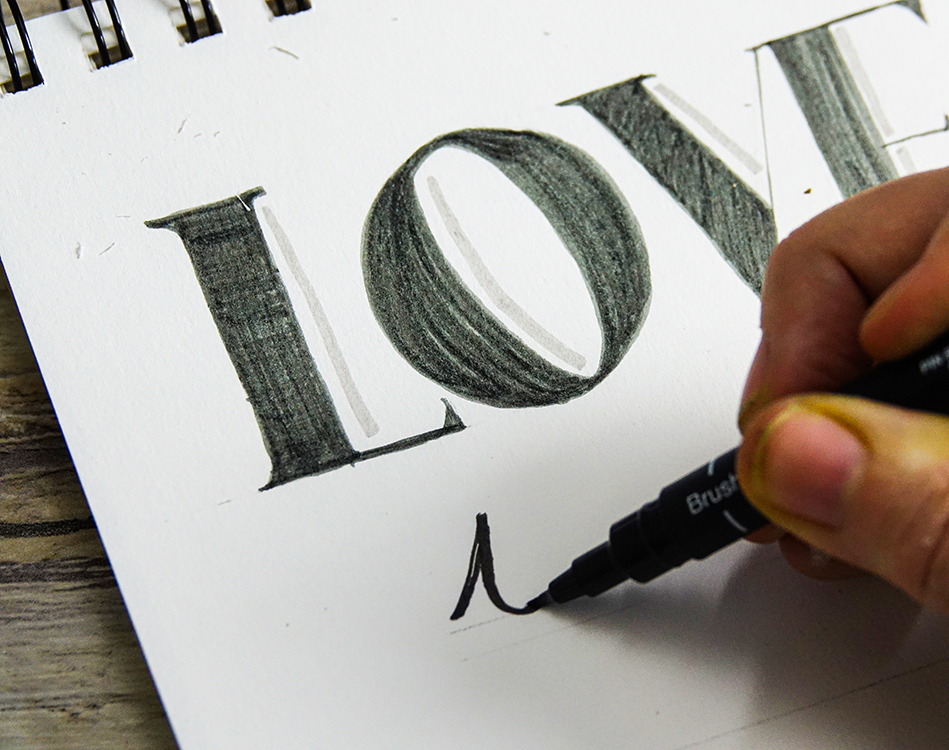
Make ruled lines with a pencil to ensure your text is straight. Now work your text on the lines. Start by holding your brush tip at an angle then applying your pen on the paper with the tip, Then work by pressing the tip down, still at an angle, to create a thicker, flowing line on your text as seen in the images above and below.
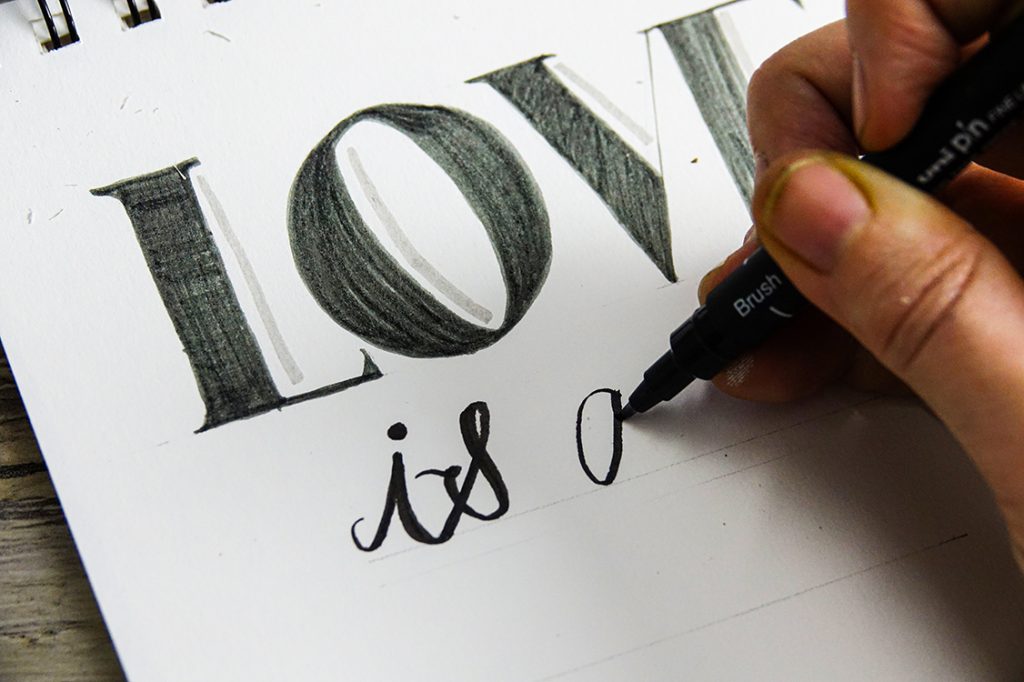
Remember, if you make a mistake you can always go over the text.
Hand lettering project: simple line text
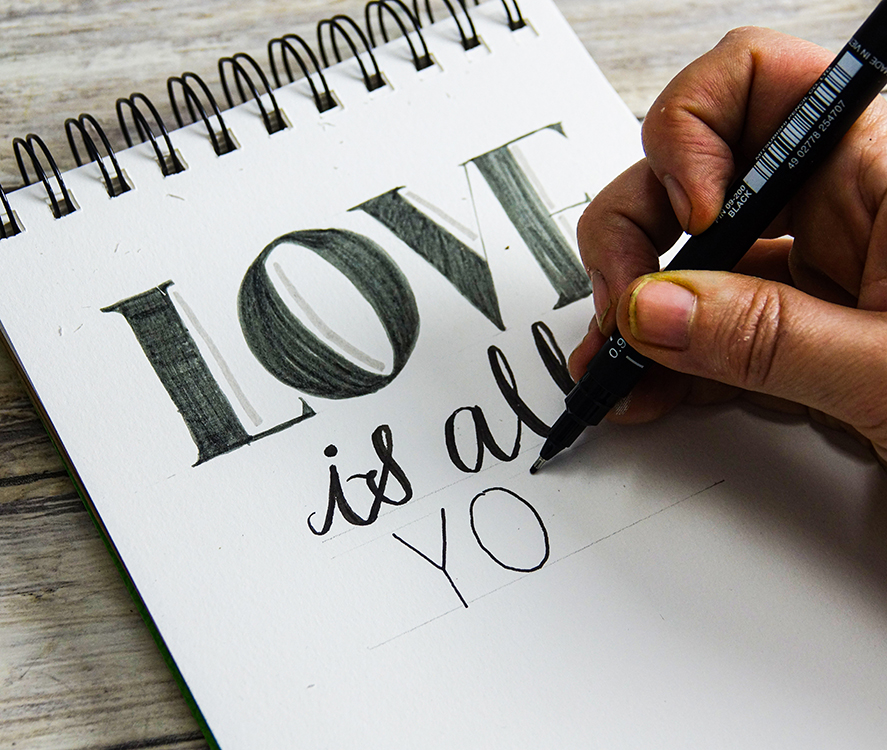
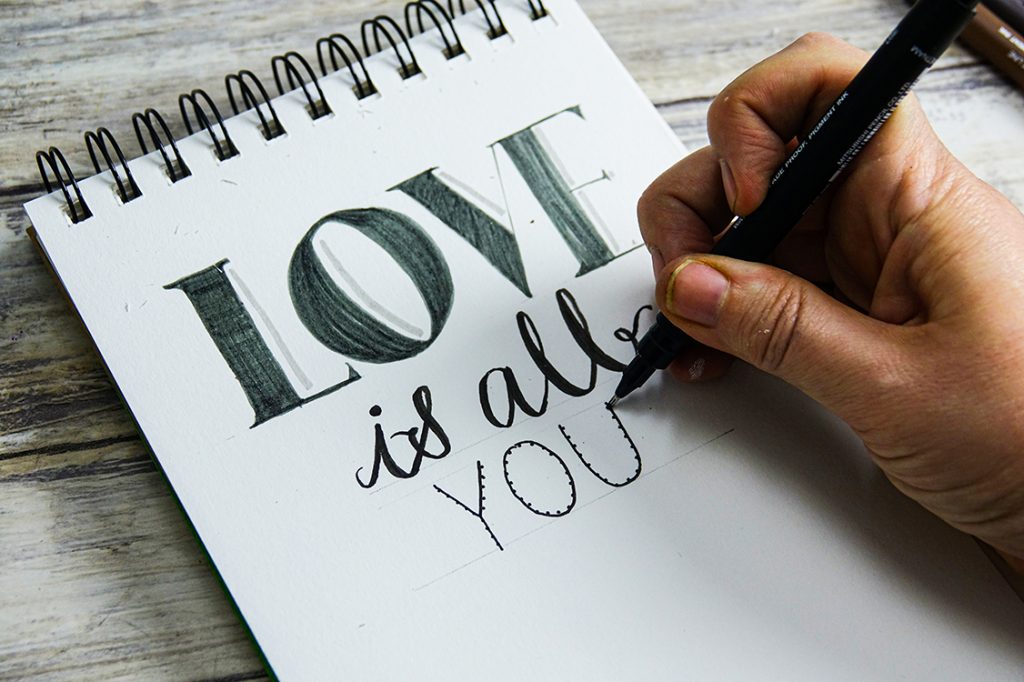
The fantastic thing about uni-PIN pens is that the range of PIN nib sizes offer so many line finishes. The 0.9 nib gives you a nice crisp, clean line that makes beautifully clear hand-rendered text. Use this tip to make very simple basic letters. Embellish these letters with simple dots made along the edge.
Practice hand lettering: draw your banner
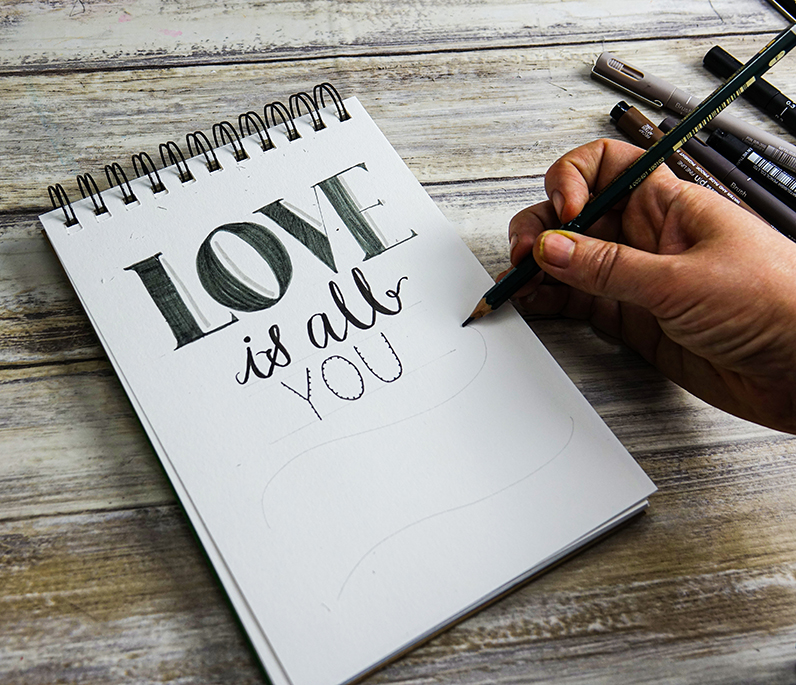
Banners are a favourite feature of hand-lettering pieces. The look impressive but are actually really easy to do. Simply draw two parallel horizontal lines (like elongated ‘S’s) like those made above. Connect the lines as shown. Then make two little line flourishes at the top and bottom of the shape as seen below.
Hand-lettering guide: sketch bold serif text
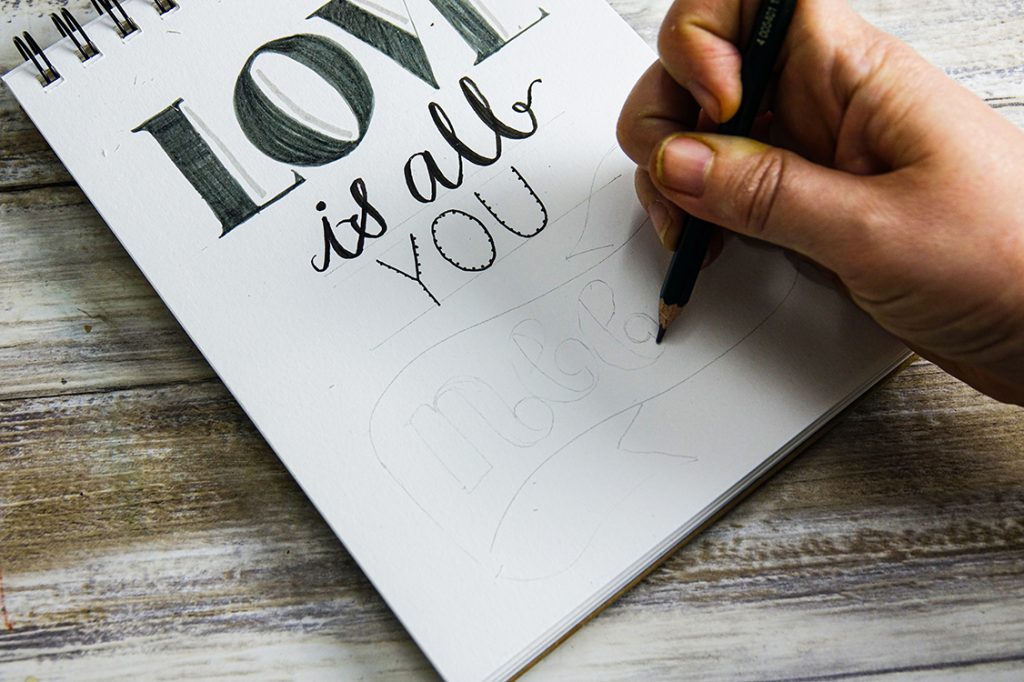
Use your pencil to sketch your text inside the banner. As with the classic script used with our ‘LOVE’ text, we are combining thicker and thinner lines to add rhythm and shape to our letters. However this time we are working with lower case text rather than capital letters. We want the descenders and curved ends of our text to be more decorative, so we’ve added rounded ends to theses elements instead of straight edges.
Try hand lettering: define and fill in your text
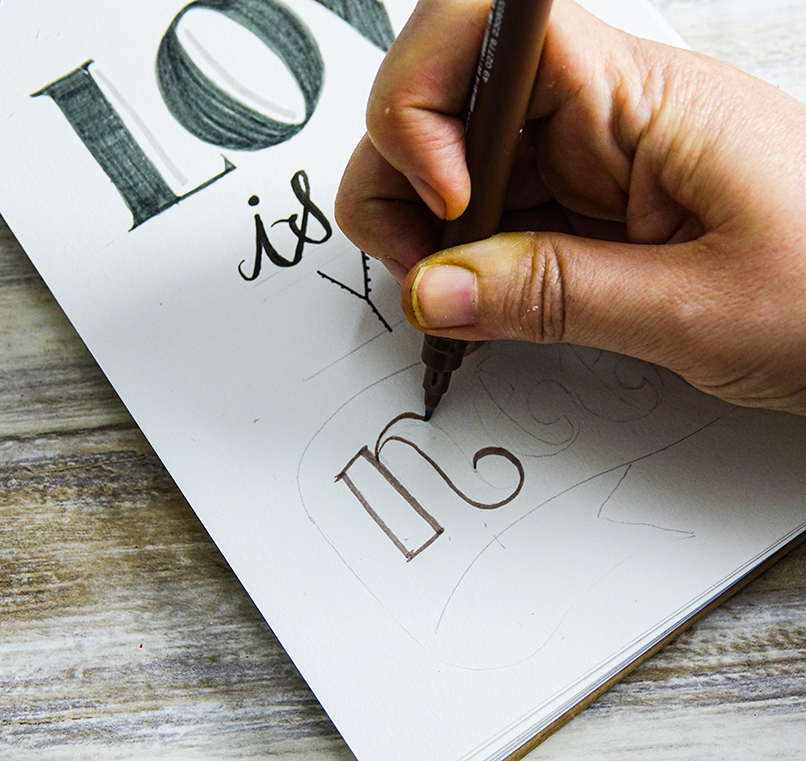
Again, when you are happy with your penciled letters you can now fill in. As with the LOVE letters you can take advantage of the thick/thin quality of your brush tip pen. We’ve used the Sepia brush here. You can use the very tip of your nib to create the fine, delicate elements of your hand-rendered text. You can hold the pen at an angle for full colour coverage.
Practice hand lettering: colour your banner

Now you can colour in and define your banner. Use light grey to add depth to the back part of your banner. Use the robust 1.2 tip pen to define the edges of the banner.
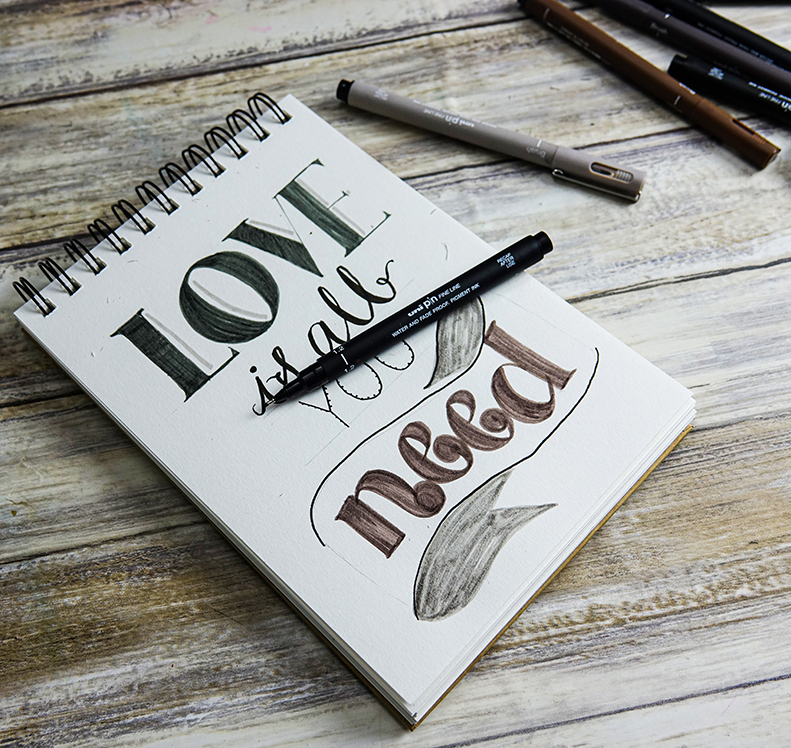
Now add further definition by layering strokes of the 1.2 pen to add shading to the inside curve of the grey-filled banner.
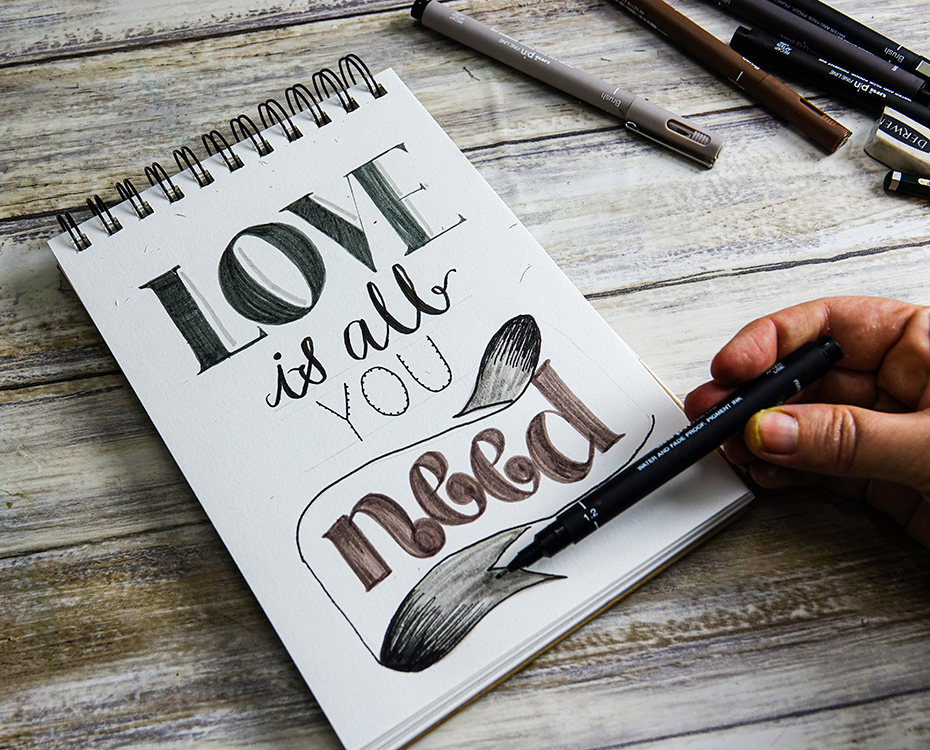
Hand-lettering guide: out line sepia letters
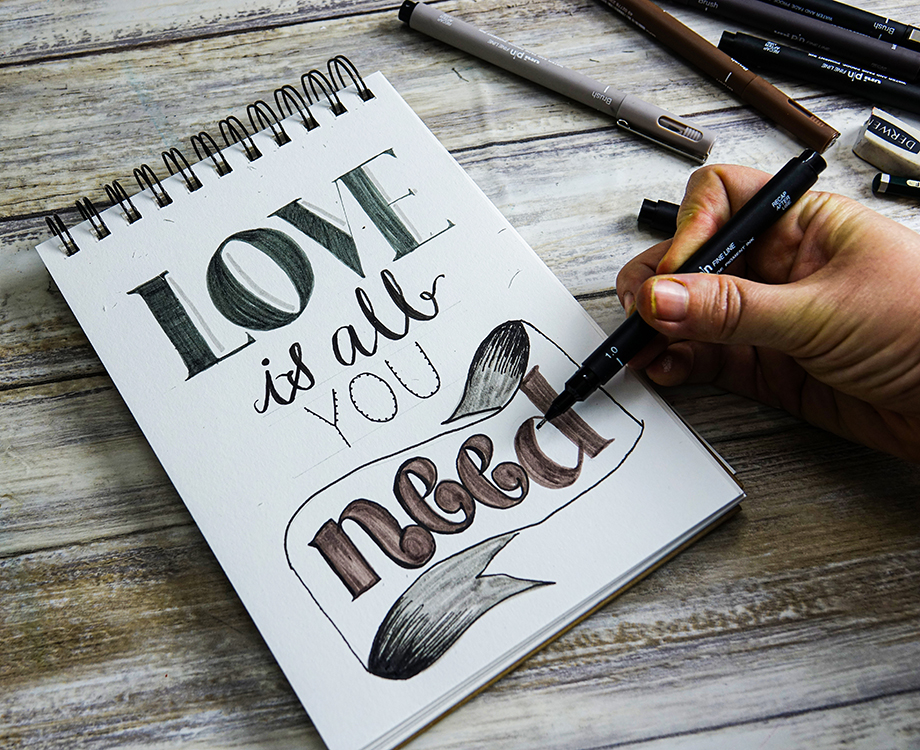
Finish your design by defining your sepia text. We used the 1.0 pen to outline the curvy hand-script.
Be inspired
For more hand-letting ideas with PIN take a look at the video below…
Check out more hand-lettering videos using PIN, POSCA and SIGNO pens on our YOUTUBE channel