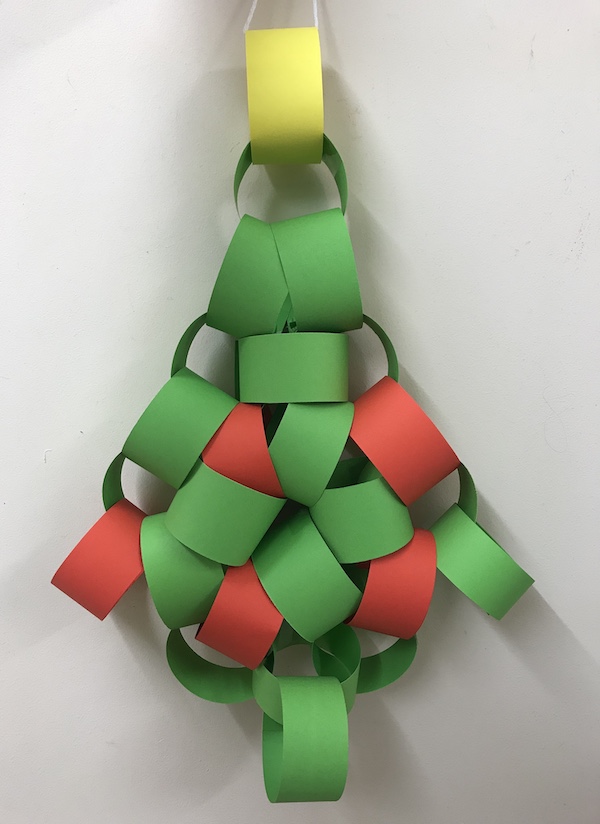
Easy decoration DIY: make a paper-chain tree
It’s finally December which means it’s officially Christmas! We can now get on with decking the halls with fab festive handmade decorations. This super easy decoration DIY is made by linking paper-chains to make a paper-chain tree. Try it today for a fun way to kick off your Christmas crafting.
Add a personal touch to your decoration and decorate the chains by drawing on a festive design with gold, silver or bronze SIGNO metallic gel pens. This will give your handmade Christmas decoration an extra special metallic embossed effect. For Christmas illustration inspiration head to our festive PINTEREST page where you’ll see a wealth of fantastic Xmas motifs and designs to inspire you.
Scroll down for a step by step guide of how to make this super simple handmade Christmas paper-chain tree decoration.
PAPER-CHAIN TREE: YOU WILL NEED
- A ruler and a sharp pencil
- 1 sheet of A5 yellow card
- 2 sheets of A5 red card
- 5 sheets of A5 green card
- Sticky-tape
- String
- Scissors
- SIGNO Metallic Gel Pens (for decoration)
PAPER-CHAIN TREE: STEP 1
Easy Decoration DIY: paper chain tree
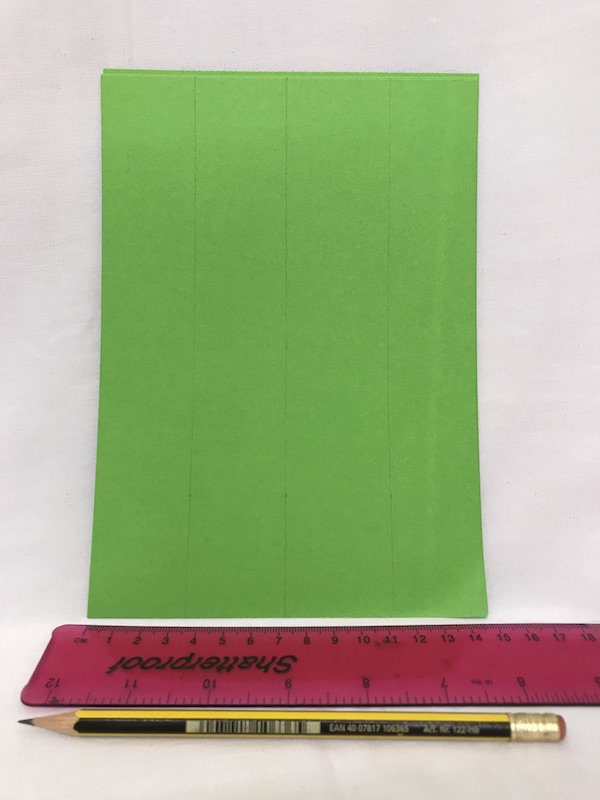
Make the chains for your Christmas paper-chain tree. Take your eight sheets of coloured card. Using a pencil and ruler, vertically measure-out four columns evenly, making sure that they are all the same width (approximately 1.5 inches).
PAPER-CHAIN TREE: STEP 2
Easy Decoration DIY: paper chain tree
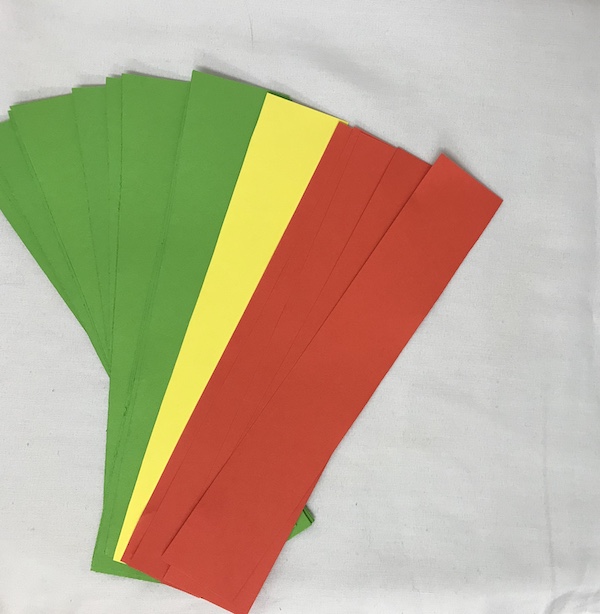
Once you are happy with your measurements, carefully use your scissors to cut along the pencil lines. This will turn your A5 card sheets into strips as shown. You should have 19 strips of green card, one strip of yellow and five strips of red. At this stage, you may also want to use your SIGNO metallic pens to add decorative swirls and festive illustrations to the strips. The addition of some metallic pen strokes will give this decoration DIY a more luxurious finish.
PAPER-CHAIN TREE: STEP 3
Easy Decoration DIY: paper-chain tree
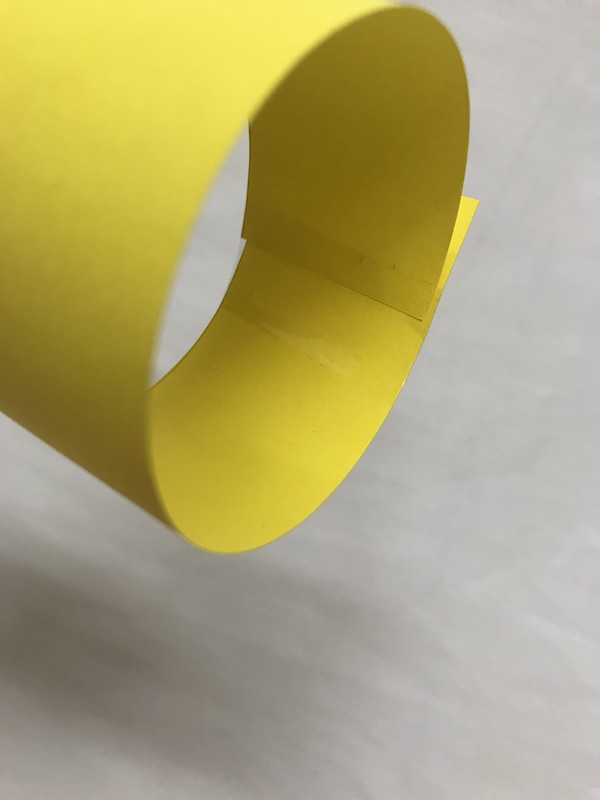
Start turning the strips of cards into a tree! Take one strip of yellow, get both ends and stick them together using your sticky-tape, this will form your first loop.
Stick the sticky-tape inside the loop so it isn’t visible on the outside – this will simply keep the decoration DIY looking neat and tidy.
PAPER-CHAIN TREE: STEP 4
Easy decoration DIY: paper chain tree
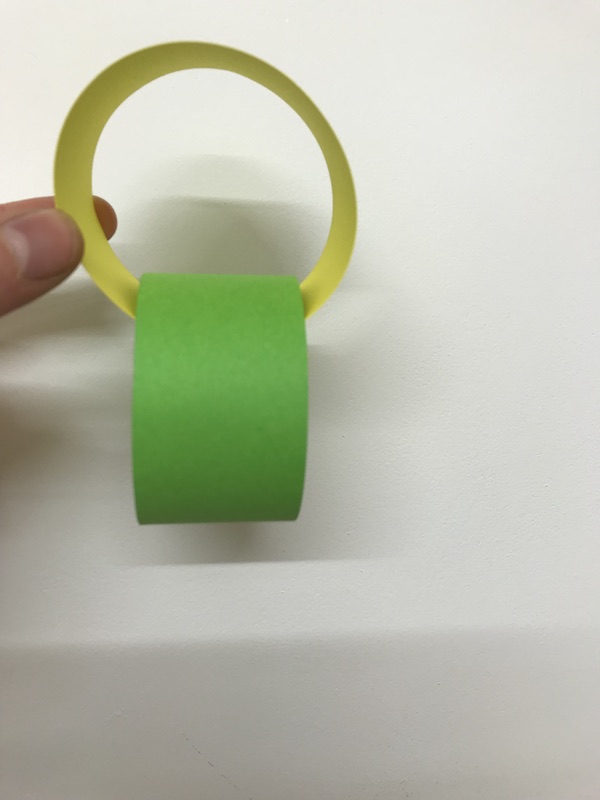
Take a green piece of card and slide it through the yellow loop you previously formed. Stick together both ends of the green strip using sticky-tape and you’ve just created the beginning of your paper chain!
PAPER-CHAIN TREE: STEP 5
Easy decoration DIY: paper chain tree
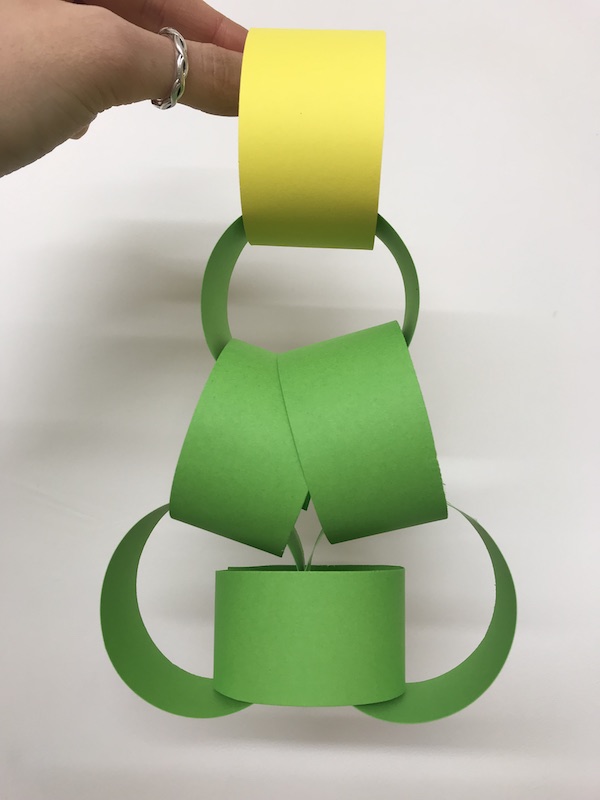
The yellow strip of card is the top of the tree, now continue to add green loops to form the shape. Each row should have an additional loop in it than the row before. Make sure you alternate each row of loops horizontally and vertically to add interest to the handmade Christmas decoration.
PAPER-CHAIN TREE: STEP 6
Easy decoration DIY: paper chain tree
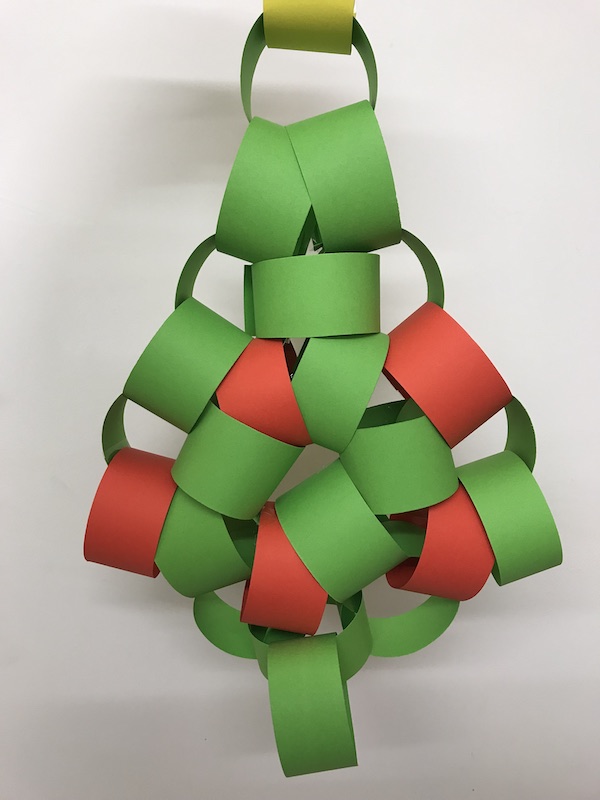
Work in some of the red loops in your pattern. This will create some colourful festive decorations for your tree. When you get to the bottom of the Christmas paper tree, add two loops on the last row to make up the trunk.
PAPER-CHAIN TREE: STEP 7
Easy decoration DIY: paper chain tree
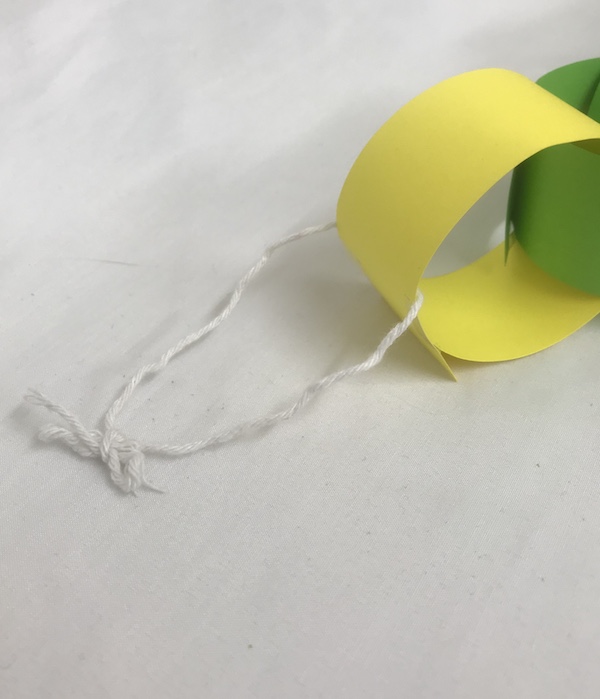
To turn the tree into a wall hanging, tie a piece of string around the top yellow loop, so you can easily hang your decoration on the wall or on a door.
And there you have it, a simple, but effective handmade Christmas decoration.

Easy decoration DIY: make a paper-chain tree


