Explore tried and tested drawing techniques with your PIN pens.
Elevate a drawing by creating light, shade and tone. It can transform a flat sketch into a dramatic artwork. That’s why we want to show you some pro tricks that can help you!
Black PIN nibs have 18 nib sizes, which is great for artists. The variety of sizes mean you can explore traditional tonal drawing techniques such as stippling, cross-hatching and free-shading. This results in some fab finished pieces. Plus you can use of the variation in nib sizes to produce different results.
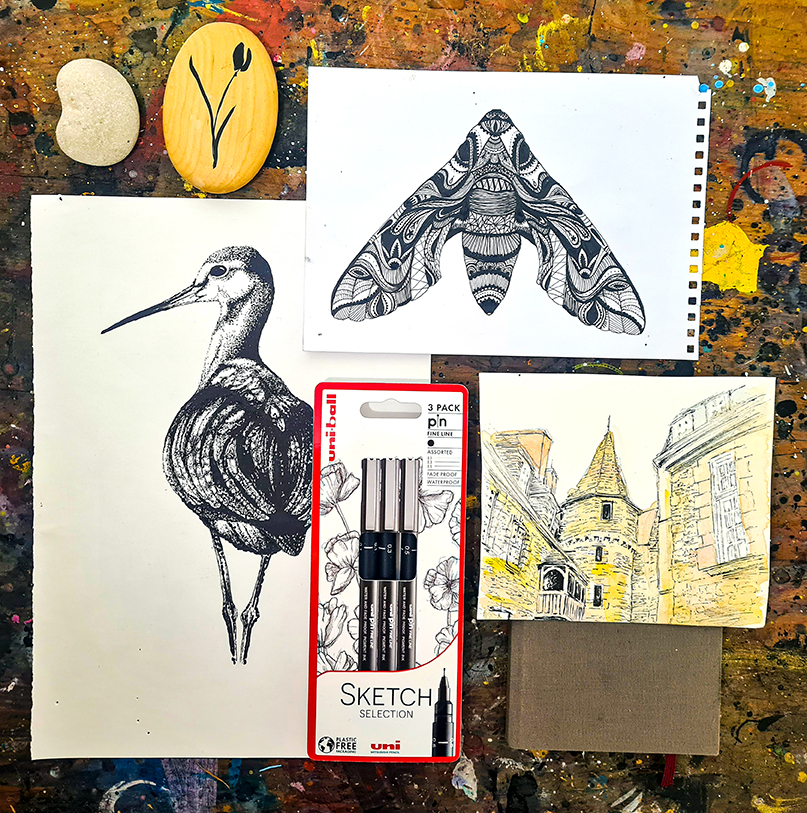
The pen’s sensitivity means artists can work with both light and firm pressure to create different tonal effects, using the smaller and larger nibs as you would a hard to soft pencil.
Remember too that you can overlay these tried and tested drawing techniques with your PIN pens over watercolour for more looks.
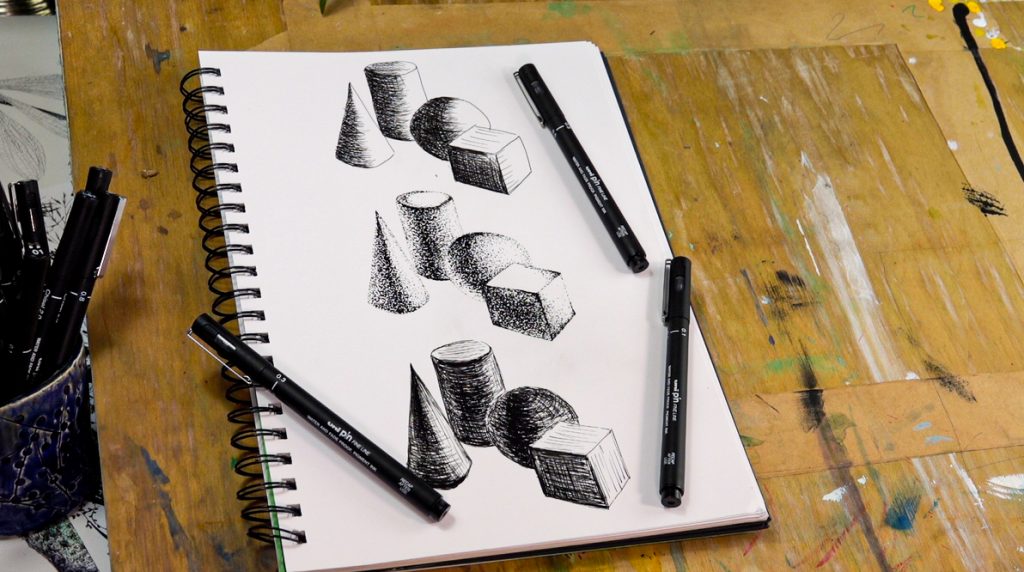
We’ve used our new Sketch Selection pack to explore artists techniques as it includes the basic tips you need: an 0.1, 0.3 and 0.5 tips.
Try out cross-hatching
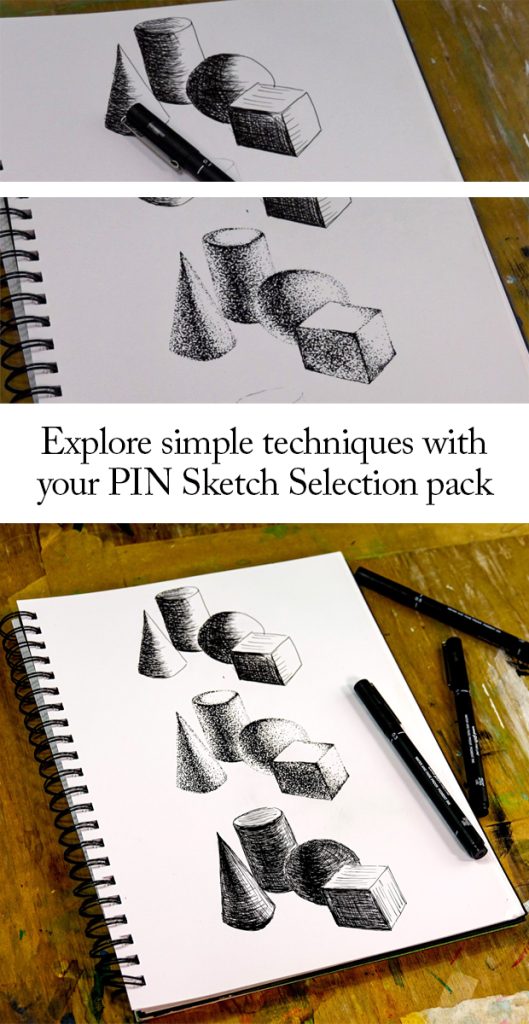
One of our favourite tried and tested drawing techniques with your PIN pens is cross-hatching. Cross-hatching is simple and can look very effective.
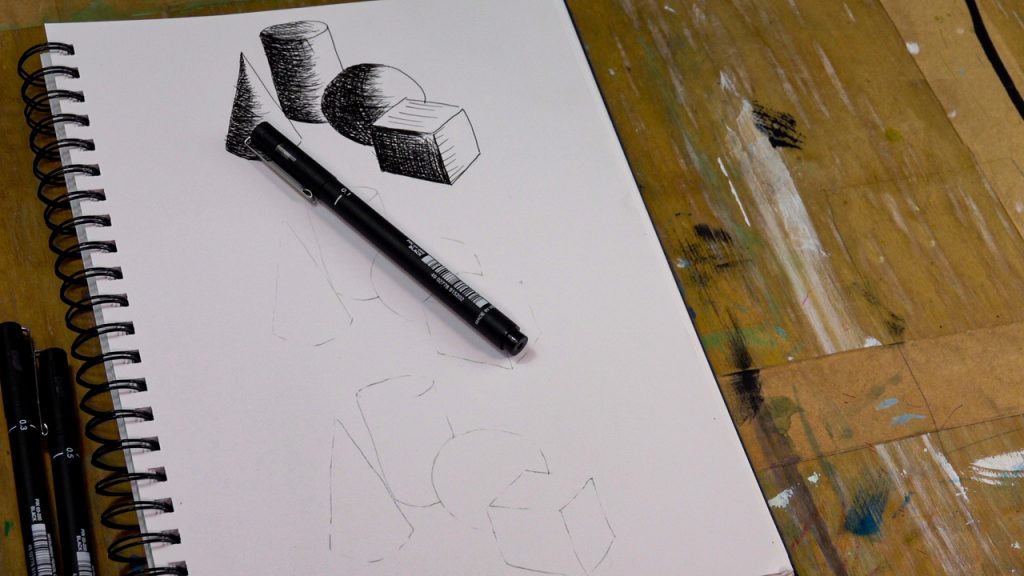
All you have to do is Just make a series of criss-cross marks and stokes to create tone. Create darker areas by layering the marks. The more layers you make the darker it gets.
Vary the direction of the strokes to further emphasise the subject’s shape. Think about wrapping your lines around the subject to give it greater form. We’ve used a 0.1 nib here to show off the strokes but you can use smaller nibs to get a more subtle effect.
Have a go at stippling
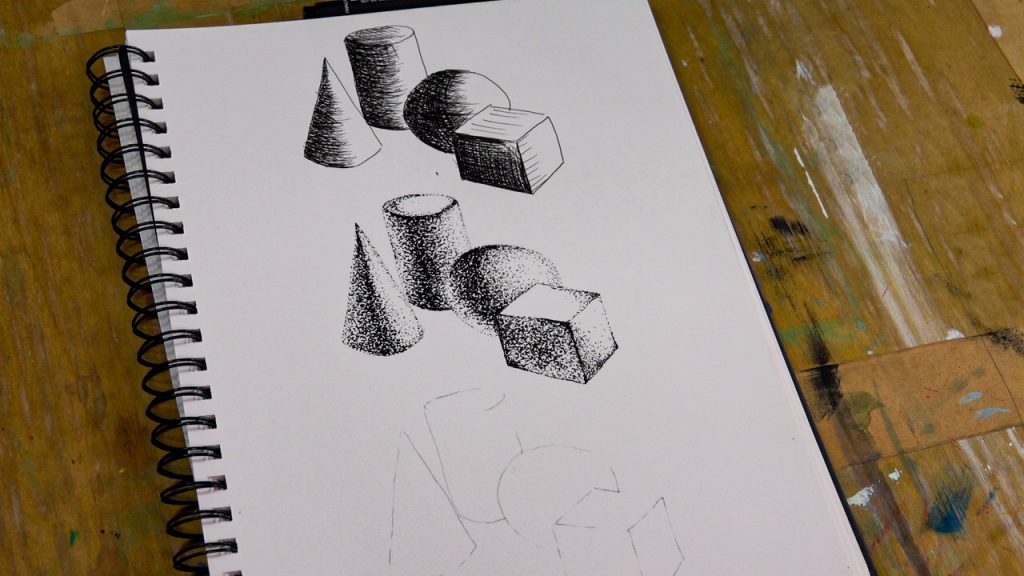
Stippling needs a little patience but it is a fun technique and can produce some lovely results. Here we have used our three PIN to illustrate this method here.
Larger nibs are used to build up and group together dots to illustrate shadows.The smaller nib made the smaller, lighter dots that are more spread out for lighter areas.
Practice free-shading
This is a lovely, natural looking method. One that, when it’s mastered, you’ll love practicing.
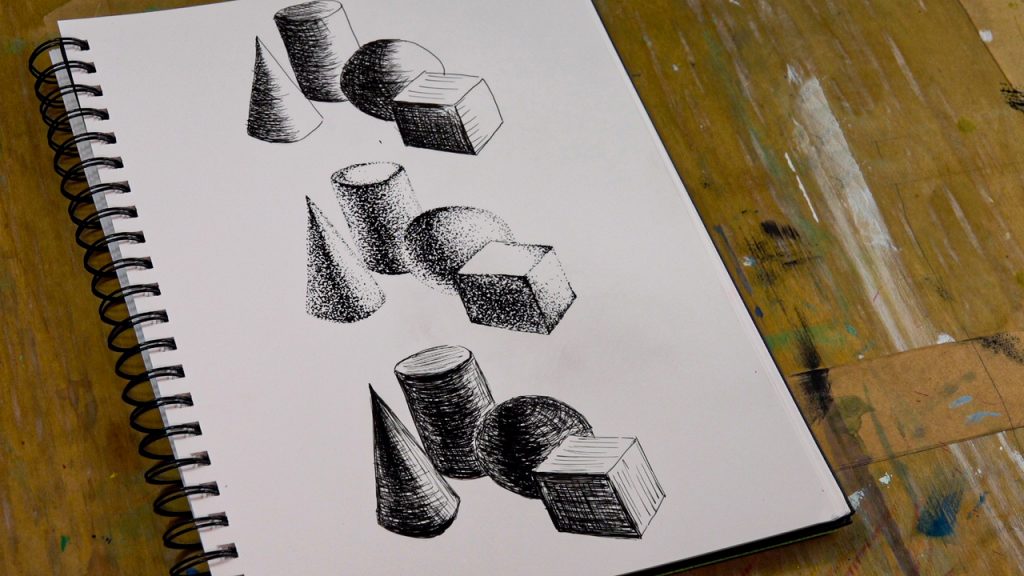
Here the base shading was created by applying a loose covering with a 0.1 nibs using a very light pressure.
Darker tones where then created by layering strokes of 0.3 and 0.5 pen over each other until they result in the shades required. For heavier shading, apply a firmer pressure or use a larger PIN nib size.
See how we did it
We’ve made a short film detailing these drawing techniques. Take a look below…
