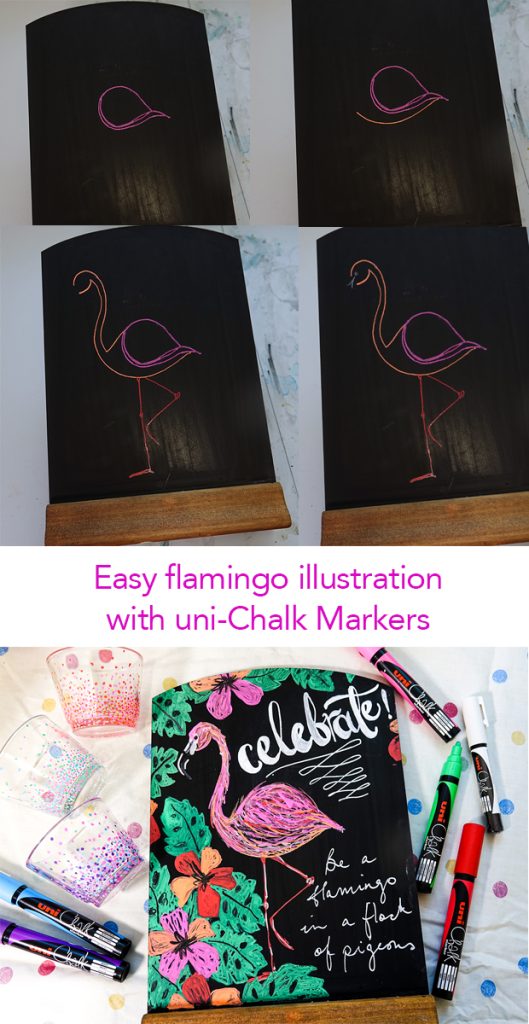
Here’s our easy flamingo illustration guide with uni-Chalk pens. This quick and simple drawing how-to shows you how to create a cute bird motif while getting to know how uni-Chalk markers work.
We think this funky flamingo illustration will be great for parties and celebrations. An oversized version would look brilliant on chalk board wall. In any case this will be a great project if you want to learn some basic drawing skills.
About uni-Chalk marker pens
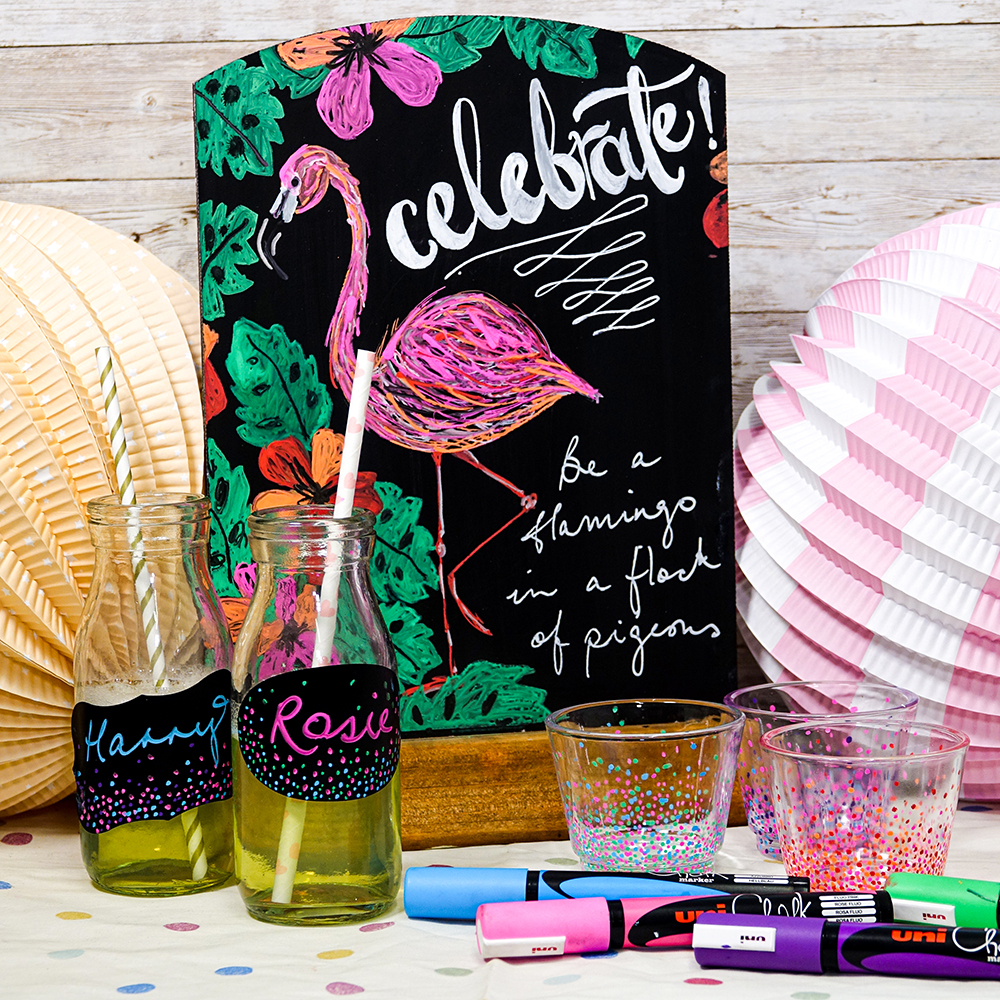
Chalk Markers are brilliant for all kinds of projects. You can use them on paper and card if you want to employ them like a conventional coloured pen. But the uni-Chalk Marker also writes on and wipes off non-porous surfaces such as chalkboards, chalkboard painted walls and glass.
So as well as general arts and crafts stuff, they should be your go-to marker for fuss-free decorating, making signs and writing temporary labels. These markers are so good that bars and restaurants use them everyday. So get the same professional look for yourself in your own home. Their wide range of colours mean you can use them from everything to classy events to colourful celebrations!
Easy flamingo illustration guide with uni-Chalk pens
So let’s get started… We’re drawing on a mini chalk board but you could recreate this on glass, wood, slate or indeed a large roll of paper.
We’re using our pink, orange and red uni-Chalk marker pens to make the body of our flamingo.
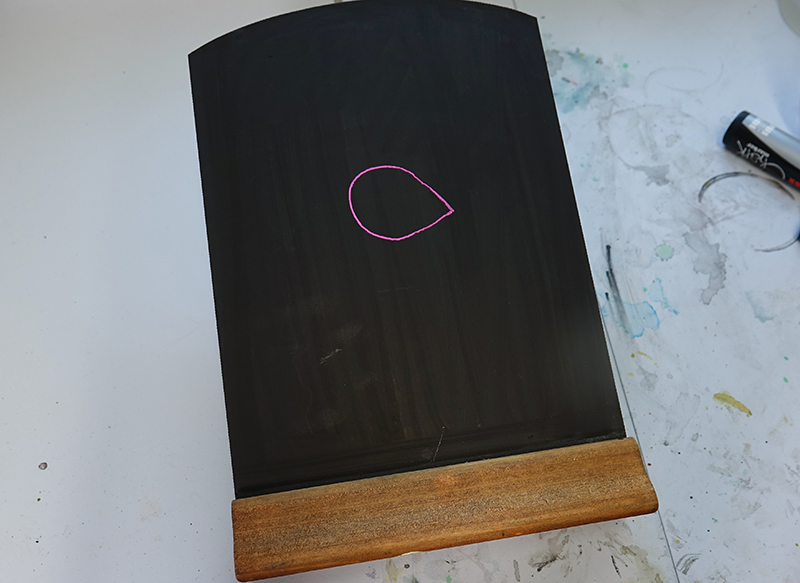
To begin your easy flamingo illustration start by making a side-ways tear/leaf shape with your pink Chalk marker as seen below.
Now use your pink uni-Chalk pen to draw a s-shaped curve under your tear/leaf shape. Now join the two shapes together as shown. You’ll see that in just two steps that this easy flamingo illustration guide with uni-Chalk pens is taking shape.
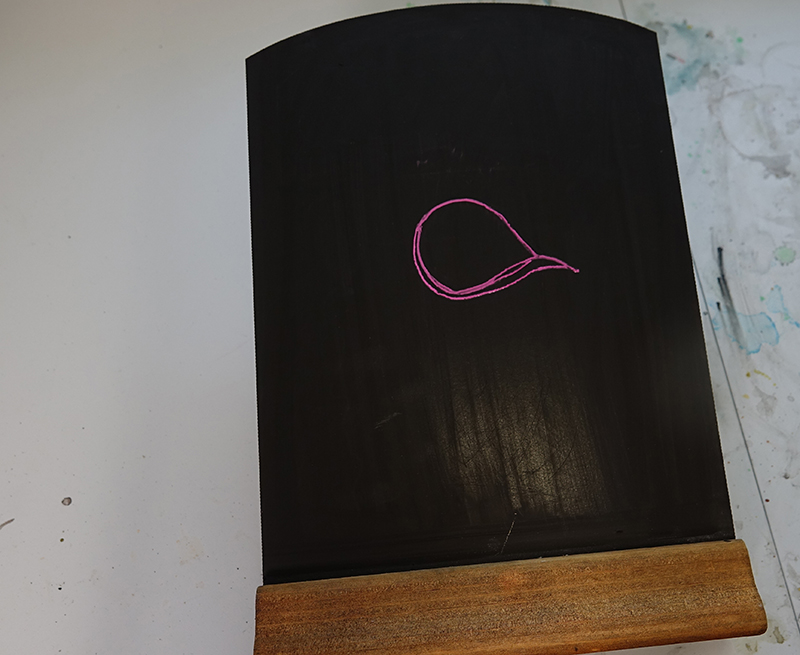
Draw a flamingo!
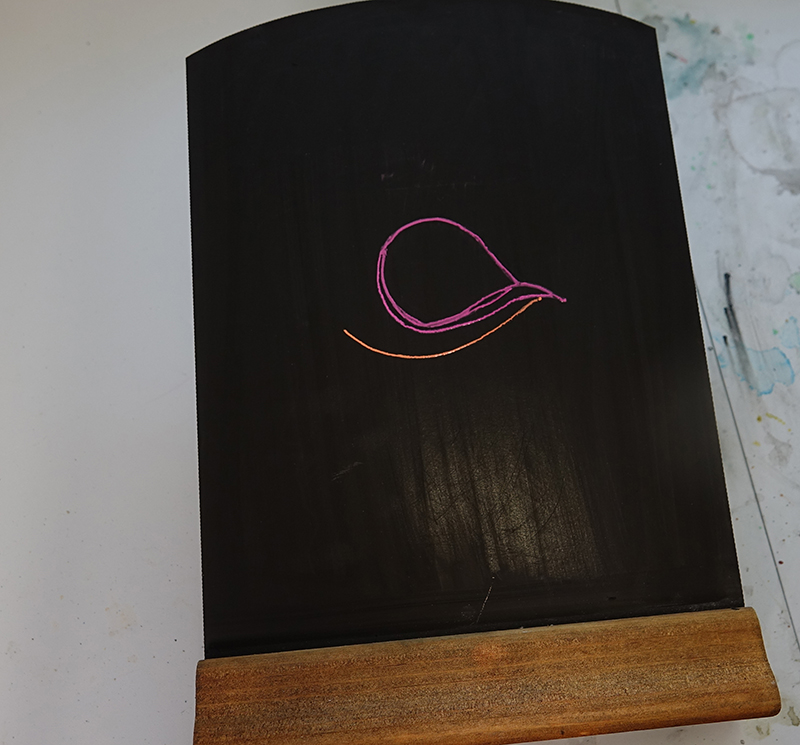
Now you have your ‘wings’ you can begin to draw the flamingo body. Use your orange uni-Chalk marker to make a simple, elegant curve underneath the pink shape.
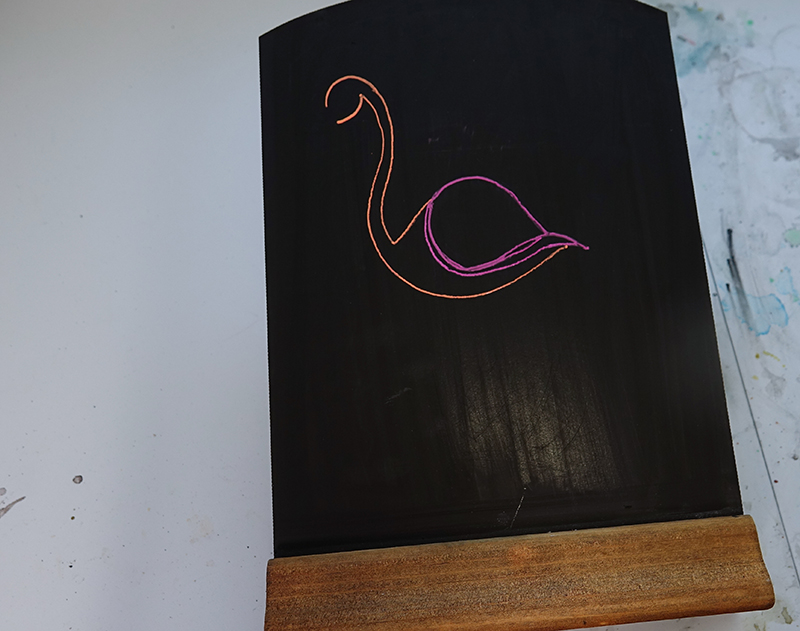
To create the rest of the body, take your orange line up as shown. Try to think of it as a bottom-heavy s-shape with a flick at the end. Then above, make a top-heavy s-shape with a flick at the bottom to join up with your pink wings. Follow the guide above.
Complete your drawing
Once you have your basic body shape the rest is easy. Now you can really have some fun.
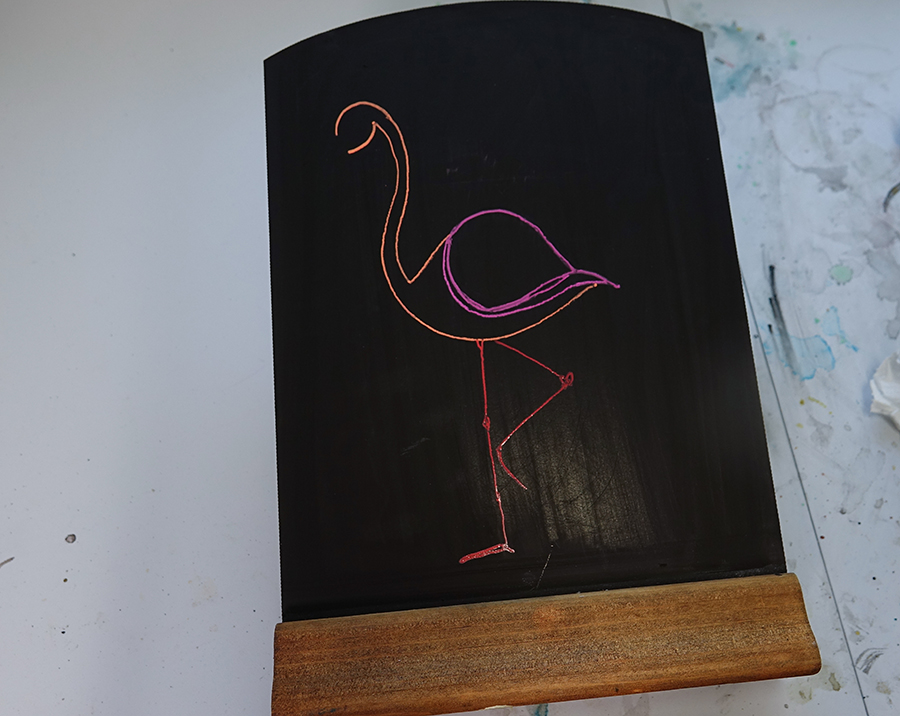
Grab your red uni-chalk marker and use it to draw in some lanky legs. All you have to do is make a straight line for one and a side-ways triangle for the other. Then add little lines for the feet and knots for the knees.
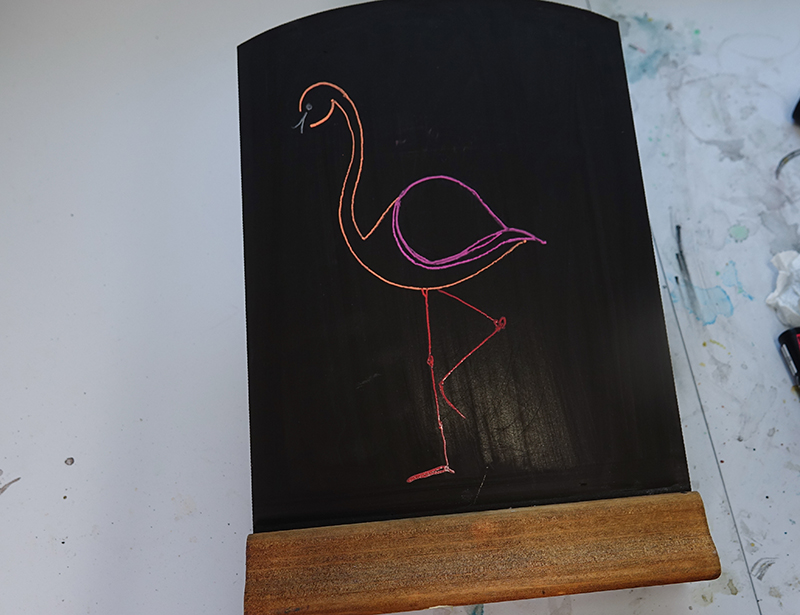
Now get your white uni-Chalk marker. To start creating the flamingo face just make a dot as an eye and an upside-down v shape to indicate the start of the bill.
Use your uni-Chalk colours!
You can start using your uni-Chalk marker colours to fill in your design and give it some life!
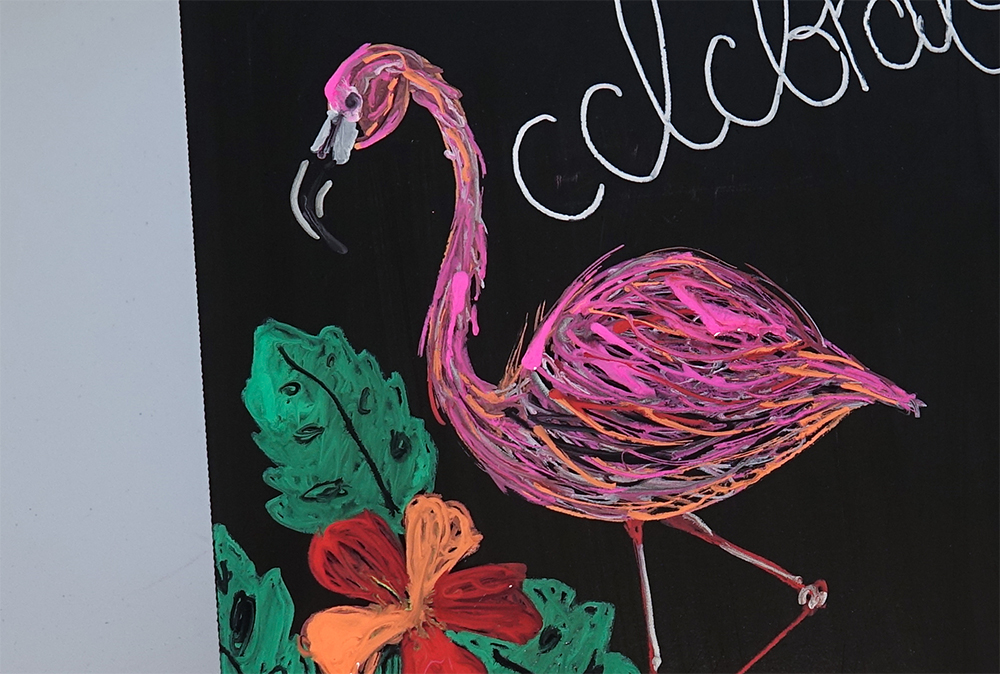
Make pen strokes of your pink, orange and red Chalk colours to blend and create a full-bodied, feathery affect. Add white strokes over the body and the legs to create highlights. Now use the white Chalk marker to fill in the area of the face and create space for the bill. As we’re working on a black surface we created white marks around the bill to give it its shape.
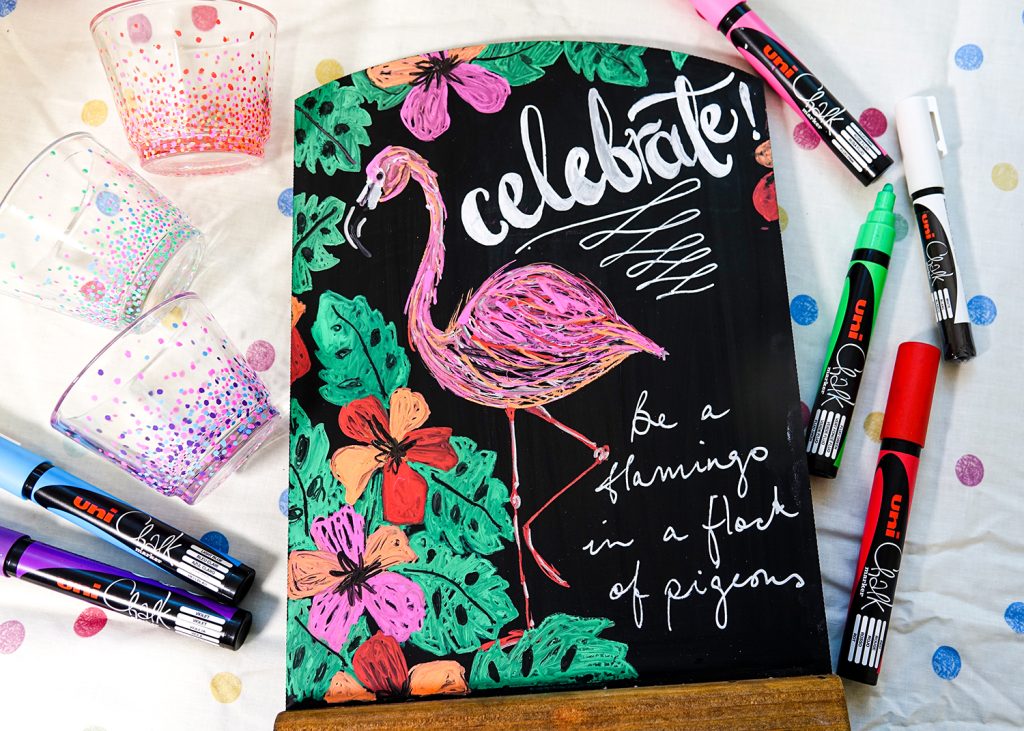
Once you have finished your illustration. You can add text or some other illustrations – we’ve made some monstera leaves and hibiscus flowers here. Plus we’ve added one of our mantras for life: “Be a flamingo in a flock of pigeons’.

